Haven’t updated in a while, and don’t really have much to update on even though I’ve been putting in time working on it nearly every night since the last one.
Been mostly just spending time continuing to smooth out the exhaust system, eliminating all the rough grinder marks, pipe seams, and internal weld marks on the sides of the mufflers. The head pipes are finally completely finished, all the flanges have been hand filled flat, and even the edges of the flanges have been polished smooth.
These are all the parts that are completely done and ready for ceramic coat, although I think I’m going to go back and remove the internal weld marks from the bottoms of the mufflers where they’re most visible if anyone cares to look:
I still have the tailpipe pieces left to do, but they still have to be modified to fit better first. I ordered all new 3” copper crush style gaskets for the flange connections, all except for the 3 1/2” collectors. Those I’ll see if I can grab at the local speed shop next week when I’m on holidays.
Mocked most of the system back up on an old blanket on the floor, mostly to take inventory of all the pieces, their orientation, and to make sure I had enough gaskets.
Sure is looking pretty trick!
I “
kinda” recall hitting a little bit of a snag with the Doug’s electric cutouts way back when, but had honestly forgotten all about it and what exactly it was. At first glance mocked up on the floor, I figured it was just that they still needed another set of flanges TiG welded on (they’re stainless). But after installing all the pieces onto the car last night, I (re?)discovered that there’s not a snowball’s chance in hell that they’re going to work.
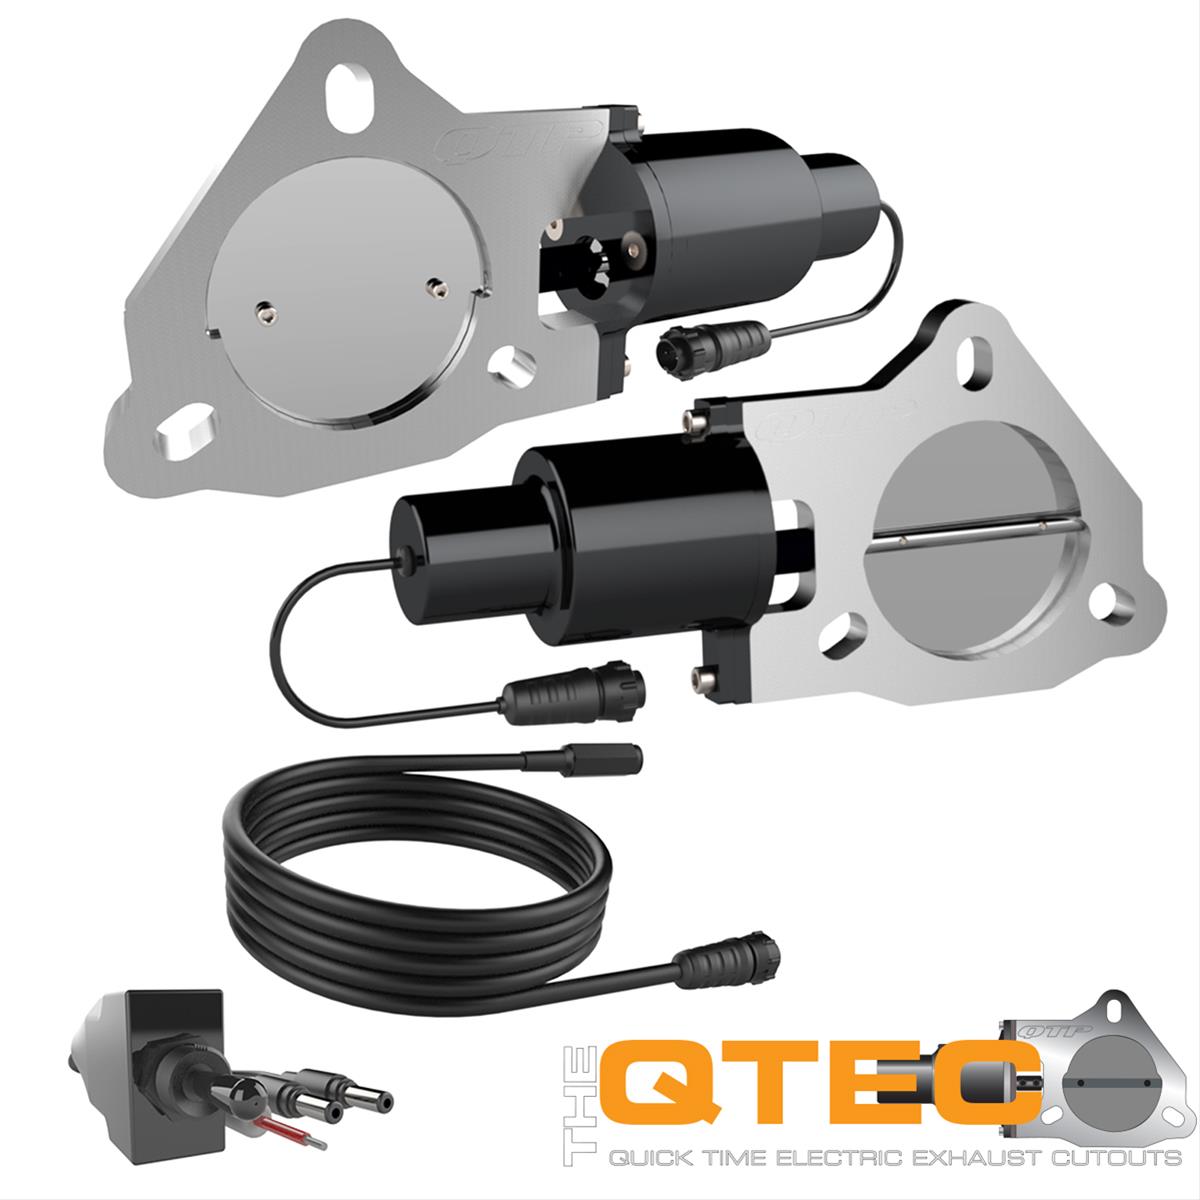
Simply not enough room to the floorboards to fit. So, now I’m on the hunt for a slimmer and more compact set of electric cutouts. SMH, that’s not a cheap proposition. I’ve narrowed it down (about 95% sure) to the Quick Time Performance ones. Most of the reviews are pretty positive on them, they’re slim (approximately 1/2” thick), and should fit in the space I have allowable for them:
Free Shipping - Quick Time Performance Electric Exhaust Cutouts with qualifying orders of $99. Shop Exhaust Cutouts at Summit Racing.

www.summitracing.com
They’re special order through Summit, but Amazon has them available for delivery before the middle of September.
Speaking of the cutouts, I mentioned in the last post that I had to “massage” the floor on the driver’s side for the driver’s side cutout flange. “Massage” being via a BFH, sorta. I actually had to cut away part of the main inside floor crossmember to provide room for the pocket I was trying to create, because the area in question was directly underneath the flange of the crossmember.
So how does one go about fixing this little area after hacking it all apart to make room??
Simple, 4 easy steps:
1: Weld up the hole torn in the floor by the stubborn spot weld…
2: Bash the bent flanges of the crossmember back down and form them to the new contour…
3: Make a template of the missing piece of flange…
4: Transfer said template onto matching thickness steel, cut out, shape to fit, and weld in:
If you can’t tell it’s been modified, then I’ve successfully done my job. I really am an animal.
😅
I don’t have any pictures of the underside atm, but this was 100% successful on all accounts. There’s now around a half inch of clearance from the top of the cutout flange to the underside of the floor in this area. As for the topside, this area is underneath the seat so it’ll never be seen.
I tried bolting up the unmodified tailpipes to the rest of the system last night, but that was absolutely no bueno. They definitely need to be tweaked, changed and re-clocked. However I think I can change the bends to make an even better approach angle and alignment to the pass-throughs. But before that can begin, first I have to come up with a pipe hanger design and way of supporting the back of the system before the tailpipes. This will lock in the height of the backs of the mufflers so I have fixed points to work from.
And the geometry corrected modification and re-welding from last time? 100% successful as of last nights’ first test fit. All my clearances are back to where they were and should be. Win-win there.
All for now, thanks for continuing to follow along gents.
D.


