no they did so getting new ones............ damn springsdid they listen to you?.....
What did you do to your G-Body today? [2019]
- Thread starter melloelky
- Start date
You are using an out of date browser. It may not display this or other websites correctly.
You should upgrade or use an alternative browser.
You should upgrade or use an alternative browser.
- Status
- Not open for further replies.
Remind us what tires you put on those rims. 255? That's a decent sidewall on those.It was 50 degrees or so; the sow needed some soap. I'm digging the latest wheel treatment; I can definitely rock that a minute..
View attachment 131504
245/50-16 Falken Ziex 950sRemind us what tires you put on those rims. 255? That's a decent sidewall on those.
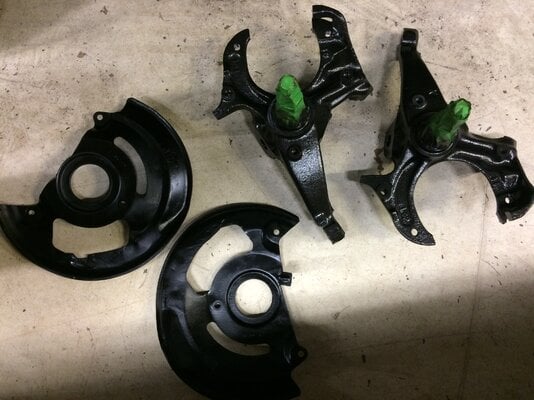
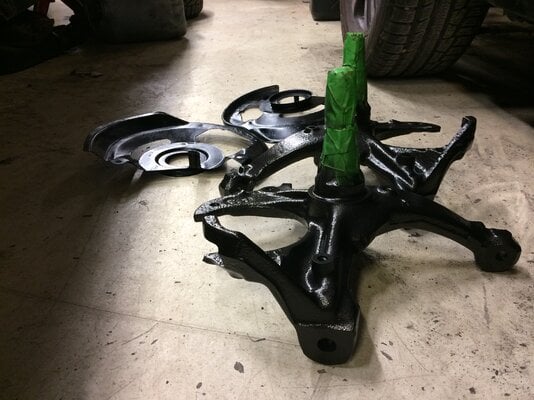
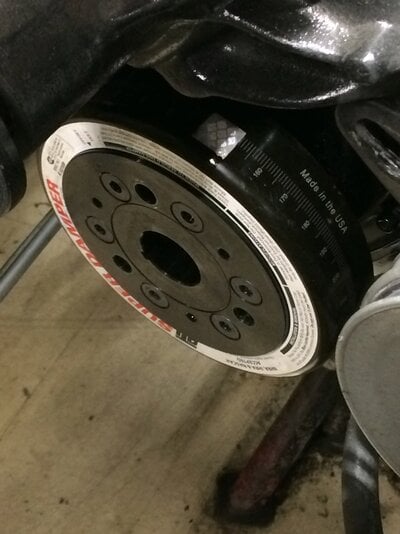
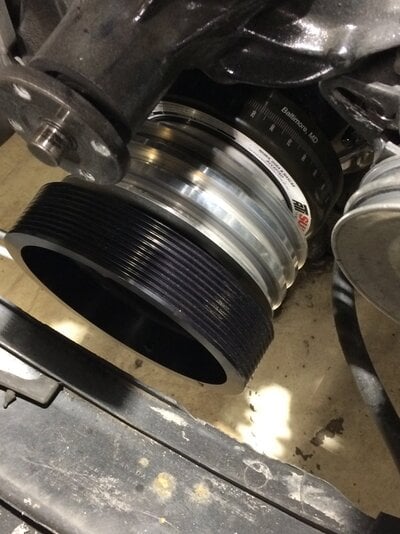
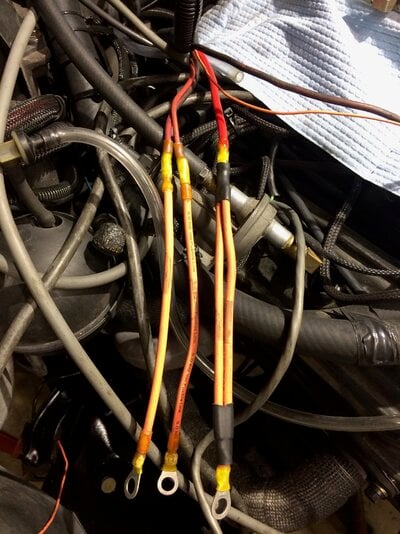
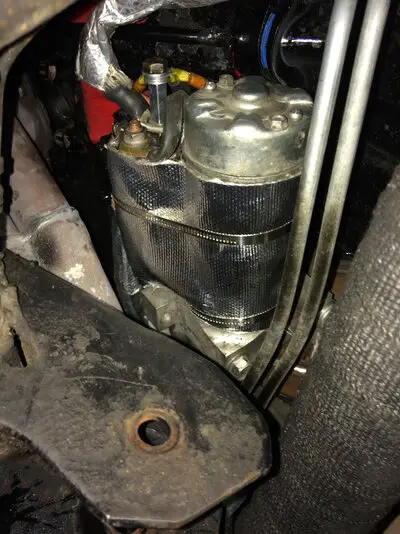
Blasted and painted front spindles and back plates, assembled new damper and 7" lower blower pulley, made new fusible links and heat shield for starter
Attachments
Been busy tinkering with my new 350. So far, only "bad" thing about this engine has been that the rear cam bearing was split. It's weird. I've never seen bearings that look like they were joined together with a kind of dovetail before. Weird.
Anyway, here's some pics.
Arguably the least craggy, sharp, and dangerous (to my health and the engine's) drainback spot in the lifter valley. Gotta love brand new files. Took maybe 10 seconds. I like the half-round filed for the valley.

After a test pass with my ball hone. Not too bad. Vertical scratches can't be felt with a finger nail, install rings with the gap facing away and it'll be fine. There's still metal in it from the hone so it looks worse and darker than it is.

Halfway through a quick pass with a medium grit roloc pad on an air grinder. Is it the right way? Not really, but it works.

One seat after lapping with course compound, before a run with the fine compound. They seal and hold brake cleaner, fine enough for me. Those dots are debris.

Chambers all cleaned up, all valves lapped and new seals installed.

Took a rocker arm shaft off my exploded 350 and knocked all the rockers off to use the shaft with a pry tool i bought at the parts store for stupid chevy rockers and cut up to work for my purpose.

Always keep spare parts. After the 142nd time of the shitty parts store valve spring compressor shooting the spring out (before I made a tool), it shot a single keeper into the abyss. I remembered I kept all the ones from my 1st engine ('76 350) in a container as spares. Score. Buick uses a weird 10* square cut keeper no one ****ing sells and those that do don't stock. Always keep spare parts. ALWAYS.

Apologies for the massive difference in picture size, my phone sucks.
Oh, lastly, I found a random DIY video of a guy using one of them expanding freeze plugs to drive in cam bearings. I bought one that is closest to my bearing inner diameter, and I'll be damned the outside metal is EXACTLY the same diameter of the outside of the bearing. This just might work. $4.99 vs an $87 at least tool.
Anyway, here's some pics.
Arguably the least craggy, sharp, and dangerous (to my health and the engine's) drainback spot in the lifter valley. Gotta love brand new files. Took maybe 10 seconds. I like the half-round filed for the valley.

After a test pass with my ball hone. Not too bad. Vertical scratches can't be felt with a finger nail, install rings with the gap facing away and it'll be fine. There's still metal in it from the hone so it looks worse and darker than it is.

Halfway through a quick pass with a medium grit roloc pad on an air grinder. Is it the right way? Not really, but it works.

One seat after lapping with course compound, before a run with the fine compound. They seal and hold brake cleaner, fine enough for me. Those dots are debris.

Chambers all cleaned up, all valves lapped and new seals installed.

Took a rocker arm shaft off my exploded 350 and knocked all the rockers off to use the shaft with a pry tool i bought at the parts store for stupid chevy rockers and cut up to work for my purpose.

Always keep spare parts. After the 142nd time of the shitty parts store valve spring compressor shooting the spring out (before I made a tool), it shot a single keeper into the abyss. I remembered I kept all the ones from my 1st engine ('76 350) in a container as spares. Score. Buick uses a weird 10* square cut keeper no one ****ing sells and those that do don't stock. Always keep spare parts. ALWAYS.

Apologies for the massive difference in picture size, my phone sucks.
Oh, lastly, I found a random DIY video of a guy using one of them expanding freeze plugs to drive in cam bearings. I bought one that is closest to my bearing inner diameter, and I'll be damned the outside metal is EXACTLY the same diameter of the outside of the bearing. This just might work. $4.99 vs an $87 at least tool.
And I suppose if that freeze plug works well, it can also be used to drive out cam bearings without destroying them. Neat.
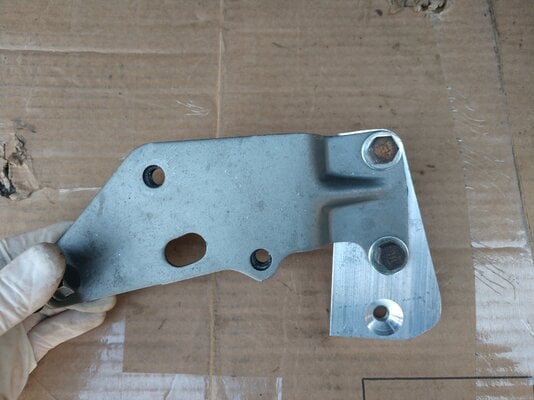
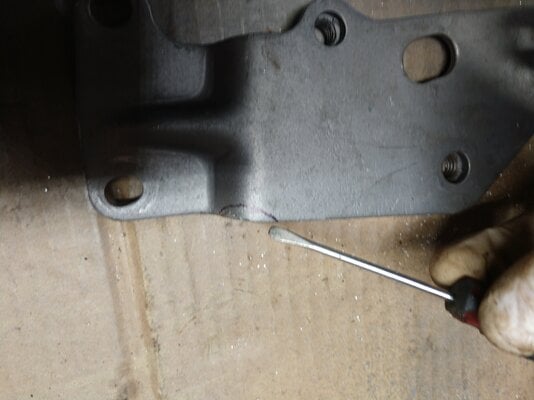
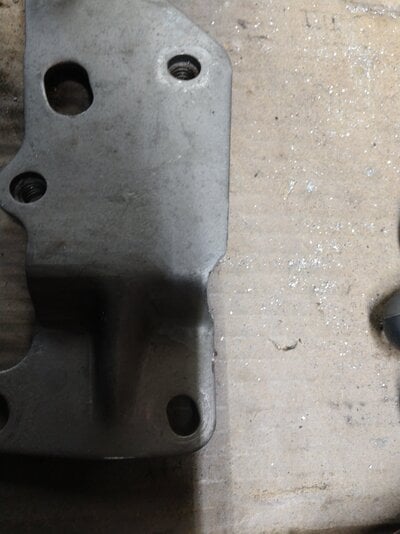
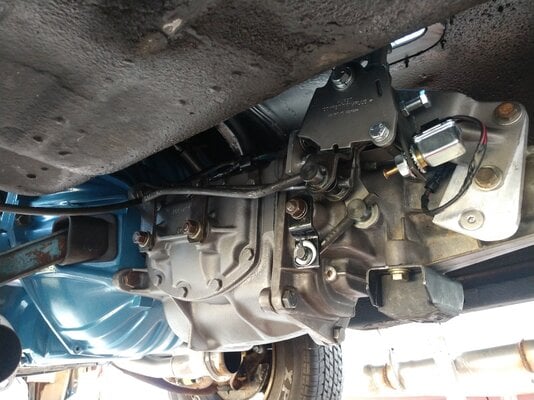
Super T10 is now installed. It did require some clearancing of the floor around the shifter hump as well as nipping a little bit of metal off the original shifter bracket and my aluminum adapter spacer. Shifter is over to the left about 3/8" so a spacer will be made to put it back to the center. But I pleased so far. Amazing the difference in shifter feel between a Saginaw and a T10 even though both had near identical Hurst Competition Plus shifters
Attachments
More cylinder head porting. Intake side - still have to finish blending in four valve seats and then blending it all together.
Crank is in. Tool works. However it's almost a one job affair. Same basic design but with thicker metal would yield better results. TAKE YOUR TIME. If it wasn't Christmas id have just had a shop vat the block and install the bearings.
Crank is in. Tool works. However it's almost a one job affair. Same basic design but with thicker metal would yield better results. TAKE YOUR TIME. If it wasn't Christmas id have just had a shop vat the block and install the bearings.
So with all that honing and filing, what did you use to clean out the block before you put the crank in?
- Status
- Not open for further replies.
Similar threads
- Replies
- 256
- Views
- 12K
- Replies
- 385
- Views
- 19K
- Replies
- 106
- Views
- 5K
GBodyForum is a participant in the Amazon Services LLC Associates Program, an affiliate advertising program designed to provide a means for sites to earn advertising fees by advertising and linking to amazon.com. Amazon, the Amazon logo, AmazonSupply, and the AmazonSupply logo are trademarks of Amazon.com, Inc. or its affiliates.


