Update - Fuel Lines and More Suspension
I learned something new today. Actually, I learned several somethings today.
#1 - There is a difference between AN fittings and PTFE fittings. That's probably pretty obvious to anyone who has worked with either of them before, but this is my first adventure with high pressure lines. When I ordered the fuel system from Muscle Rods, I thought it came with AN hose and fittings. But, it came with PTFE hose and fittings. This led to my second lesson of the day.
#2 - How to install PTFE fittings. As I was preparing to build the new fuel lines, I watched a handful of videos on how to assemble AN fittings. I outfitted myself with a pair of aluminum jaws for my bench vise, an adjustable AN wrench and a -6 AN wrench. I cut my first length of line to length, disassembled the first fitting, and discovered a little silver ferrule. Thus, lessen #1. So, I went back to YouTube and watched a couple of videos on installing PTFE fittings. They made it look simple, so I gave it a try. For some reason, the nut wouldn't slide far enough to engage the threads on the fitting. So, I watched a couple more videos. The guys in the videos made it look easy to slide the nut along the hose, but it didn't work that way for me. The nut was tight on the hose and it wouldn't slide with out oil and quite a bit of effort. Then it dawned on me that my hose is black and the hose in the videos was silver. This led me to my third lesson of the day.
#3 - There is a difference between PTFE braided line and coated PTFE braided line. I went back to YouTube for a third time and watched a couple of videos on how to install PTFE fittings on coated braided line. The first video made it look exactly like installing PTFE fittings on regular braided line. By now, about an hour into this process, I'm starting to feel pretty stupid. But, in the second video, the presenter revealed the secret. If you remove the coating on the first 3/8" - 7/16" of the hose, there is a regular braided line underneath. From there, the fittings installed easily. I have no idea if they'll hold pressure yet, but after almost three hours of banging my head against the bench vise, I have the first two fuel lines assembled. They'll get tested out much later in the project when it's time to pressurize the fuel system.
New skills are fun! Not really, but at least I kind of know what I'm doing now.
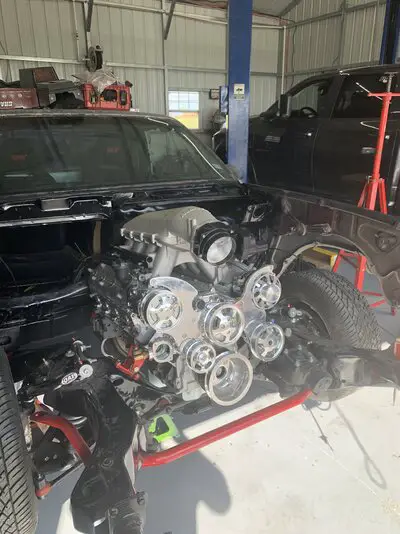
After wasting most of the morning learning how to build fuel lines, I moved on to something I knew something about. I replaced the worn out factory front sway bar bushings with new Energy Suspension poly bushings. I did the same upgrade on my '81 El Camino about 25 years ago. So, this job was easy. The interesting part was that both of the factory rubber bushings were so worn that they had split across the flat area that rides against the frame. So, when the sway bar flexed, it was actually making contact with the frame. The body roll on this thing must have been scary as heck! No wonder my Dad quit driving it.
I learned one more lesson today. It's actually related to a lesson I learned a few days ago when I learned how to replace a rear end pinion seal.
#4 - I still don't know how to replace a rear end pinion seal! The brand new pinion seal I installed on Thursday appear to be leaking. The leak isn't bad enough to drip, but the bottom of the differential housing has a thin coating of gear oil. I'm going to post a separate thread in the Trans/Rear End/Drive Line forum for advice. If you know the magical incantation to make a pinion seal actually, you know, seal, please share your wisdom.
Thanks for reading.