1983 Oldsmobile Cutlass Supreme Sedan LS Turbo Build
- Thread starter GroceryGetter83
- Start date
You are using an out of date browser. It may not display this or other websites correctly.
You should upgrade or use an alternative browser.
You should upgrade or use an alternative browser.
You have a very nice setup going there sir! My goal is to have a turbo and a/c in the factory location and have the oil drain in the front cover as well. Just got the a/c compressor installed the rest is going to inquire some 🤔 but shouldn't be too bad. I'll be following your build man...
Last edited:
You have a very going there sir! My goal is to have a turbo and a/c in the factory location and have the oil drain in the front cover as well. Just got the a/c compressor installed the rest is going to inquire some 🤔 but shouldn't be too bad. I'll be following your build man...
Thanks! I need AC too, living in FL 😎
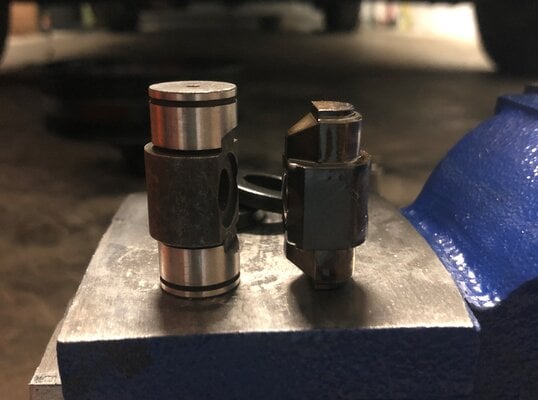
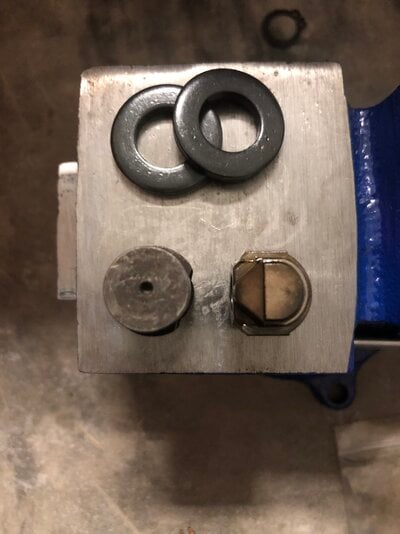
Them trunnion upgrades are a must!!! I used the Straub kit on mine, essentially the same thing. However, I used the BTR .660 springs and pushrods since BTR is local to me and they have nice stuff!!!


Them trunnion upgrades are a must!!! I used the Straub kit on mine, essentially the same thing. However, I used the BTR .660 springs and pushrods since BTR is local to me and they have nice stuff!!!View attachment 102453
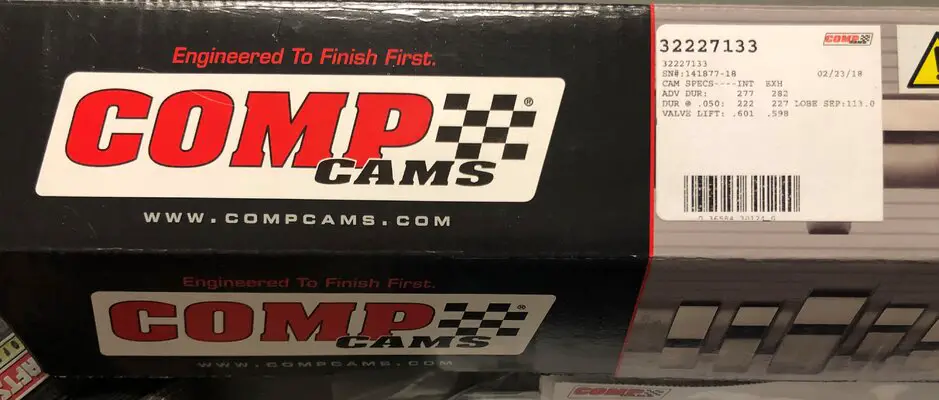
I haven't pulled the trigger on springs yet. Either PAC 1218 or the BTR. All depends on which camshaft I go with...
Bought myself some HF stuff:
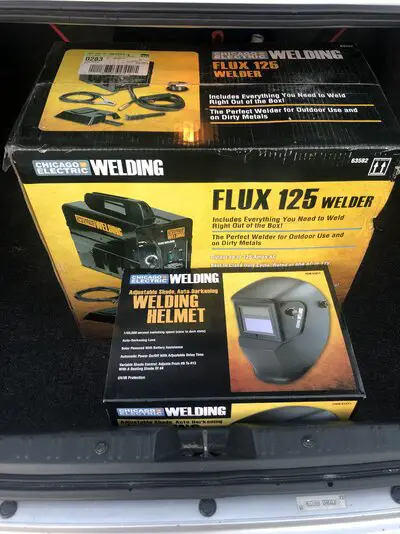
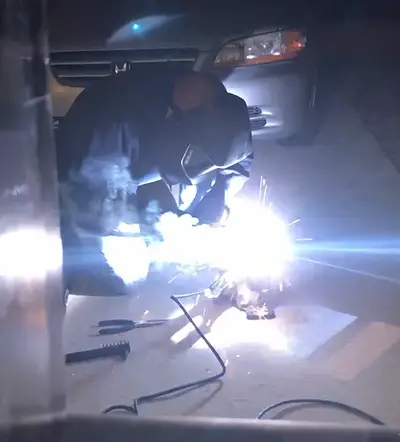
I plan on modifying the welder to DC output to get some better welds out of it (hotter welds, less slag spraying). Shouldn't cost more than $50 to add to the needed components.
Seeming how my townhouse rental only has 110V, 20 amp power in the garage, my options were kind of limited and will be fun to practice learning a new skill.
Very nice! The specs on the cam are darn near identical to the stage 1 boost cam I got from Tick Performance which came direct from Cam Motion....

Good things and bad things happened last night:

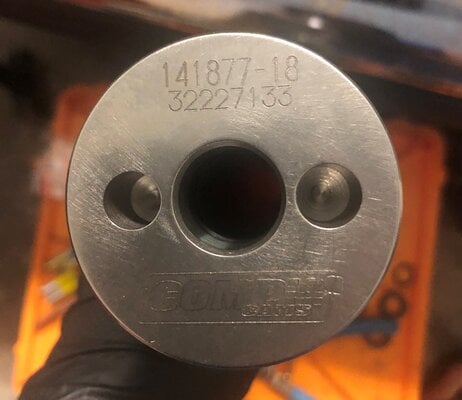
Lubed up the (cam) shaft for insertion:
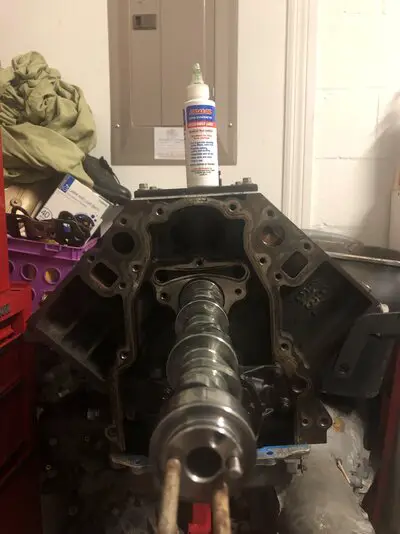
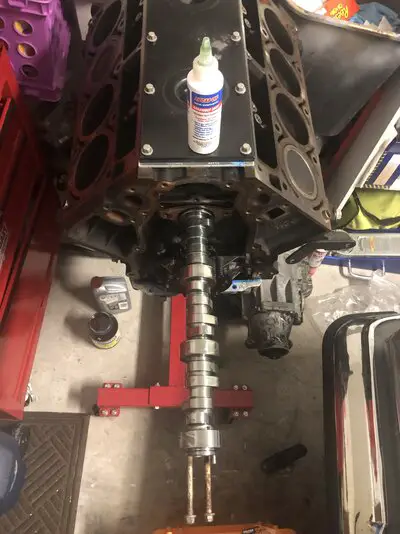
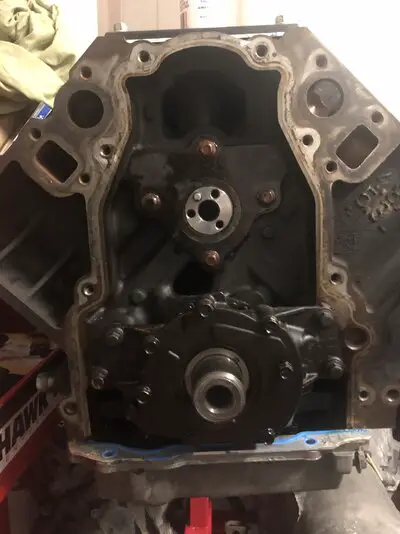
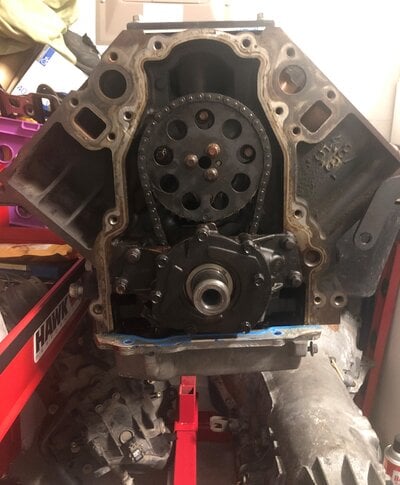
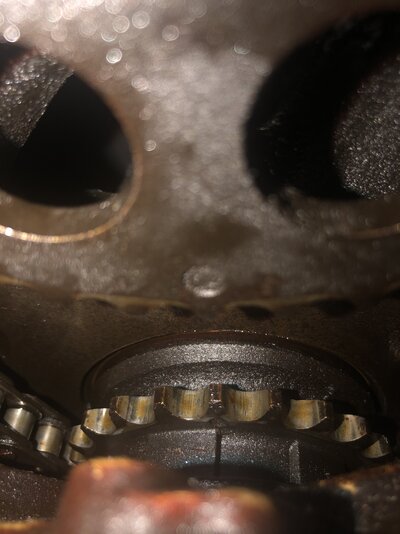
Got the timing marks lined up (after everything was torqued, spun the motor over once to check marks):
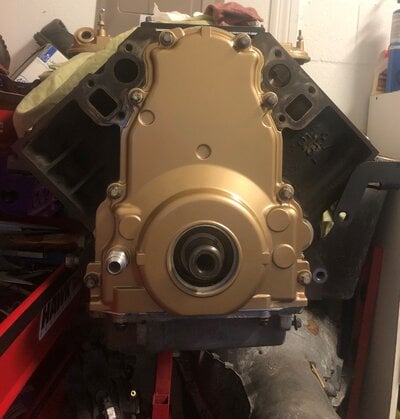
Buttoned up the front:
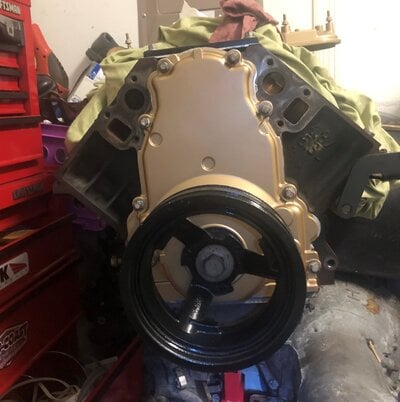
BUT I broke the pan with the incorrect bolt sequence...should have done the two pan bolts first: 😢
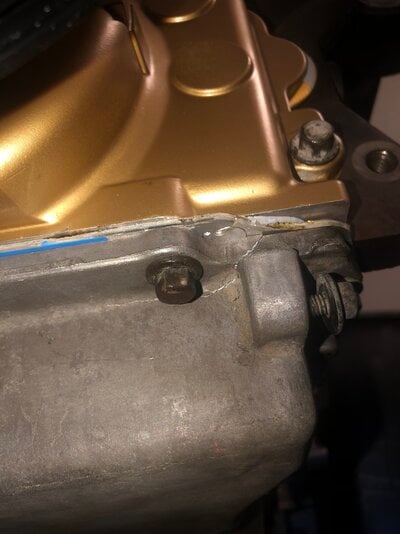
It's a truck pan, so its cheap enough to find another.
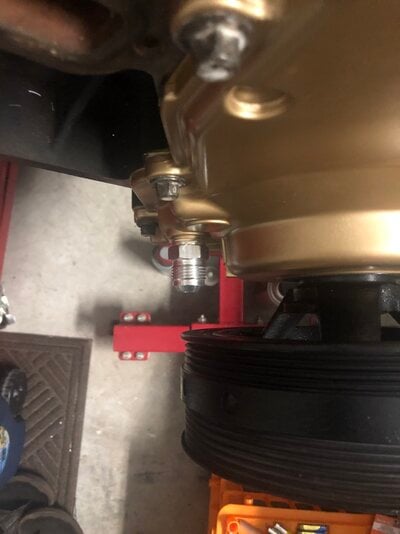
Also, the oil feed return will be tricky as someone mentioned, about 1" of clearance, will need to get some different fittings:


Lubed up the (cam) shaft for insertion:


Got the timing marks lined up (after everything was torqued, spun the motor over once to check marks):


Buttoned up the front:


BUT I broke the pan with the incorrect bolt sequence...should have done the two pan bolts first: 😢

It's a truck pan, so its cheap enough to find another.
Also, the oil feed return will be tricky as someone mentioned, about 1" of clearance, will need to get some different fittings:

Similar threads
- Replies
- 0
- Views
- 268
- Replies
- 8
- Views
- 526
- Replies
- 2
- Views
- 243
GBodyForum is a participant in the Amazon Services LLC Associates Program, an affiliate advertising program designed to provide a means for sites to earn advertising fees by advertising and linking to amazon.com. Amazon, the Amazon logo, AmazonSupply, and the AmazonSupply logo are trademarks of Amazon.com, Inc. or its affiliates.


