BUILD THREAD 1987 Olds 442 Project Build

liquidh8

Comic Book Super Hero
Thank you sir. Big fan of your wagon by the way. I was glad to hear it's on the road. I think I'm going to have to go through your build thread again for some ideas and motivation.

Hutch
Thank you! I appreciate it, that's why I share, there are a bunch of great ideas on this board. Keep plugging along, can't wait to see more progress.
 
  • Like
Reactions: 2 users

oldsofb

Royal Smart Person
Supporting Member
Dec 7, 2007
1,369
3,962
113
Maryland
oldsofb, this post and the video cleared up some confusion I had. Thanks and keep up the good work!

Thanks man. I'm glad something I did was a help to someone.

New things will happen soon with the 442. A quick pick of some goodies going on.
IMG_4200.JPG


Hutch
 
  • Winner
  • Like
Reactions: 3 users

Texas82GP

Just-a-worm
Apr 3, 2015
7,981
18,676
113
Spring, Texas
I love this build.
 
  • Agree
Reactions: 1 users

oldsofb

Royal Smart Person
Supporting Member
Dec 7, 2007
1,369
3,962
113
Maryland
Sooo..my weekend was interrupted by family time (good prob to have). Here's a quick pic I took of the Accessible Systems Rotisserie all broken down.
IMG_4201.JPG


I did get a chance to take apart my spindles that have been sitting in a bag with calipers and rotors still on them.

I cleaned them up and then took my cutting wheel to them.
IMG_4209.JPG

I did this...
IMG_4211 left.jpg


To get rid of this...
IMG_4215 left.jpg


So I can put on that...
IMG_4214.JPG


Huge difference!
IMG_4213.JPG


More later.

Hutch
 
  • Like
Reactions: 1 users

oldsofb

Royal Smart Person
Supporting Member
Dec 7, 2007
1,369
3,962
113
Maryland
I primered and painted the spindles gloss black to match the UMI control arms.
IMG_4265.JPG


I then installed and torqued the wheel studs to the wheel hubs. I used Permatex Red to keep them there. I also used a silver paint pen to mark the bolt heads once they were torqued down.
IMG_4264.JPG


Hutch
 
  • Like
Reactions: 3 users

Rktpwrd

Builder of Cool Shjt
Supporting Member
Feb 2, 2015
4,155
23,833
113
Calgary, Alberta, Canada
Looks like you've got a fun weekend ahead Hutch!
Nothing like a bench full of shiny new parts just waiting to go on! Enjoy.
Keep us updated with the pics once they're all installed.

D.
 
  • Agree
Reactions: 2 users

oldsofb

Royal Smart Person
Supporting Member
Dec 7, 2007
1,369
3,962
113
Maryland
Did a little work so far. This is how I torqued the wheel studs when I did them. I put a piece of wood in the vise and bolted the hub to it to try and keep from scratching them up.
IMG_4271.JPG


I got one side done. Had to put a bunch of weight on the front to compress the spring, but I got it.
IMG_4266.JPG
IMG_4268.JPG

Drivers side tonight or tomorrow morning. :banana:

Hutch
 
  • Like
Reactions: 5 users

SSClassic

Greasemonkey
Aug 12, 2017
109
114
43
Pennsylvania
Soooo.... some pics won't load. They showed up in the window when i was typing it up. ???

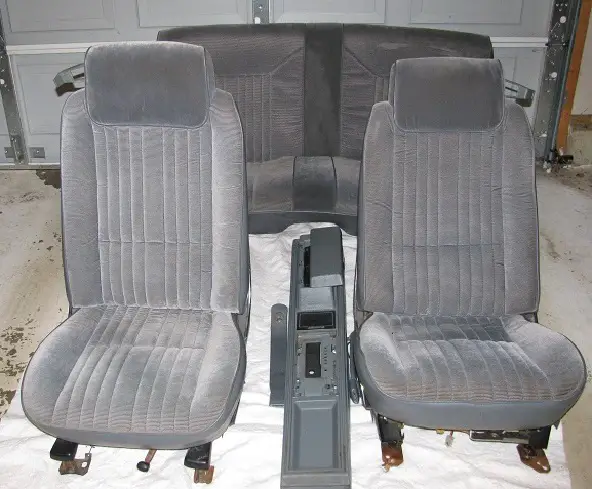
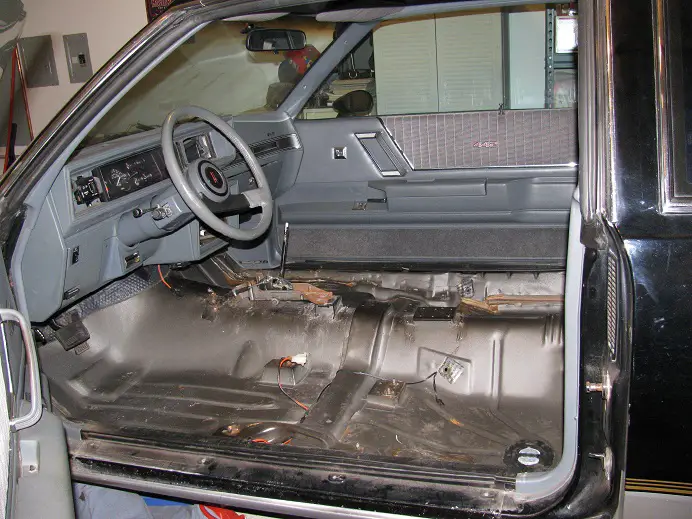
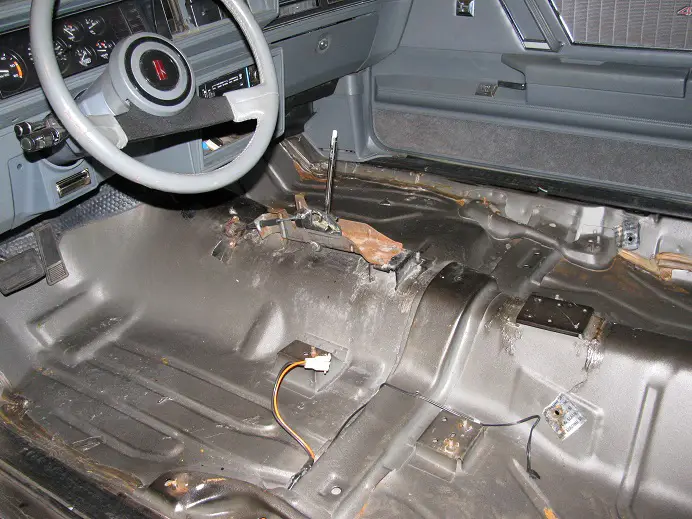
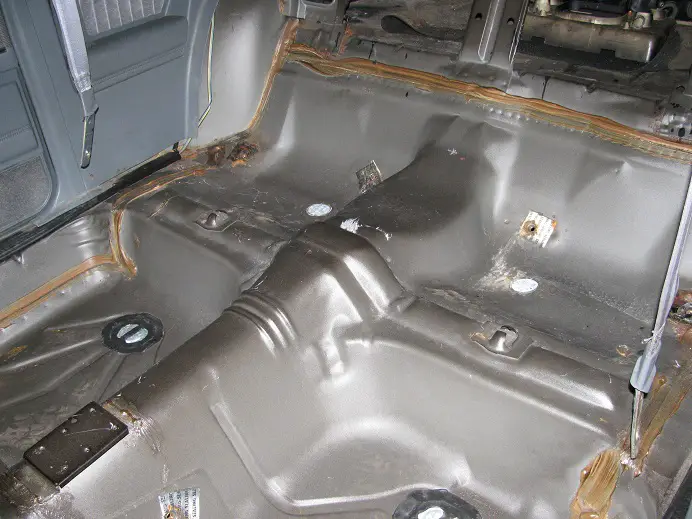
Here's what I did today. I pulled the seats center console and carpet. The floor pans look practically brand new.
Seats.JPG

Floor_Pans.JPG

Floor_Pans_Front.JPG

Floor_Pans_Rear.JPG


Hutch
wow i wish my floors looked half as good
 
  • Agree
Reactions: 1 user

GBodyForum is a participant in the Amazon Services LLC Associates Program, an affiliate advertising program designed to provide a means for sites to earn advertising fees by advertising and linking to amazon.com. Amazon, the Amazon logo, AmazonSupply, and the AmazonSupply logo are trademarks of Amazon.com, Inc. or its affiliates.

Please support GBodyForum Sponsors

Classic Truck Consoles Dixie Restoration Depot UMI Performance

Contact [email protected] for info on becoming a sponsor