Build Thread: '87 442 . . . Time to turn and stop

Status
Not open for further replies.

Canon_Mutant

Royal Smart Person
Aug 15, 2015
1,159
1,420
113
You know, it is funny and scary at the same time but, if I EVER get her done, I do want to go around and see how she does on some auto-x and even a road course or two, joking with the UMI folks about coming after the Green Machine. But, truthfully, when you spend $4K on custom wheels and tires and then learn you can snap a c-clip and leave an entire axle back in the ditch probably as you are piling up the rest of the car . . . the drum to disk conversion becomes an easy decision. With my declining health I probably won't be able to physically beat the car enough to actually require rear disks in order to gain a 1/10th or 2 through improving braking performance.

Oh, and it will look cool through those purdy wheels . . . :mrgreen:

There is always that . . .

EDIT: Of course, if I ever do get serious about trying to "track" this car regularly, I have to get a 2nd set of beater wheels/tires and at least 275 rubber on all 4 corners anyway. Definitely not going to beat up those purdy Sabers. That reminds me, I need to check on where the hell my center cap rubber seals are? They were backordered and said 4-6 weeks but that was 2 months ago. Still beyond a pisser that US Mags can't properly polish those wheels or send or even sell me extra seals after spending all that money?

Don't get me started . . . :doh:
 
  • Agree
Reactions: 1 user

Canon_Mutant

Royal Smart Person
Aug 15, 2015
1,159
1,420
113
Two sheets of this . . . for the CAI boxes and the Power Shelf cover

81wKGOv44iL._SL1500_.jpg


And, one sheet of this [in case I get good at this] I am going to finally do something with that drab plain gray wood trim they chose to do on the '87 442s.

91QwhwmL8TL._SL1500_.jpg


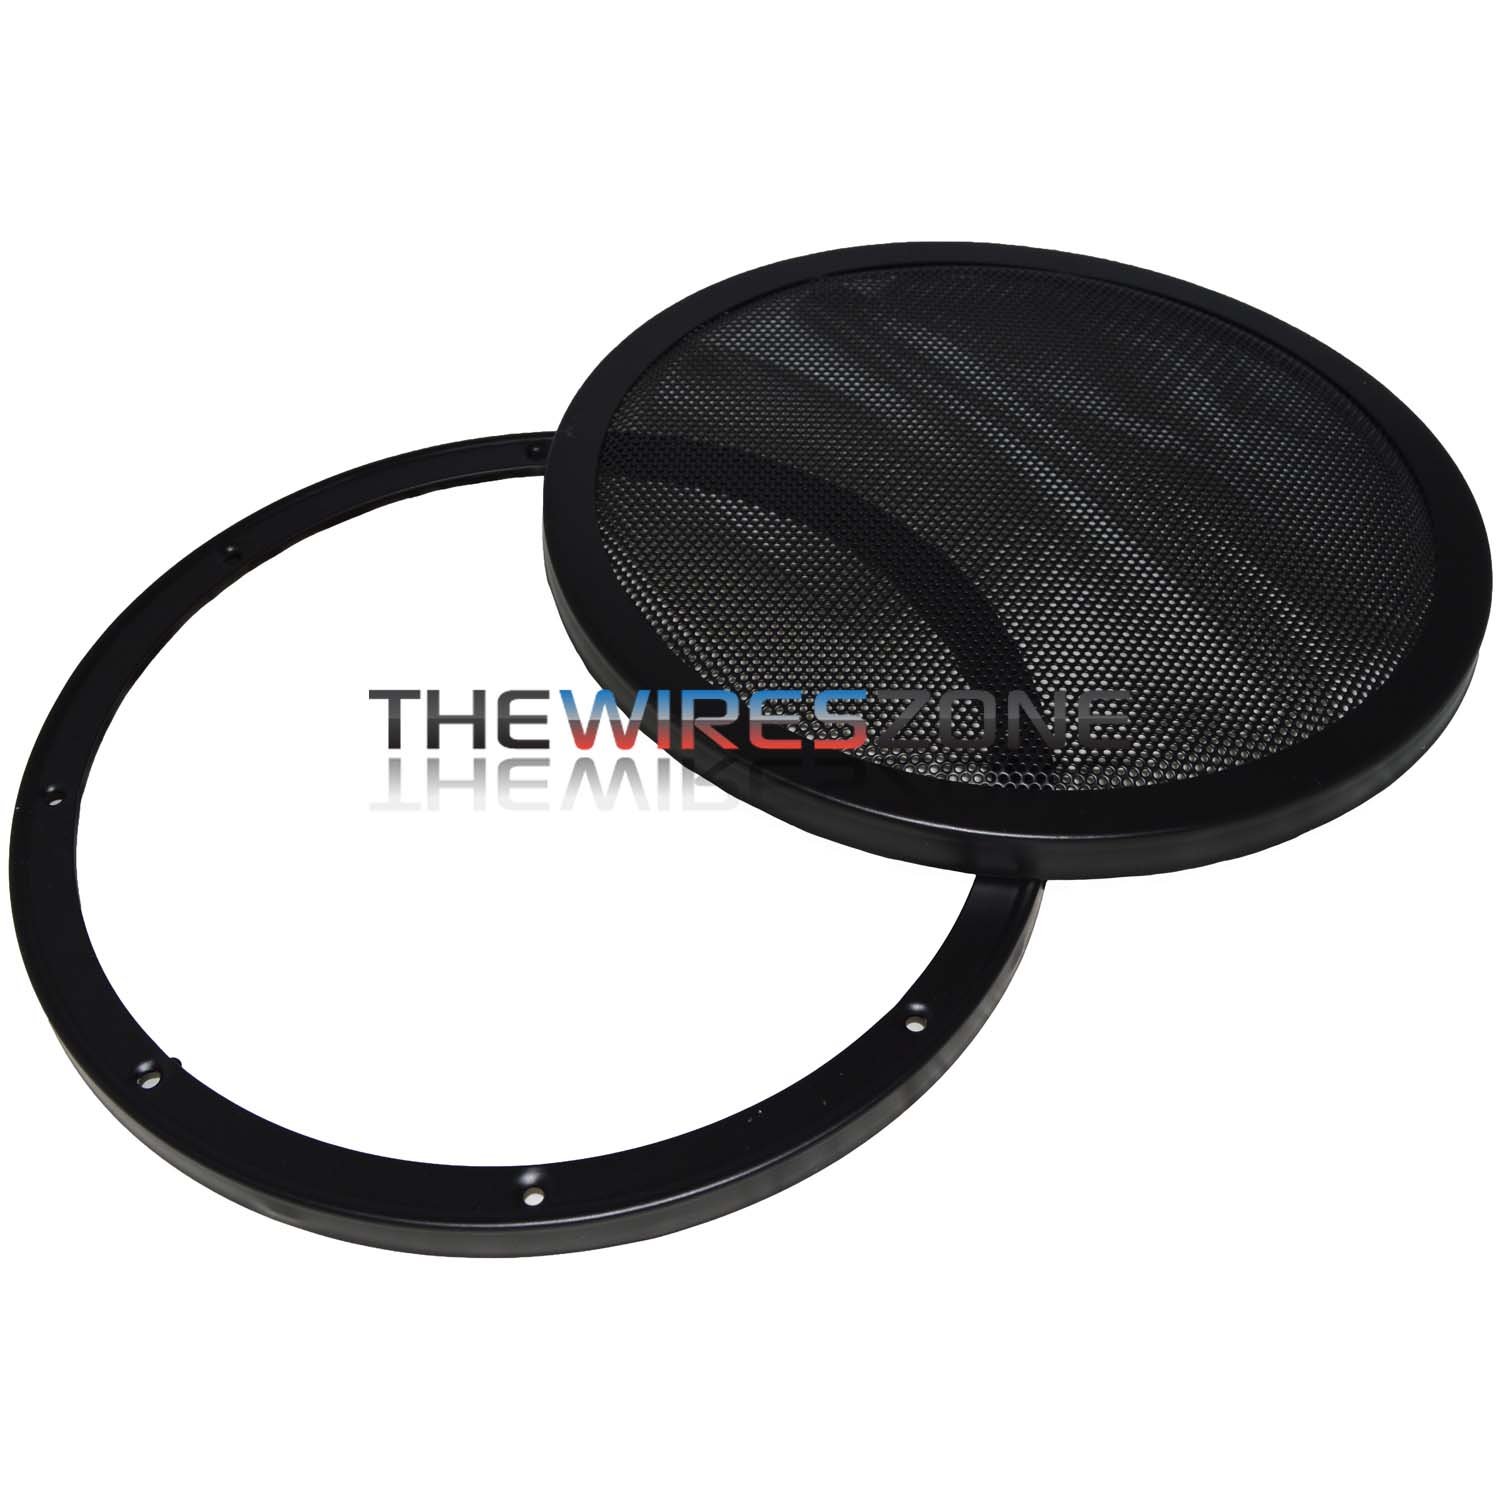
And my "more subtle" sub covers for the power shelf . . .

71qfu6mVTUL._SL1500_.jpg
 
Last edited:

SoFloG

Royal Smart Person
Mar 9, 2016
1,107
1,258
113
South Florida
Two sheets of this . . . for the CAI boxes and the Power Shelf cover

81wKGOv44iL._SL1500_.jpg


And, one sheet of this [in case I get good at this] I am going to finally do something with that drab plain gray wood trim they chose to do on the '87 442s.

91QwhwmL8TL._SL1500_.jpg


And my "more subtle" sub covers for the power shelf . . .

71qfu6mVTUL._SL1500_.jpg
Im digging it bro. Heat gun is you friend, on low. Fortunately the c.f. pattern can be forgiving with surface imperfections, just because of the pattern present. However, long runs/creases, lengthy blemishes tend to magnify themselves. Prep, prep, and more prep!
 

MikeV

n00b
Sep 3, 2017
1
0
1
Smoky Mountains
Howdy Garth!
Love your thread and especially love your all-in commitment to your project. Very Inspiring!!
HOWEVER, I feel compelled to chastise you <g> MORE pics! Lotsa detail pictures (thanks) but how about some out and about pics? Stance? Some driveway pics? Cars&Coffee? Burnouts? All I can find is in the garage on jack-stands? Unacceptable!
Just kidding, show us your favorite one that you keep in your cell phone right before your sweetheart's picture...

All the best,
Mike
 

Canon_Mutant

Royal Smart Person
Aug 15, 2015
1,159
1,420
113
Ha ha, well that would involve actually getting it back together first . . . details!

My several month project has turned into 15 and counting. But, the poor health is largely at fault for that. Not much I can do but work on the ole girl when I can?

Progress is at hand though . . . not quite ready for pics but the rear end is getting close as is the interior.

Will post pics of both shortly.

thanks for looking . . .
 

Canon_Mutant

Royal Smart Person
Aug 15, 2015
1,159
1,420
113
Last edited:

Canon_Mutant

Royal Smart Person
Aug 15, 2015
1,159
1,420
113
If I do anything up front, I want to do a lip down from the bottom of the bumper, maybe 3" that goes slightly forward as it goes down flush with the bumper in the center but channeling air to the side as it goes to the edges and then the splitter from the bottom of the lip forward just an inch for the slice and the splitter can be lowered from the lip if conditions warrant.

At least that is some preliminary talks with them . . .

When I am stuck in bed, I am in permanent design mode. I would MUCH rather be in permanent wrench mode!

But, until these health ebbs start flowing again, it is what it is.

Here is a Mustang example of the lip/splitter combination . . . I wouldn't want the splitter that far ahead of the lip personally.

IMG_0571.JPG
 
  • Like
Reactions: 1 user

Canon_Mutant

Royal Smart Person
Aug 15, 2015
1,159
1,420
113
Well, nothing but bad news lately so you know when yo mama always said "if you ain't got nothin good to say, just don't say nothin' at all?" So, I just haven't bothered to update for a while with just more nonsense and BS.

Think I posted on another thread that I got to town to pick up my flat medium gray rear end that took nearly a month longer than it was supposed to to get done and . . . it was gloss black. So, they got to do that twice. Turned out to be a blessing in disguise though because the rear end shop that was going to do the rebuild is in Chapter 11 and the doors are locked so had the rear end gotten powder coated right and in a more reasonable amount of time it might have been "behind those closed doors". Yeah, that kinda stuff . . .

Anyway, because it has been garaged its entire life with only 28K fair weather miles, many of you will find my floor pan in AMAZING shape. I've seen some of the rusted out horror stories some of you have had to deal with. That said, I am curious if any of you have found this nonsense all over your floor pans? My carpet pad was stuck to it and appeared to be glued to the carpeting too so the pad came out tore up [pretty much ruined] and I've probably spent about 20 man hours so far getting [almost] all the carpet pad off the floor pan with buffer wheel and mask and touched back up in spots with some gray primer so it won't rust. You can still see a few rough spots here and there that is still just stuck on carpet pad. Good enough?

These blobs appear to be bondo. The crap is a 1/2" or more deep in spots. I tried knocking some off with a chisel and barely made a dent. I have felt this crap threw the carpet for years whenever I was on my back under the dash [so has the wife for that matter when she was in the car barefoot] and I assumed it more loose nuts/bolts or poorly ran wire bundles or something under the carpeting [never had the carpet up before]. I cannot for the life of me understand the point of anyone doing this at the factory other than just piss poor workmanship like tools left in the doors, silver paint stalactites all along both side rocker panels, out of round SSIIIs, etc. etc. etc.

My biggest concern is Dynamat adhesion if I don't get all of this freakin crap off? Ideas? Or, just lay the Dynamat right over it the best I can, get new carpet pad, and put it back together? Carpeting is in pretty good shape but will have to see if it still is when I get it separated from the torn up pad?

IMG_0885.JPG
IMG_0886.JPG
IMG_0887.JPG

IMG_0888.JPG
 
Last edited:
Status
Not open for further replies.

GBodyForum is a participant in the Amazon Services LLC Associates Program, an affiliate advertising program designed to provide a means for sites to earn advertising fees by advertising and linking to amazon.com. Amazon, the Amazon logo, AmazonSupply, and the AmazonSupply logo are trademarks of Amazon.com, Inc. or its affiliates.

Please support GBodyForum Sponsors

Classic Truck Consoles Dixie Restoration Depot UMI Performance

Contact [email protected] for info on becoming a sponsor