How To: Camaro Rear Disc Brake Swap to G-body Axle

ssn696

Living in the Past
Supporting Member
Jul 19, 2009
5,546
6,671
113
Permanent Temporary
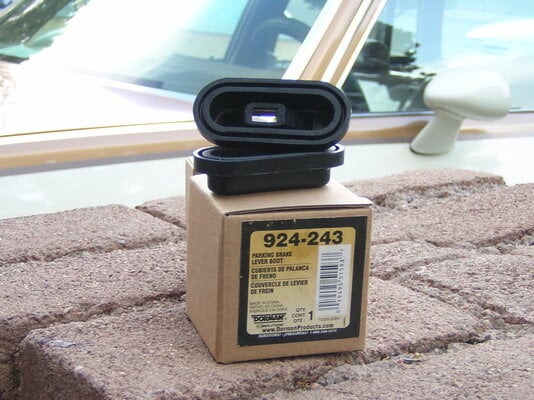
Brake lever boots showed up yesterday. Dorman 924-243 from Amazon.

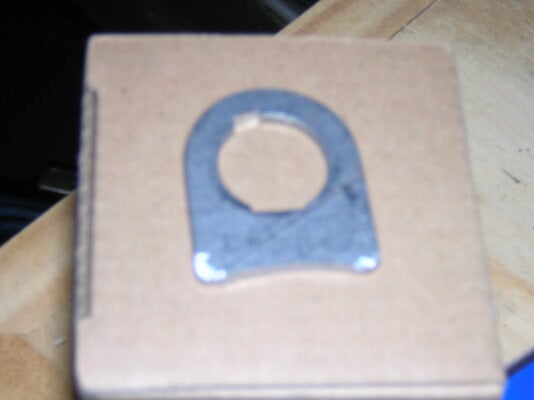
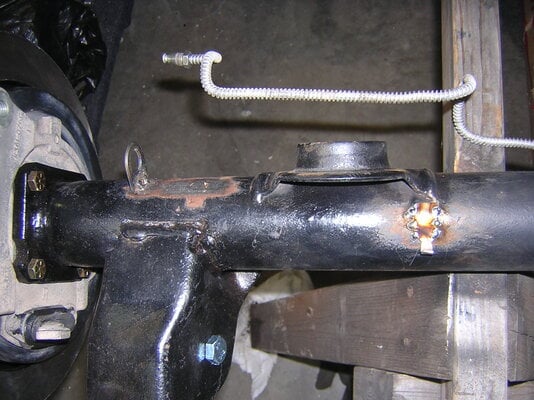
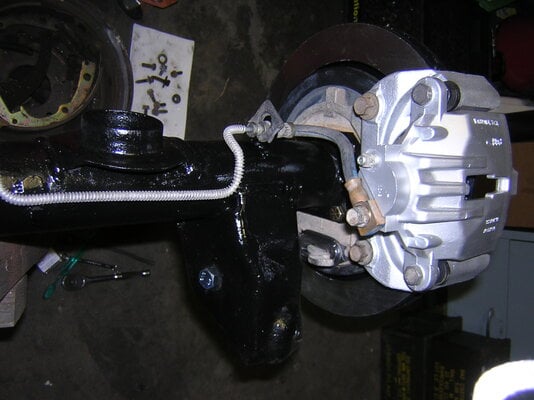
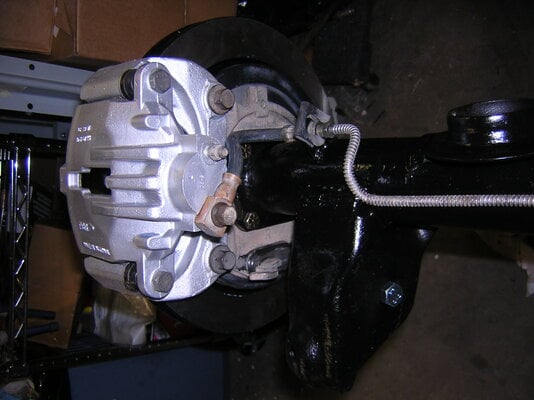
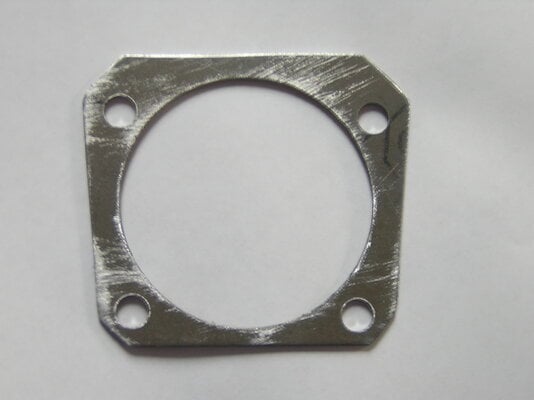
Looked high and low, then ordered a sheet of 3/32" steel via EBay to make the spacer/shims for the brake backing plates. By my calculations, this should exactly line up the caliper brackets around the rotors. Once I cut, drill, file, etc.
 

Attachments

  • DSCN5758.JPG
    DSCN5758.JPG
    365 KB · Views: 417
  • Like
Reactions: 1 users

ssn696

Living in the Past
Supporting Member
Jul 19, 2009
5,546
6,671
113
Permanent Temporary
Made a little progress this weekend.
1. The Dorman parking brake arm boots suck. Chinese coal tar rubber, fragile, barely fit. I actually ordered two sets - tore two of the four trying to install them. Look elsewhere.
2. The FedEx fairy delivered wheel studs and brake line tabs on Saturday morning. I filed notches in the tabs to match the alignment tabs in the hose ends. Also filed a curve to match the axle tube. Made two new tubing clips and welded all this stuff onto the axle. The black paint covers my booger welds, so the lines look sano.
3. I painted the calipers and abutments with silver caliper paint, and rotors with engine black. It was a lot of work scrubbing off all the old brake grime.
4. Cut out four backing plate spacers from the EBay 0.90" steel plate. Need to set up a hole saw and hog out the centers.
5. Cut, bent and filed all the bracketry to adapt the shocks and p-brake cables to the Camaro brakes.
 

Attachments

  • DSCN5768.JPG
    DSCN5768.JPG
    362.7 KB · Views: 550
  • DSCN5771.JPG
    DSCN5771.JPG
    292.1 KB · Views: 565
  • DSCN5772.JPG
    DSCN5772.JPG
    310.8 KB · Views: 589
  • DSCN5774.JPG
    DSCN5774.JPG
    404.9 KB · Views: 584
  • DSCN5776.JPG
    DSCN5776.JPG
    347.6 KB · Views: 568
  • DSCN5777.JPG
    DSCN5777.JPG
    345.6 KB · Views: 592
  • DSCN5778.JPG
    DSCN5778.JPG
    373.8 KB · Views: 575
  • Like
Reactions: 1 users

vanrah

G-Body Guru
Apr 16, 2013
879
1,189
93
Near Afton, Wisconsin
Greetings; I still haven't made time to read all this yet, & I just realized that I haven't thank you yet for posting all this info. Or how I'll find this next winter when I need this info, so I better post in the thread. Now I want you to re consider flying onto Milwaukee for the Car Craft Nat's. I'll pick you up & you can stay here for a couple of nights (basement-dry & fairly clean) nice single bed & 1/2 bath, just a thought. Bob Jr.
 

ssn696

Living in the Past
Supporting Member
Jul 19, 2009
5,546
6,671
113
Permanent Temporary
Finally - new progress - had a stay-home day while my son was sick. I finished the shims last weekend in my caveman machine shop (drill press, hole saw, files) and installed them. Since I had to pull the axle shafts to swap in the shims, I have them at a shop getting the Moroso 2-1/2" wheel studs pressed in. I decided to spend money NOT wrecking the Moser alloy axles doing this with a hammer, a socket, and an old lug nut. While the axles have been in the car almost 10 years, the car has never been self-propelled all that time, so they are still brandy-new.

While little fella was napping, I snuck out to the garage to try out the shims. I did not paint the shims, and I can't verify that they center the abutments on the rotors until I get the axle shafts back tomorrow.
 

Attachments

  • DSCN5787.JPG
    DSCN5787.JPG
    296.8 KB · Views: 423
  • DSCN5788.JPG
    DSCN5788.JPG
    342.3 KB · Views: 449
  • Like
Reactions: 1 user

ssn696

Living in the Past
Supporting Member
Jul 19, 2009
5,546
6,671
113
Permanent Temporary
Finally - new progress - had a stay-home day while my son was sick. I finished the shims last weekend in my caveman machine shop (drill press, hole saw, files) and installed them. Since I had to pull the axle shafts to swap in the shims, I have the axle shafts at a shop getting the Moroso 2-1/2" wheel studs pressed in. I decided to spend money NOT wrecking the Moser alloy axles doing this with a hammer, a socket, and an old lug nut. While the axles have been in the car almost 10 years, the car has never been self-propelled all that time, so they are still brandy-new.

While little fella was napping, I snuck out to the garage to try out the shims. I did not paint them yet, and I can't verify that they center the abutments on the rotors until I get the axle shafts back tomorrow.
 

ssn696

Living in the Past
Supporting Member
Jul 19, 2009
5,546
6,671
113
Permanent Temporary
Greetings; I still haven't made time to read all this yet, & I just realized that I haven't thank you yet for posting all this info. Or how I'll find this next winter when I need this info, so I better post in the thread. Bob Jr.
The easiest way to find this thread again is to subscribe. In the upper right corner of the top of each page of the thread are the words 'Watch This Thread'. If you click on that, it will be saved in your profile. All you have to do to go back to this thread is to access your account details (click on the little flag in the upper right corner of the Forum home page) and then click on the Watched Threads link.
 

ssn696

Living in the Past
Supporting Member
Jul 19, 2009
5,546
6,671
113
Permanent Temporary
I realize I never posted an entry showing the brake cable hardware I fabricated from LSCustom's drawing. Using the same caveman machine shop (jigsaw, bench vise, drill, hacksaw, files) I cut, formed, and drilled/slotted the brackets. The long L-brackets go under to the lower control arm bolt heads, and hold the G-body cables with that 3-fingered clip. When I slide the cables through, they look a little short, but I won't know until I hang this under the car. The short L-brackets go over the arms on the Camaro backing plates. The drawing was missing a few dimensions for these, so I had to eyeball some of the photos on the Forum and then experiment. One of the slots was a tad too long, so I filled it with weld. The square brackets go on the shock mounts to locate the lower bolt out of the way of the calipers. I still need to drill the 1/8" hole for the anti-rotation roll pin, but I'll do that when I install this stuff.
 

Attachments

  • DSCN5789.JPG
    DSCN5789.JPG
    335.1 KB · Views: 444
  • DSCN5790.JPG
    DSCN5790.JPG
    350.3 KB · Views: 440
Last edited:
  • Like
Reactions: 1 user

ssn696

Living in the Past
Supporting Member
Jul 19, 2009
5,546
6,671
113
Permanent Temporary
Spent a glorious sunny/rainy Memorial Day weekend sick as a dog. Only my wife was sicker than me. I plugged the kids into a movie this afternoon and escaped to the caveman machine shop. I made more shims in a range of thicknesses from 1/16" to 1/8". This is due to my discovery that the passenger centered out with a 3/32" shim, but the drivers side was still off. It looks like 1/8" or 3/16" might be necessary, but the movie ended...

I pressed out the factory wheel studs and installed 2-1/2" Moroso M12-1.5 studs (100-7708). The rotor hats are thicker than the drums were, so more threads were needed to ensure the wheels stay on...

More updates later this week.
 

Attachments

  • DSCN5802.JPG
    DSCN5802.JPG
    390.8 KB · Views: 490
  • DSCN5796.JPG
    DSCN5796.JPG
    347.7 KB · Views: 468
  • DSCN5799.JPG
    DSCN5799.JPG
    309.8 KB · Views: 510
  • DSCN5800.JPG
    DSCN5800.JPG
    364.2 KB · Views: 505
Last edited:
  • Like
Reactions: 1 user

GBodyForum is a participant in the Amazon Services LLC Associates Program, an affiliate advertising program designed to provide a means for sites to earn advertising fees by advertising and linking to amazon.com. Amazon, the Amazon logo, AmazonSupply, and the AmazonSupply logo are trademarks of Amazon.com, Inc. or its affiliates.

Please support GBodyForum Sponsors

Classic Truck Consoles Dixie Restoration Depot UMI Performance

Contact [email protected] for info on becoming a sponsor