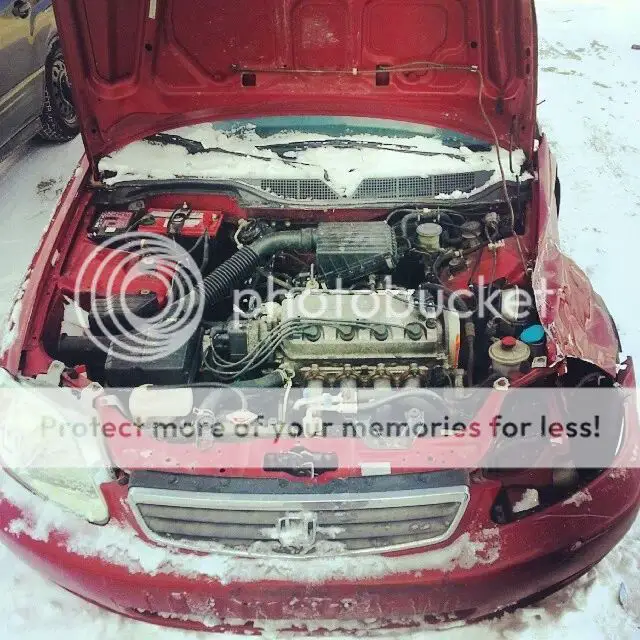
time for a new DD (honda EK project)

Status
Not open for further replies.
Some work done last night;

1" brake master showed up; got it installed in place of the junk yard 15/16 master and even without bleeding the system yet peddle feels much much better. Guess I found out why the car I got the master from had a wrecked front end!

Also my intake came in.

Install went smooth except for its a B swap intake so their suppled bracket didn't work; I just modified the stock D bracket

I will go back and box it in later...
And after I got the intake installed and took the shipping plastic off the intake tube I realized the thick bracket in the kit dented the tube in a very noticible spot!

This is why I will be a loyal summit racing customer. With one quick phone call a new intake is on the way; when it shows I will swap tubes and they will schedule ups to come pick it up. All with no charge to me!
 
Buisy two days...
Got the doors stripped, scuffed primed and painted... Now the tricky part; re-assembling them....

 
nice progress!!!! looking good!
 
Thanks man!!!
Yeah nov. 20th is comming real quick but I'm staying positive!
Short update for a mile of progress;
Doors are re-assembled hung and aligned. I left the handles off for paint.

Replacement intake tube received and swapped, new set of rebuilt calipers all around, 6" tall battery and an alignment kit all received and ready to be put into action!!
 
Ok, not saying this is how you should do this.... But this is how I chose to...
It seems my bumper came with license plate nubs.... Being in a state that doesn't require a front plate; I hate them...
So I ground down the risers

I hot glued some fiberglass in place for support

Then on the recomendation of the paint supply guy I used this flexible filler to fill the holes and coat the fiberglass on the back side

So I got that all smoothed out, primed the bumpers using an adhesive promoter and a flex additive.

Then I was able to get the doors primed and I had some black leftover from an old project; it was the same brand and product line as the paint im using so I felt it would be acceptable as a guide coat for sanding
 
Now the part I've been dreading... Blocking the car.... I started with the hood and roof knowing they are the high visibility items that will require the most work. Well, I was right... The hood had lots of grinding marks and a few good warps to it

So I ended up skim coating most of the hood

And after about 3 hours work I had the roof and drivers side blocked and filled all the little nasties I found (red dots that are everywhere).

I was very happy to see the rear fender (the one I replaced) blocked out nicely with almost no filler required!
 
Car is blocked, filled, sanded, and primed! I am beyond sick of sanding!!


I got sick of trying to sand that jacked hood... So I put a nasty grind on it and mixed base coat into my clear coat and hosed it down... It's neat, but first carbon hood I find, it's gone!
 
I feel like I'm going to die!! Definetly not enough ventilation in that garage; but I am more than happy with the results!


Ok, got mostly all the exterior assembled. Here are the before and afters


Plus a few for good measure!


ive been following this build for the last month at work during lunch...great job man. came out great.
 
Status
Not open for further replies.

GBodyForum is a participant in the Amazon Services LLC Associates Program, an affiliate advertising program designed to provide a means for sites to earn advertising fees by advertising and linking to amazon.com. Amazon, the Amazon logo, AmazonSupply, and the AmazonSupply logo are trademarks of Amazon.com, Inc. or its affiliates.

Please support GBodyForum Sponsors

Classic Truck Consoles Dixie Restoration Depot UMI Performance

Contact [email protected] for info on becoming a sponsor