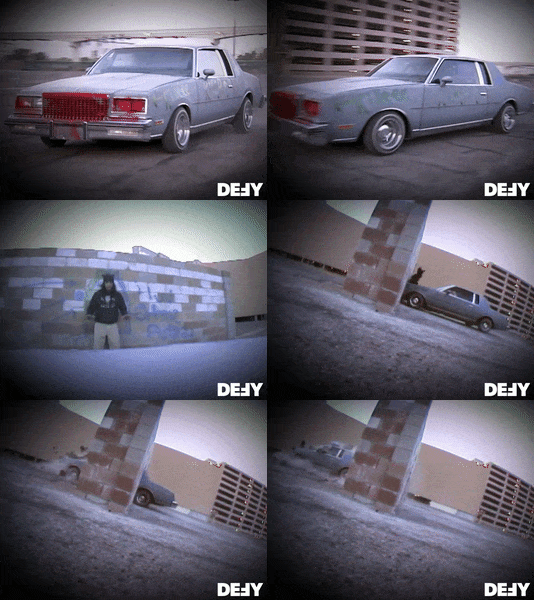
Change in plans for today, Wednesday. Shot a layer of primer red and then touched up the couple of low spots that appeared. Left that all to dry, and................
Expended some serious energy and time wrestling the rear end back under the Monte and rehanging it. The impetus for this was the Fedex driver showing up just before lunch with the pair of KYB rear shocks that I ordered from Summit. With them in hand it was an easy decision to head out and start putting the whole taco back together.
First item on the agenda was to "encourage" the UMI shock tower cross brace to slip into place. The encouragement for it to cooperate came from a 5 pound dead blow hammer and a long *ss pry bar. With it positioned, the next step was to follow the instructions!! and insert the shock mounting bolts from above and let them hang. Originally they had been pushed in from below and I was not at all certain that I could get them to slip in from the pan side but surprise, surprise, surprise, they went. UMI provided 3/8ths bolts but the chassis and shocks are designed to accept 5/16ths so back in went the grade 8 capscrews that had been used with the old shocks.
With them hung, the next step was to roll the complete rear end, still attached to its custom created dolly, back under the frame and start pushing and shoving at it until I could use aligning bars to finish plugging the lower control arms back into their pockets and set the capscrews for them. Nothing tight, just the bolts in place with a nut threaded on to keep them from trying to escape. Re-socketed the springs back into position and lifted the unit up with the floor jack so the springs could seat in the upper pockets. A few more inches of litf and that gave me the upper control arms to coerce back into position. The new upper bushings, the installation of which was the starting point for this whole exercise almost a year ago!! lined up nicely. All the fasteners received a coating of Never Seize. For the nay sayers, I did that the first time when I swapped out the stock arms for the Hotchkis ones and it made dismantling the various bits and pieces a whole lot easier, use lock washers or anti-vibration washers or nylock nuts and things tend to stay where they are put.
Last item on the today to do list was to strip the masking tape off the lower shock studs and snip the retaining straps to release them, one at a time. Let 'em come down to just the right position and jam them onto the stud as fast as possible. These KYB's are gas adjust and have some serious internal push to them.
And at that point, I stopped.
I still have the brakes to reconnect, both the hydraulic and the cables for the parking system, but that is for another day. The afternoon had left me both tired and bent from all the rolling around and maneuvering and pushing and shoving and dead blow encouragement. Fortunately the car is lifted high enough on its stands that I could move in and around fairly easily but I glad that this is not something that I do for a living.
PS; the custom dolly is back to being two wheel roller jacks and a bunch of 2x4's. The wood screws will get put back in the jar for the next project. The brake drum cradles--see the pictures of the whole dolly and its cargo posted somewhere around here--will probably remain as is. They will work on any of the rear ends that see service in my little fleet and that makes them versatile.
Pictures??? depends on how wasted I am after shift tomorrow.
Nick


