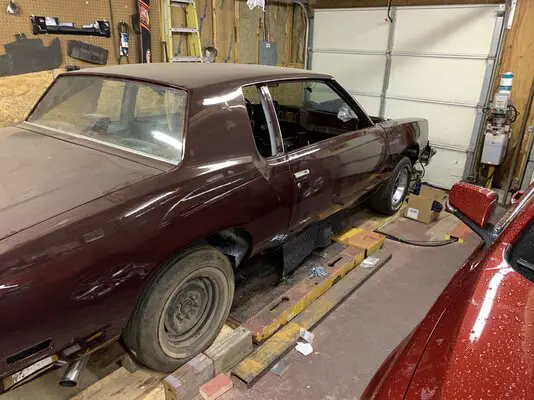
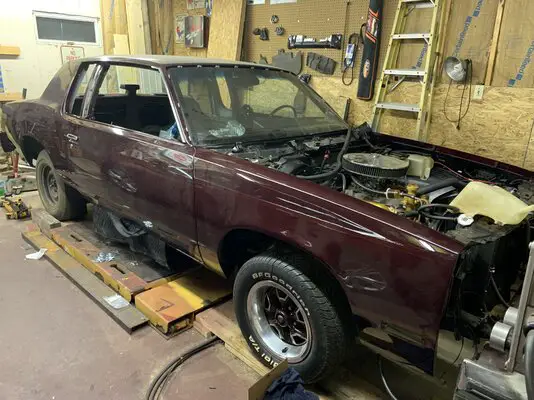
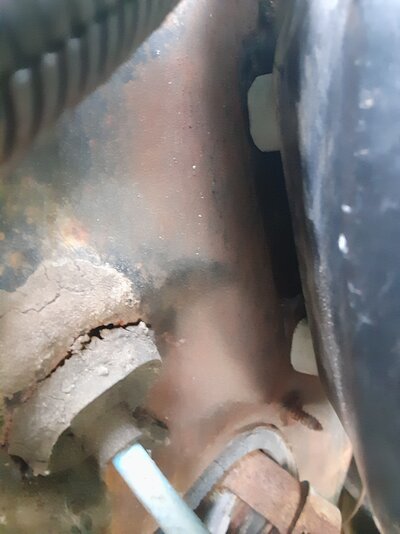
Ok so after a few more hours I was able to save the zbolt and since I have new ones for the back of the body I can duplicate the cage. However the more I removed the rusty metal of the old sill and floor pan the more I found. I think I have most of it removed now and can start to put things back together. Fortunately for me the inner rockers look good, just where the cross brace was welded needs new metal.
What Did You Do To Your G-Body Today? [2023]
- Thread starter 83MonteCarloSS
- Start date
You are using an out of date browser. It may not display this or other websites correctly.
You should upgrade or use an alternative browser.
You should upgrade or use an alternative browser.
- Status
- Not open for further replies.
Keep a look out, rust can insinuate itself into the smallest of cracks and the nastiest of locations. Ya just never know.
Nick
Nick
I've never see a crank support before, at what boost/power level do you start to need crank support?Cranck support and new alternator pulleyView attachment 222549View attachment 222550View attachment 222551
It is there for safety reasons cause the crank is stock and they tend to bent easilyI've never see a crank support before, at what boost/power level do you start to need crank support?
Last edited:
S10 booster in monte carlo proubly a 2000 s10 to install had to make a bushing for booster as the peddle pins are different sizes . I cut some bushings for behind the booster to reduce the pedal height as the clevis on the back of s10 is longer by 1.5"aprox.i made a pin for the front of booster out of a 3/8"bolt had to size it to the fit between the master cylinder and the new booster (actually misplaced the original pin......okay the bolts are 10 mm on s10 booster they are smaller on the 78 monte thus its nessesary to file the mount holes in firewall.by about .020 thousandths. The s10 booster bolts are all 10mm the rate I think is (has a 24 in it) ,..the course metric size.you need 6 (nuts)or however many you plan to misplace. .. somewhat of a hassle but man the brakes are much better now .I used the plastic vacume /check valve that was plugged into the 78 booster simply because the s10 booster used 1/2" hose were thr 78 mc used 7/16" i.s.d...hose' the clevis (s10) is wider by about .050 thousands. Just enough to keep the washer you put on the pedal clevis pin ? From fitting back on under the hairpin okay I ground about that much off the dang Thang (clevis pin hole) after yanking it in and out of place no less then 5 trys I got it fixed (adapted) everything but sealing it where the bushing's(spacers) have it standing off(spaced) I didn't want to use a plywood sawed ring ,doped with paint,and caulk but that would work' ...I was thinking about the 5" Sewer pvc pipe (plastic flange) in the wood pile out side I could saw 1/2" ring and caulk it on both ends
 with silicone wasn't worth the extra work let alone convincing myself about it being upgraded .pedals too high'from floor', and I re-bent (adjusted)the brake switch bracket. Duh... for the curious thos spacers(? Lol)are cast iron pipe with primer like most of the stuff im doing here will proubly end up being taken back off to complete some lacking process as in picture rusty firewall ect,being ignored at the time...sloppy is not my middle name but currentIy don't have time to categorically restore to order A#1"but that's not stopping me... neither were the brakes (pun intended) until now...After thoughts "? Make the spacers about 3/4" not 7/16" thanks for the reads.

Attachments
Last edited:
- Status
- Not open for further replies.
Similar threads
- Replies
- 232
- Views
- 10K
- Replies
- 310
- Views
- 17K
- Replies
- 99
- Views
- 4K
GBodyForum is a participant in the Amazon Services LLC Associates Program, an affiliate advertising program designed to provide a means for sites to earn advertising fees by advertising and linking to amazon.com. Amazon, the Amazon logo, AmazonSupply, and the AmazonSupply logo are trademarks of Amazon.com, Inc. or its affiliates.


