What did you do to your non-G body project today? [2023]

In my case, I managed to get stopped before the wheel decided to leave for parts unknown. Turned out that the upper control arm had broken apart at the pocket for the ball joint. A large segment of the outer lip around that pocket had had to go away to gain clearance for a pretty front aluminum rim from a Camaro. What was left was just not up to the task as it turned out. Managed to get it backed into my front driveway and then about froze my fingers off trying to change out the upper control arm for a spare, it being October out and not so warm anymore.

As for that bearing and seal, just me thinking aloud here but, it might unfortunately be time to play "Taps" for that housing. The only option I can think of would be to cut away both the flanges and weld on a set of "Torino" large bearing tube ends so you can run the F*** style axles and take advantage of their retainer plate design. Assuming that the rules of the class permit that kind of modification.


Nick

Actually they do. Unfortunately people want money for that sort of thing. . . unless it's garage doable with nothing more exotic than a welder and some patience?
 
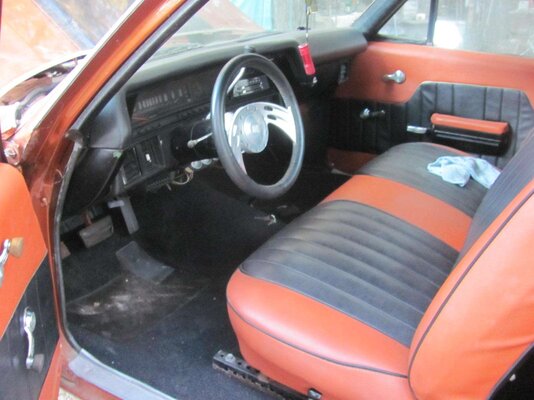
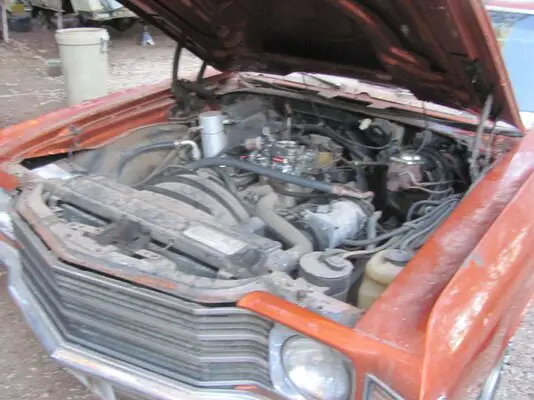
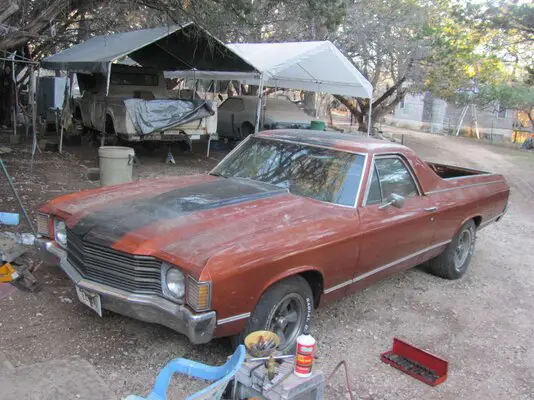
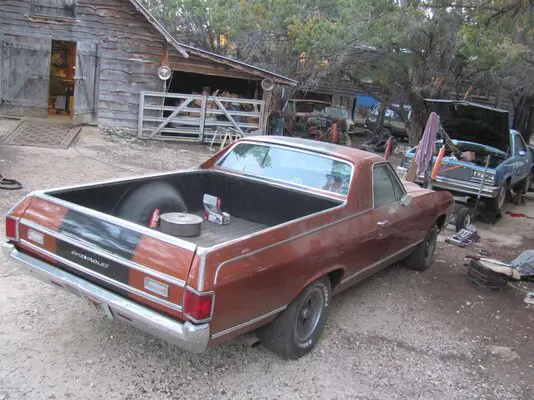
Replaced crusty master cylinder on 1972 El Camino that my friend wants to sell. He's asking 16K
 

Attachments

  • IMG_8712.JPG
    IMG_8712.JPG
    138 KB · Views: 52
  • IMG_8714.JPG
    IMG_8714.JPG
    157.3 KB · Views: 57
  • IMG_8716.JPG
    IMG_8716.JPG
    232.1 KB · Views: 65
  • IMG_8718.JPG
    IMG_8718.JPG
    252.4 KB · Views: 57
  • Like
Reactions: 1 user
Actually they do. Unfortunately people want money for that sort of thing. . . unless it's garage doable with nothing more exotic than a welder and some patience?
This particular upgrade has been the topic of a couple of videos and what costs the most for the work is first cutting the ends off and getting that cut square in the process, then measuring the tubes to get them the right lengths so that the overall width that the customer wants comes out right, and then slipping in one mother big length of solid bar stock through the one tube, across the pumpkin cavity and out the other tube tyo act as the fixture to centre and locate the new ends. That hunk of steel is only a few thousandths skinnier than the ID of the axle tubes so they find out right quick if your tubes are bent. At that point they then slip the new ends on, tack them, measure them, and then put the whole housing in a rolling carrier that turns as the welder burns in the end. Then they check it again.

So, short answer, it is possible for this to be done in a garage, if the individual doing the work is OC beyond the max and is constantly rechecking everything to make sure the cuts and lengths are absolutely square before setting those tacks. The complicating factor for you is the presence of all your suspension mounts and brackets. They could make getting a clear shot at the old bearing ends a little more difficult and complicated.

Even if you lack the Do-re-mi to do the deal, it might still be useful to speak with a shop that does this work for a living and determine just how much the bite will be. Ya never know, you just might have enough empties in the beer bottle stash to earn the cash to get the work done.


Nick

Well that process probably wouldn't play nice with my tubes as is since I took a rosebud to it a couple years ago to get a little toe in and negative camber out of it. With it laying on the ground you can see it plain as day.
 
After I got my regal done with I pulled the k1500 into the garage to see about making the brakes work. It took me 20 minutes to get one wheel off (those plastic nut covers are stupid) with how rusty and corroded everything is. I bet those wheels haven't been off since 2006 when those tires were mounted. I pulled a rear drum off with some fight, and decided to call it a night. I soaked the bleeder screws in PB and went to bed as it was 9pm already.
 
After I got my regal done with I pulled the k1500 into the garage to see about making the brakes work. It took me 20 minutes to get one wheel off (those plastic nut covers are stupid) with how rusty and corroded everything is. I bet those wheels haven't been off since 2006 when those tires were mounted. I pulled a rear drum off with some fight, and decided to call it a night. I soaked the bleeder screws in PB and went to bed as it was 9pm already.

I've given up on bleeder screws on wheel cylinders. They are so cheap it's not worth the frustration of snapping them off. If I have to touch the wheel cylinder or lines, I just replace them because they always snap off.
 
  • Like
Reactions: 2 users
I cheat the bleeder screws by giving them just a touch of Never Seize on the threads; don't get it on the seat taper and wipe it off if you do, before I run them in. Same/same for the brake line nuts, just a thin wipe of the stuff on both the nut threads and also on the tube where the nut sits, then crank the nut down tight. It's not a cure but it does help if you ever have to go back in and wrench the circuit on a regular basis.


Nick
 
I've given up on bleeder screws on wheel cylinders. They are so cheap it's not worth the frustration of snapping them off. If I have to touch the wheel cylinder or lines, I just replace them because they always snap off.
We'll see what happens. It already doesn't have any brakes, wheel cylinders and drums are dry as a bone. Lil PB and heat has worked wonders for me. Granted this truck is by far the rustiest thing I've ever worked on, from the cab back.
One of the U bolts rusted and snapped. Idk how long ago but with how tapered the two ends are it must've been a loooong time ago. This truck has 220,000 miles and I'm willing to bet the plow setup was installed last millennia.
 

GBodyForum is a participant in the Amazon Services LLC Associates Program, an affiliate advertising program designed to provide a means for sites to earn advertising fees by advertising and linking to amazon.com. Amazon, the Amazon logo, AmazonSupply, and the AmazonSupply logo are trademarks of Amazon.com, Inc. or its affiliates.

Please support GBodyForum Sponsors

Classic Truck Consoles Dixie Restoration Depot UMI Performance

Contact [email protected] for info on becoming a sponsor