

What did you do to your non-G body project today? [2022]
- Thread starter g0thiac
- Start date
You are using an out of date browser. It may not display this or other websites correctly.
You should upgrade or use an alternative browser.
You should upgrade or use an alternative browser.
- Status
- Not open for further replies.
.jpeg")


Add an extremely generous helping of this up and down the driveway. It's the only way to try and isolate where all the leaks come from.


After three rounds of snow removal yesterday I rolled the snowblower back in for repairs. It sheared the bolts to the axles again.
Fortunately it broke right in front of the shop.
Fortunately it broke right in front of the shop.
After three rounds of snow removal yesterday I rolled the snowblower back in for repairs. It sheared the bolts to the axles again.
Fortunately it broke right in front of the shop.
So how much longer until you cave?

You know you want to.
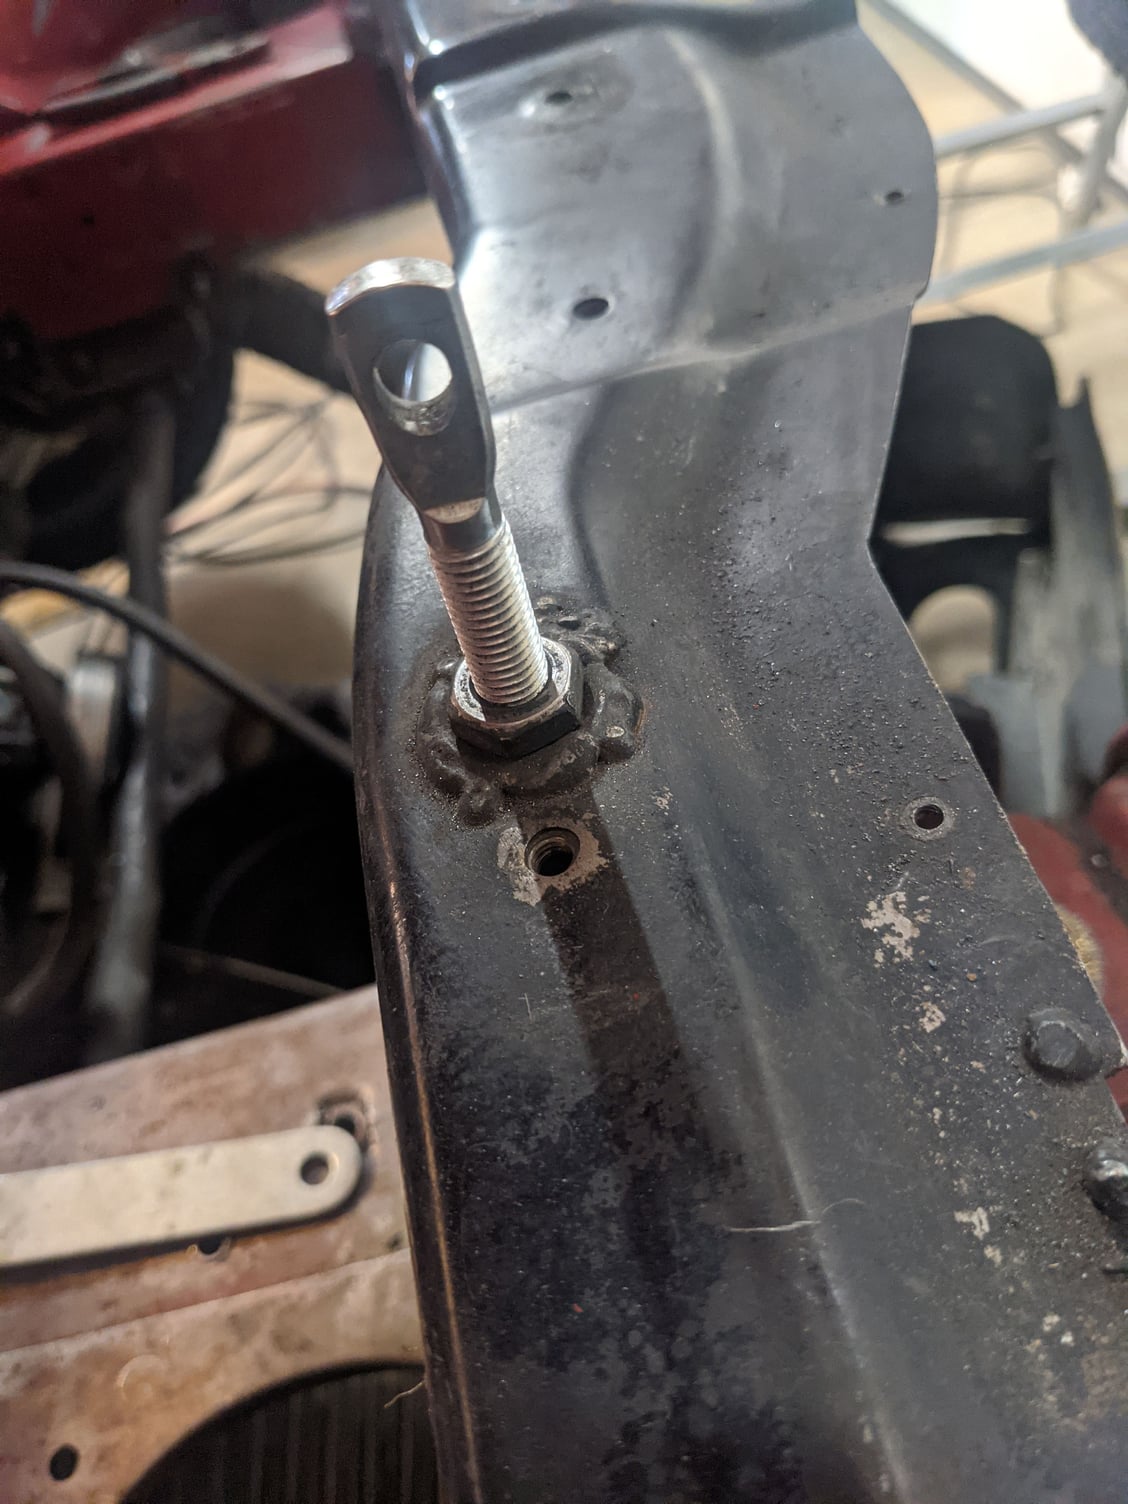
Small potatoes, but I'm happy. For too long my hood pin mounts have sucked. The welds sucked so you could never get the nut good and tight, why I never got off my @$s and knocked these crap welds down I don't know. What I do know is that earlier this year my passenger hood pin decided it wasn't going to adjust anymore, the fastener inside the core support had separated from the washer itself. I think at Chuckwalla this year I broke the other one, so time to finally deal with this and what better time than when I'm prepping the car to paint the GM replacement core support the same red as the rest of the car. Below is a bit of a copy/paste from LS1Tech on tonight's adventures. Disclaimer: I'm still cutting my teeth on welding thin sheet metal. This stuff is a pain!
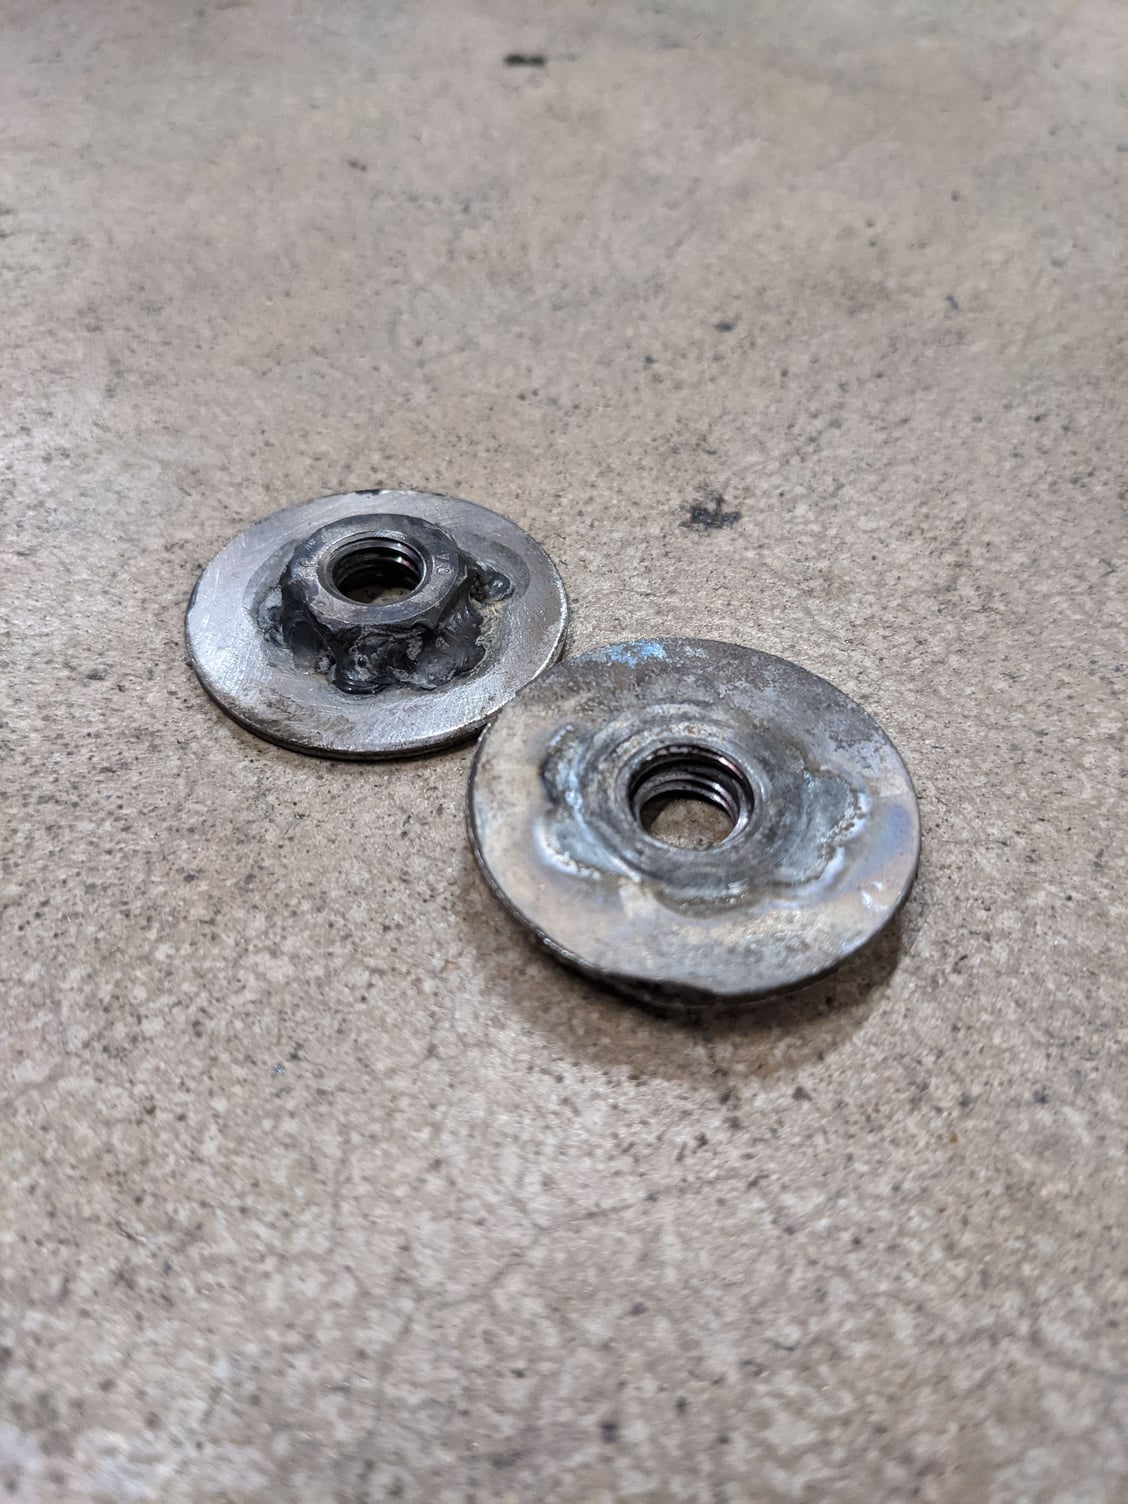
These hood pin mounts had seen better days. Whatever was threaded inside stopped sticking, so I had to cut them out.
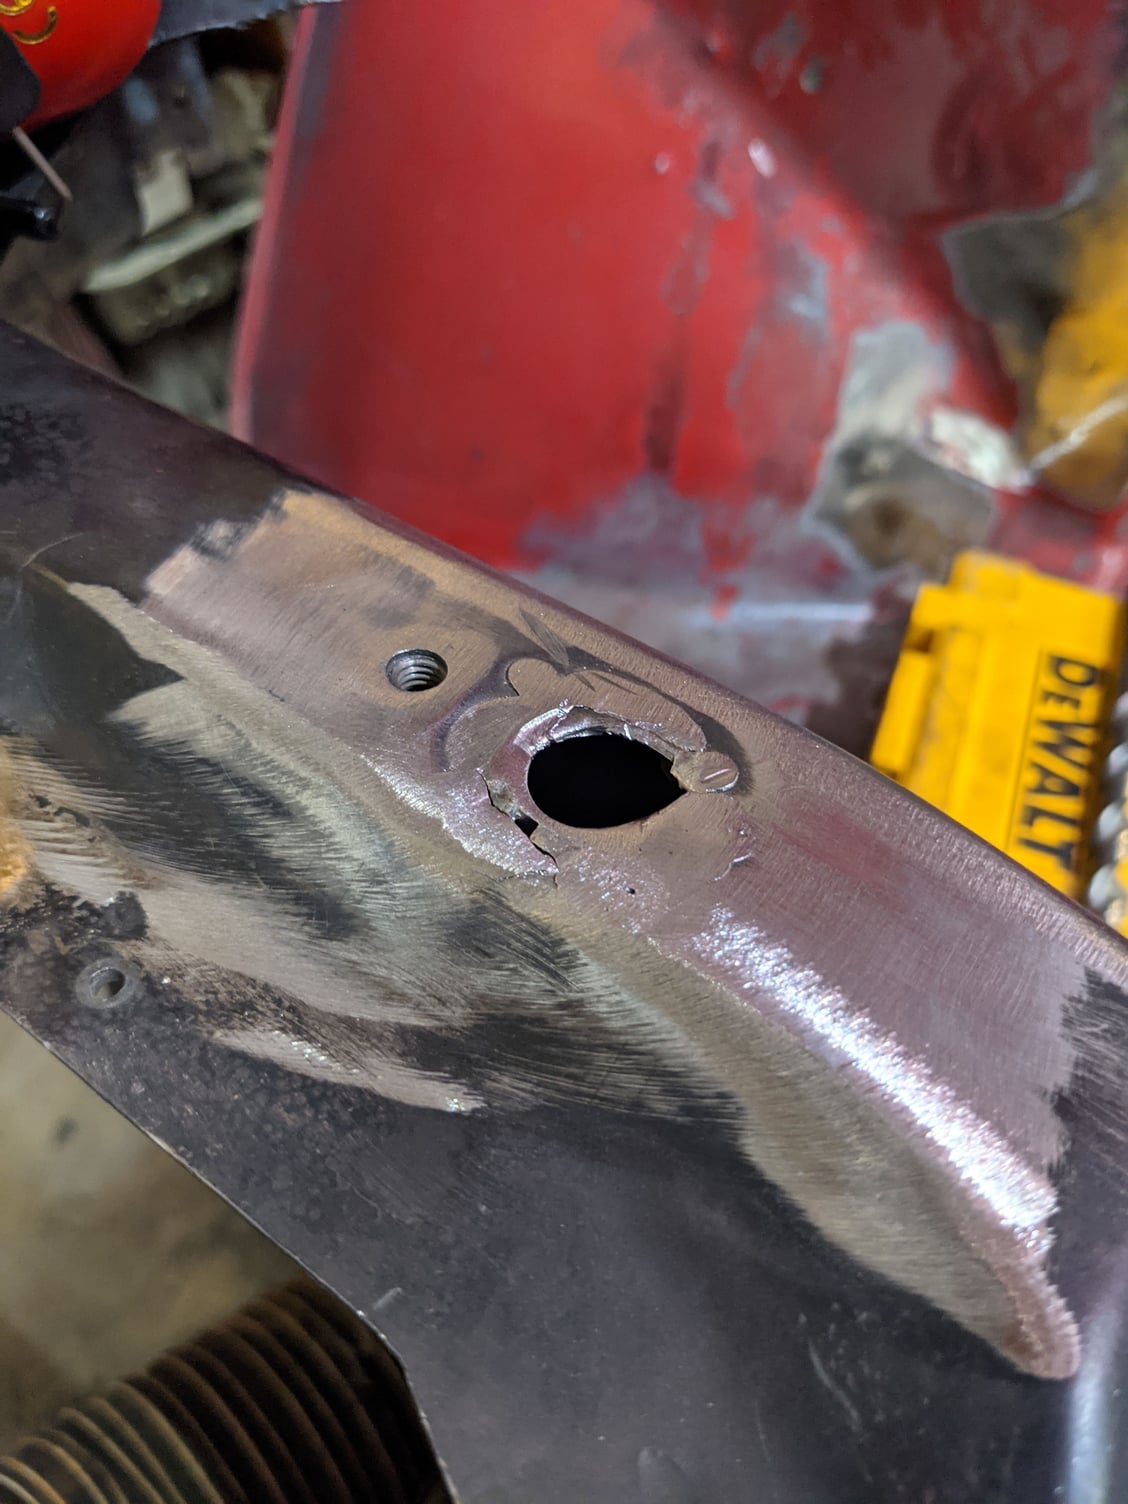
Lovely. How much you want to bet I blow through as soon as I hit the trigger?
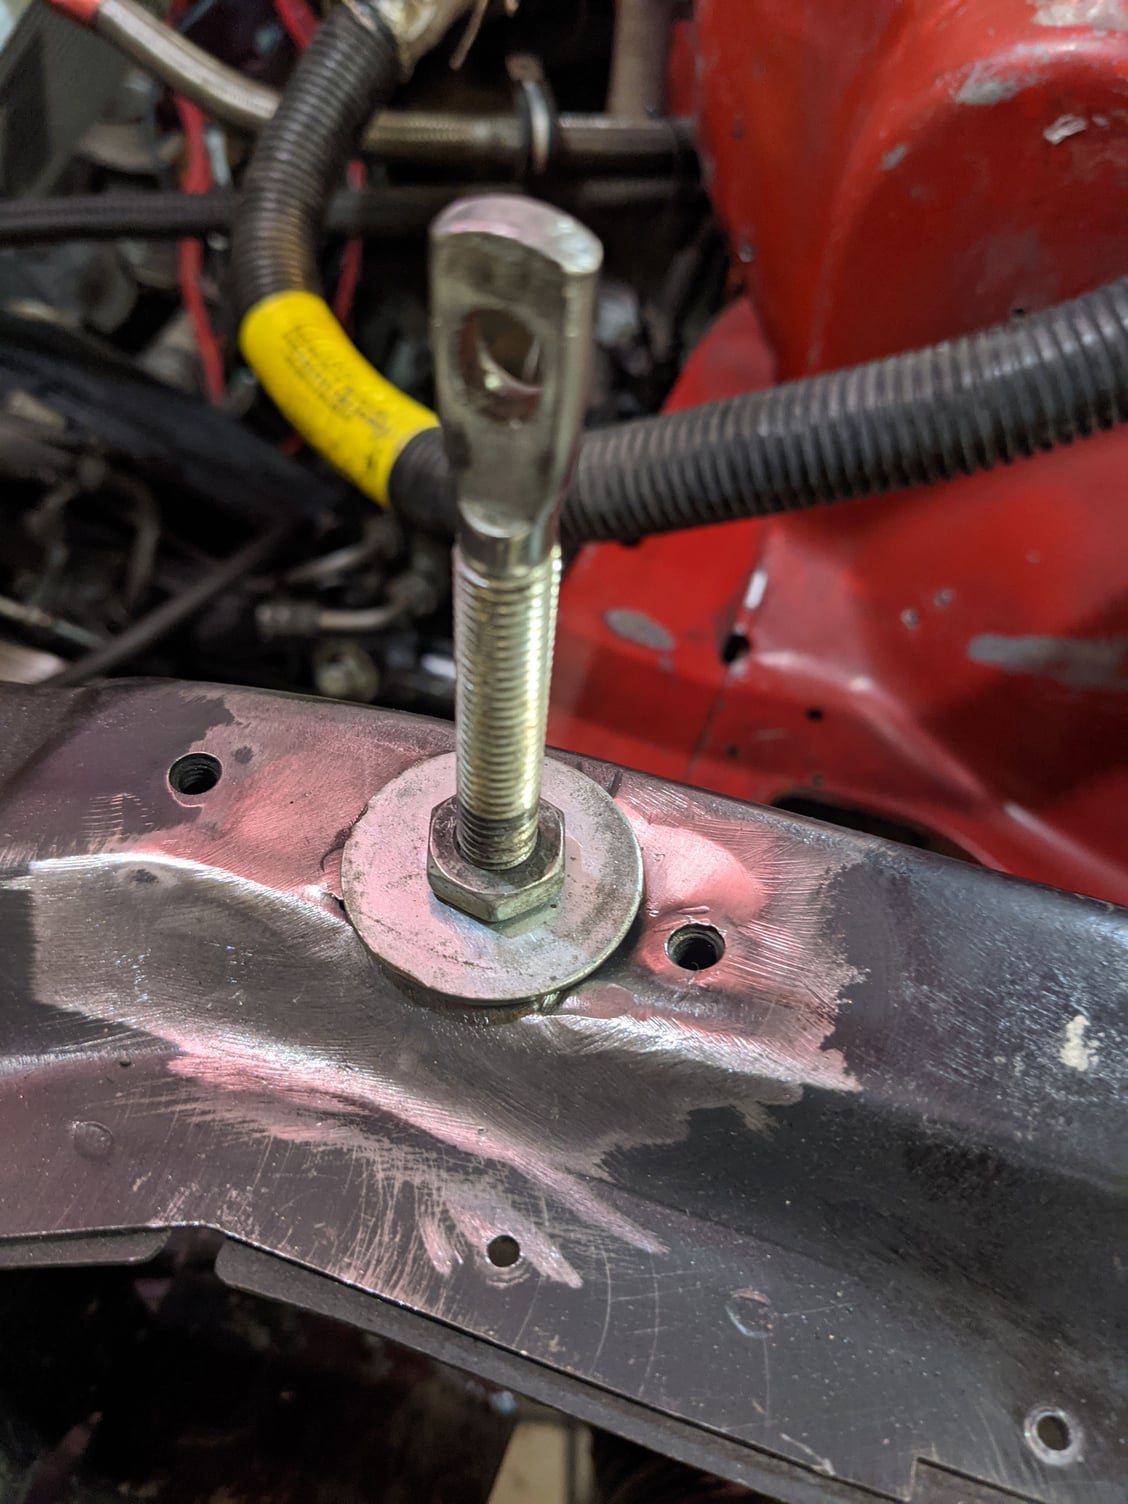
The washer is .075" and the core support is .045" if I haven't whacked it with the sanding wheel.
BREAK/BREAK these are 2 separate posts on the same eve in case the shift reads weird.
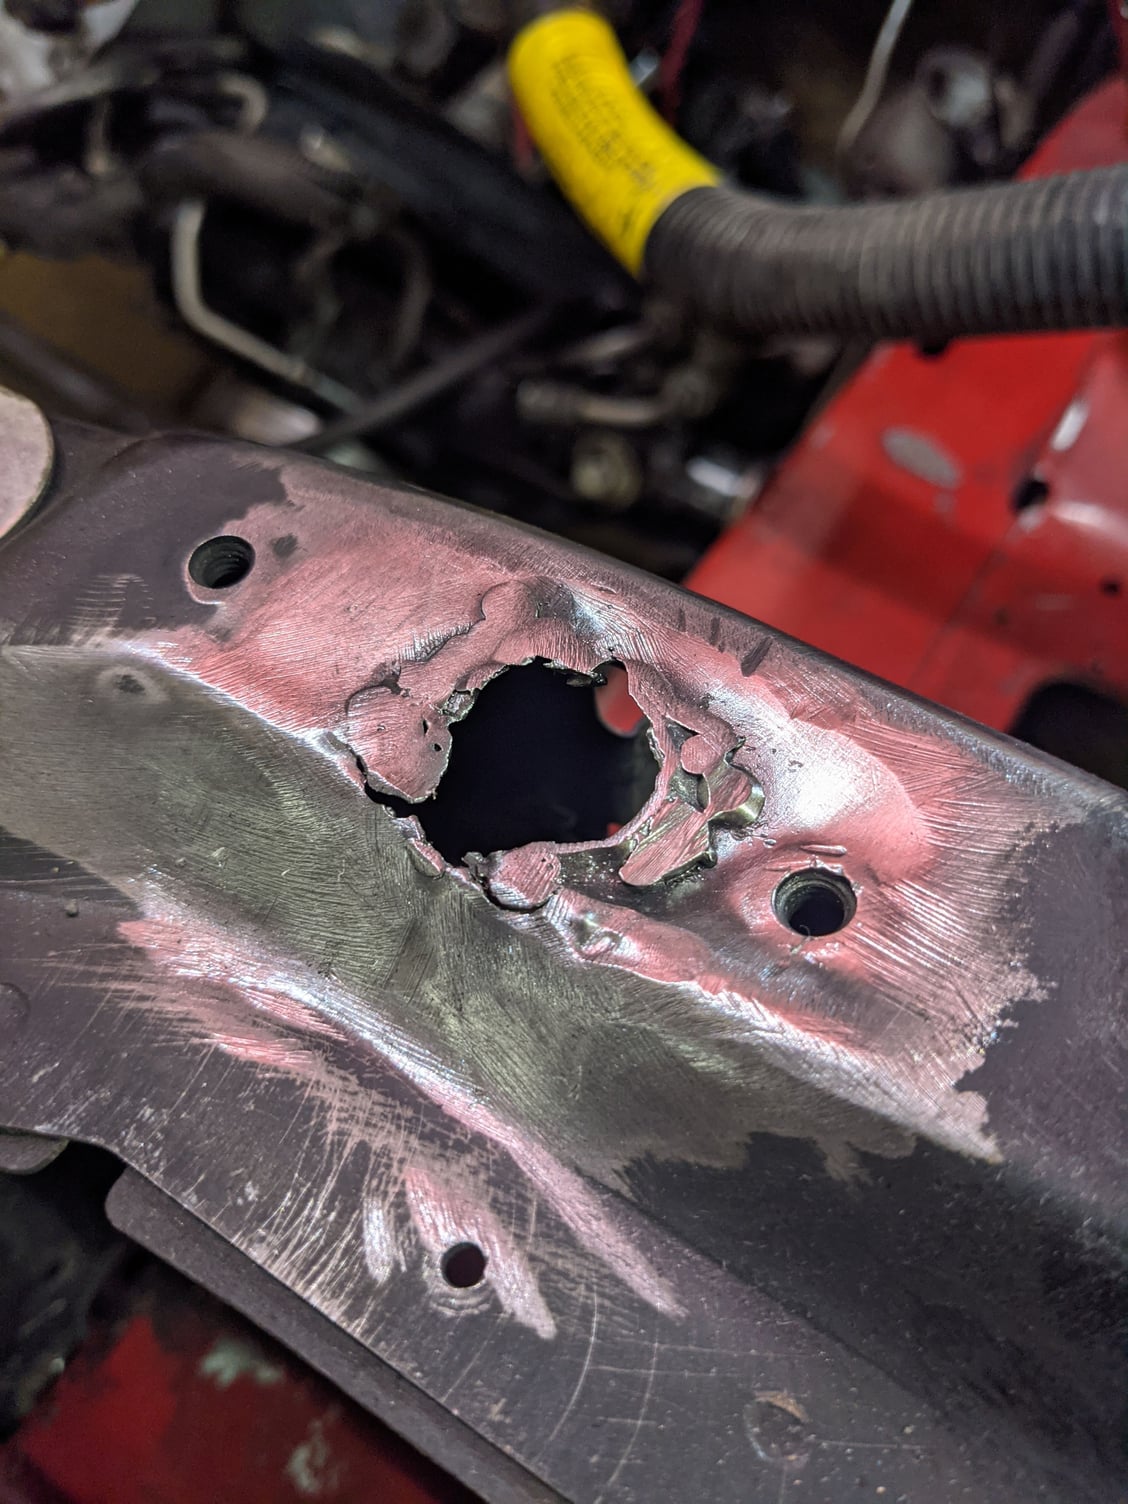
Well that was easier than anticipated. Sort of. The crappy left side gave me $h!t as expected, but the untouched .045" thick core support held the heat of welding where it existed.
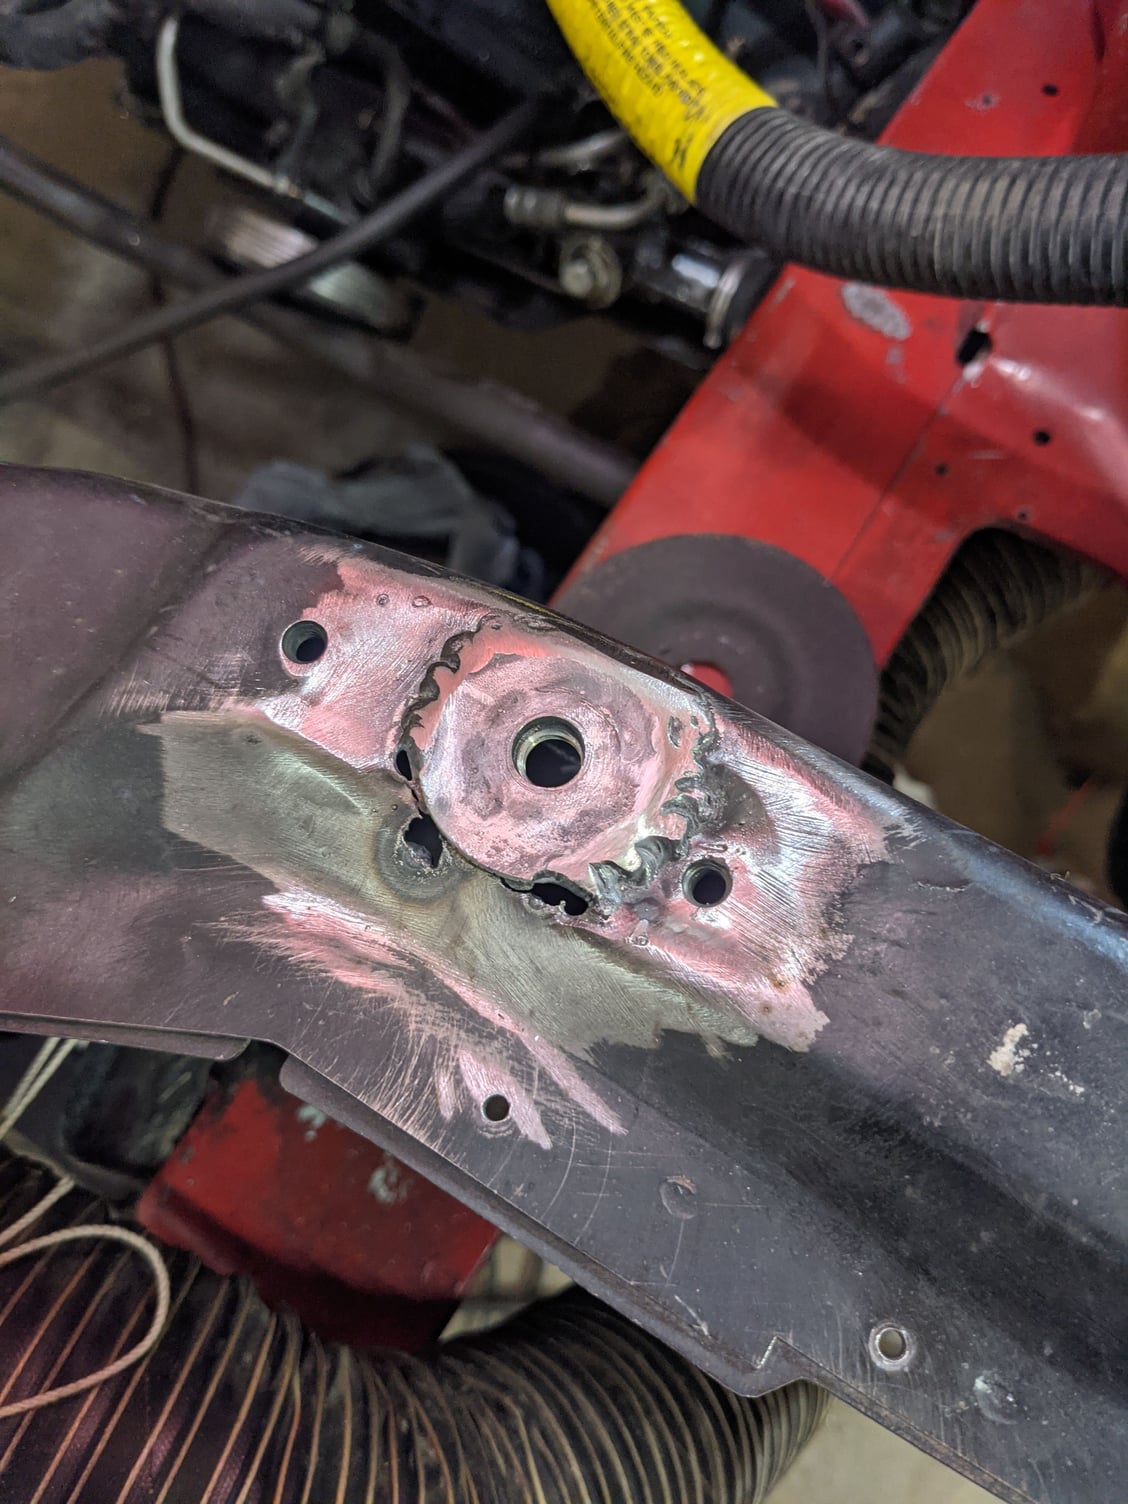
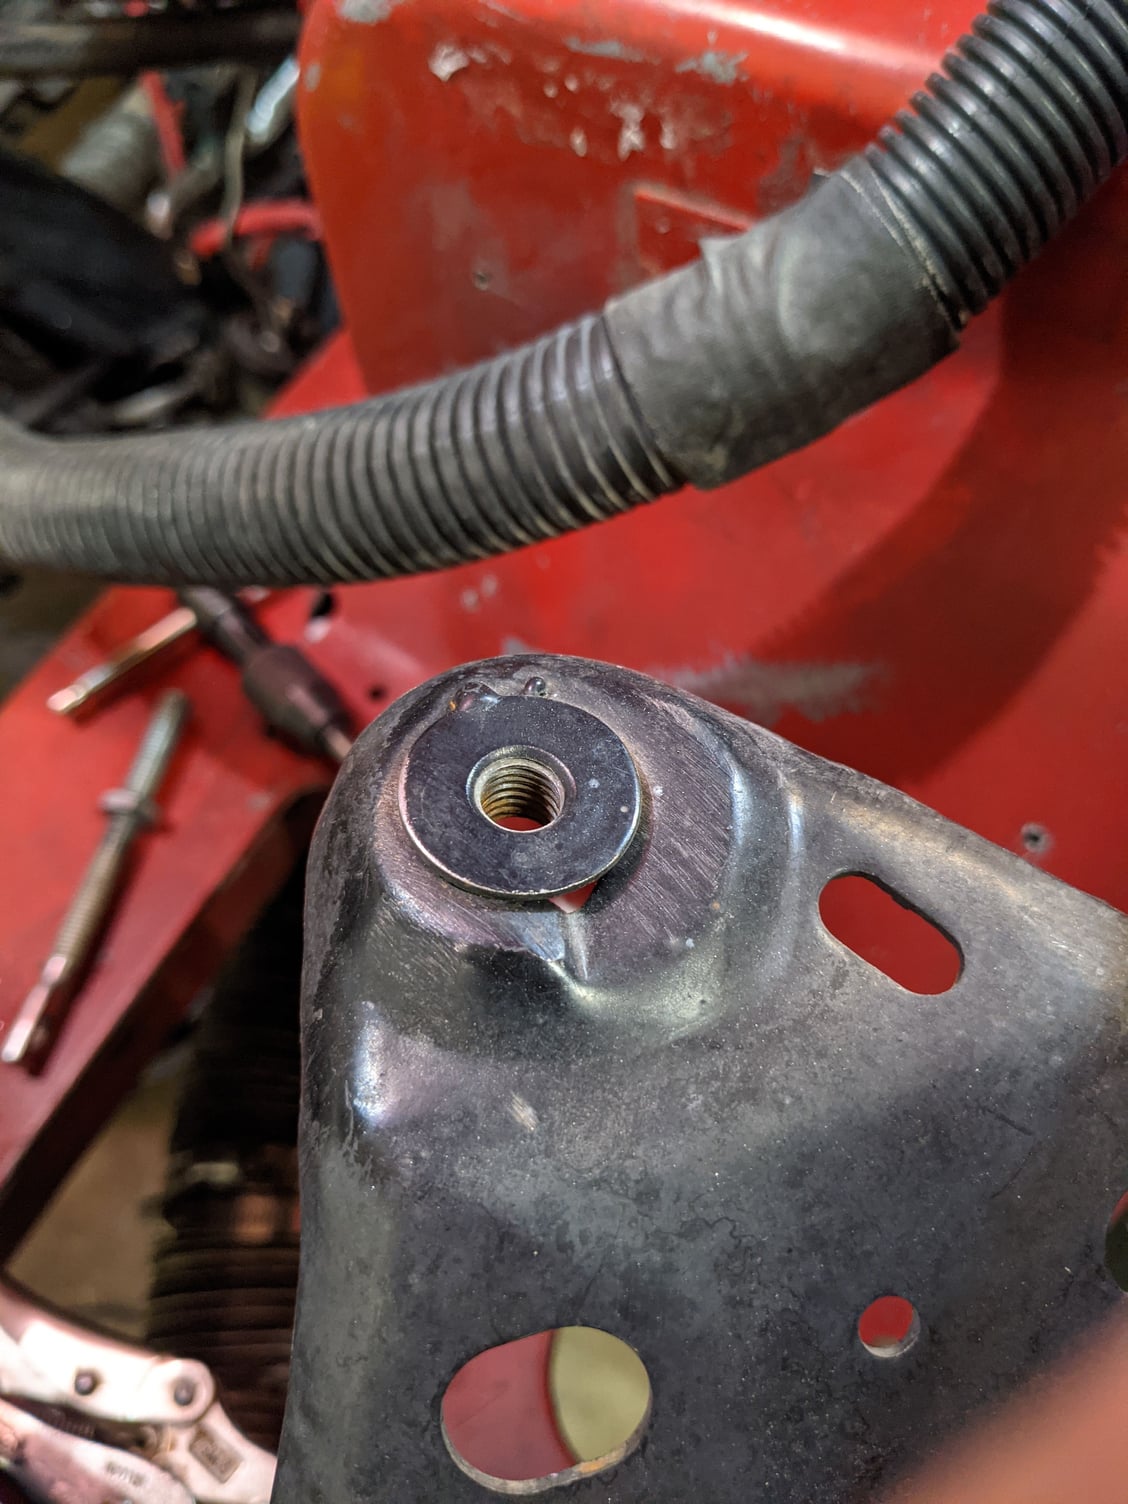
As expected, ran into problems up front. So I cut out another washer in a half moon shape and zapped it in.
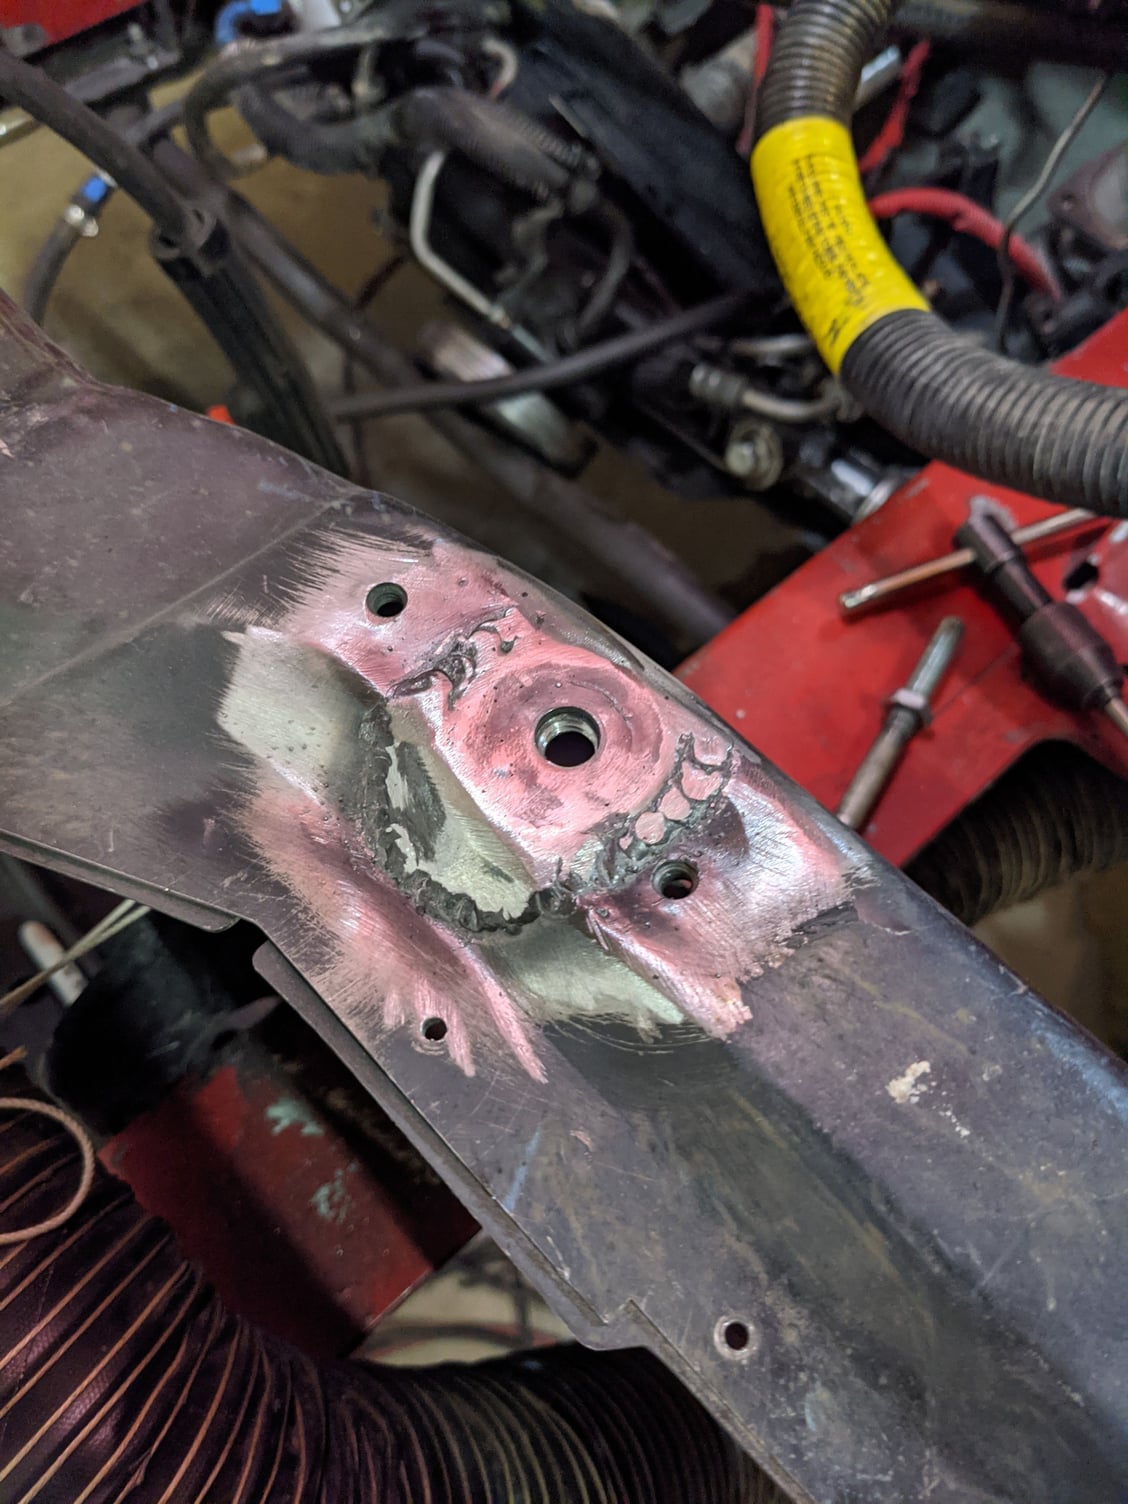
It may look crappy, but there's good penetration there (giggity!).
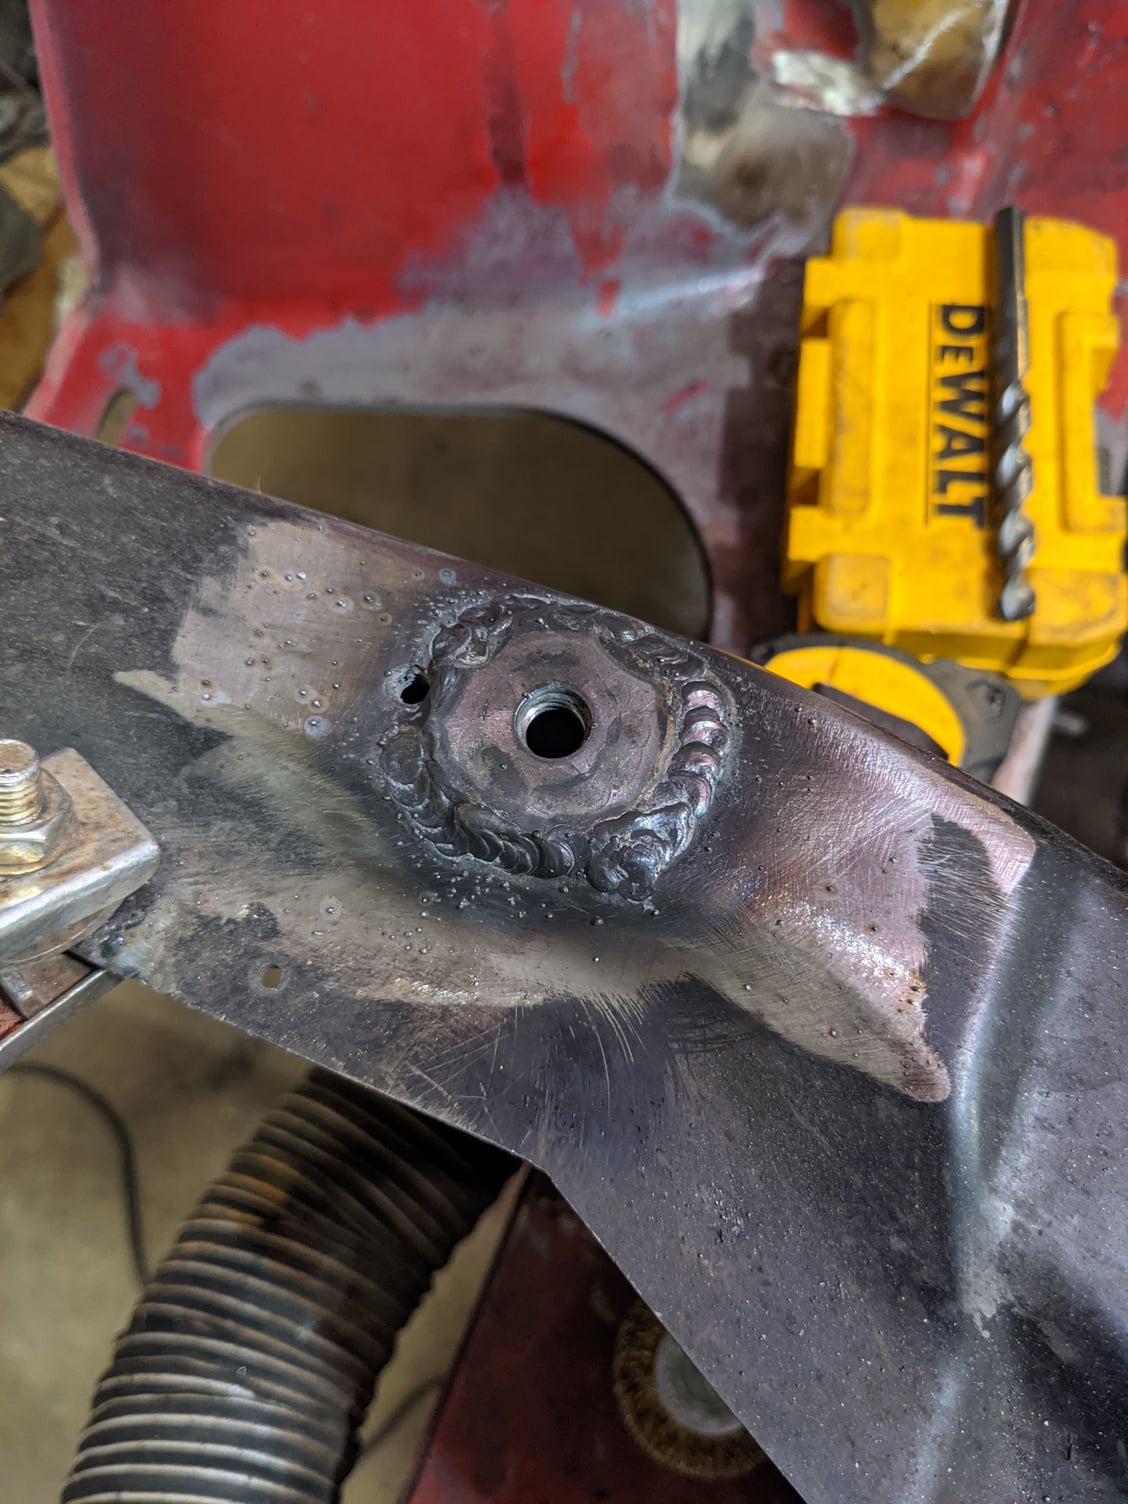
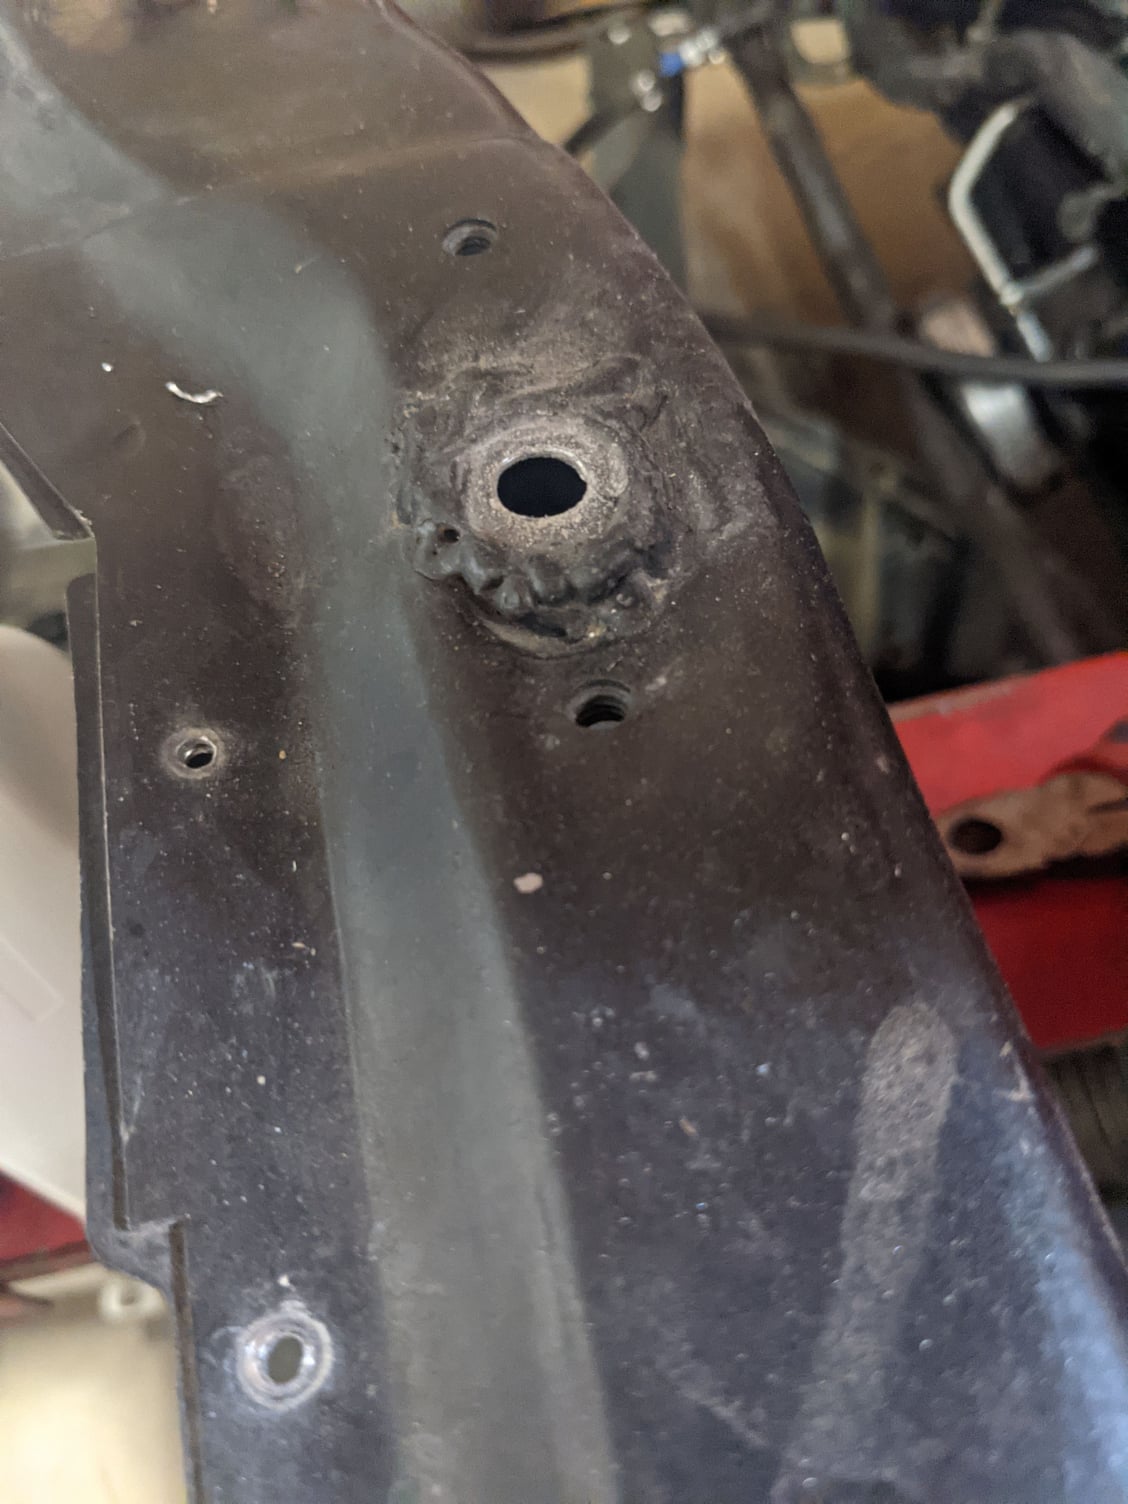
This site was easy, one and done, and also where I got the hang of manually pulsing the welder. My helmet complied with this technique so it came out pretty good. I applied this technique to the other side when I did the half moon and second pass on the main piece.
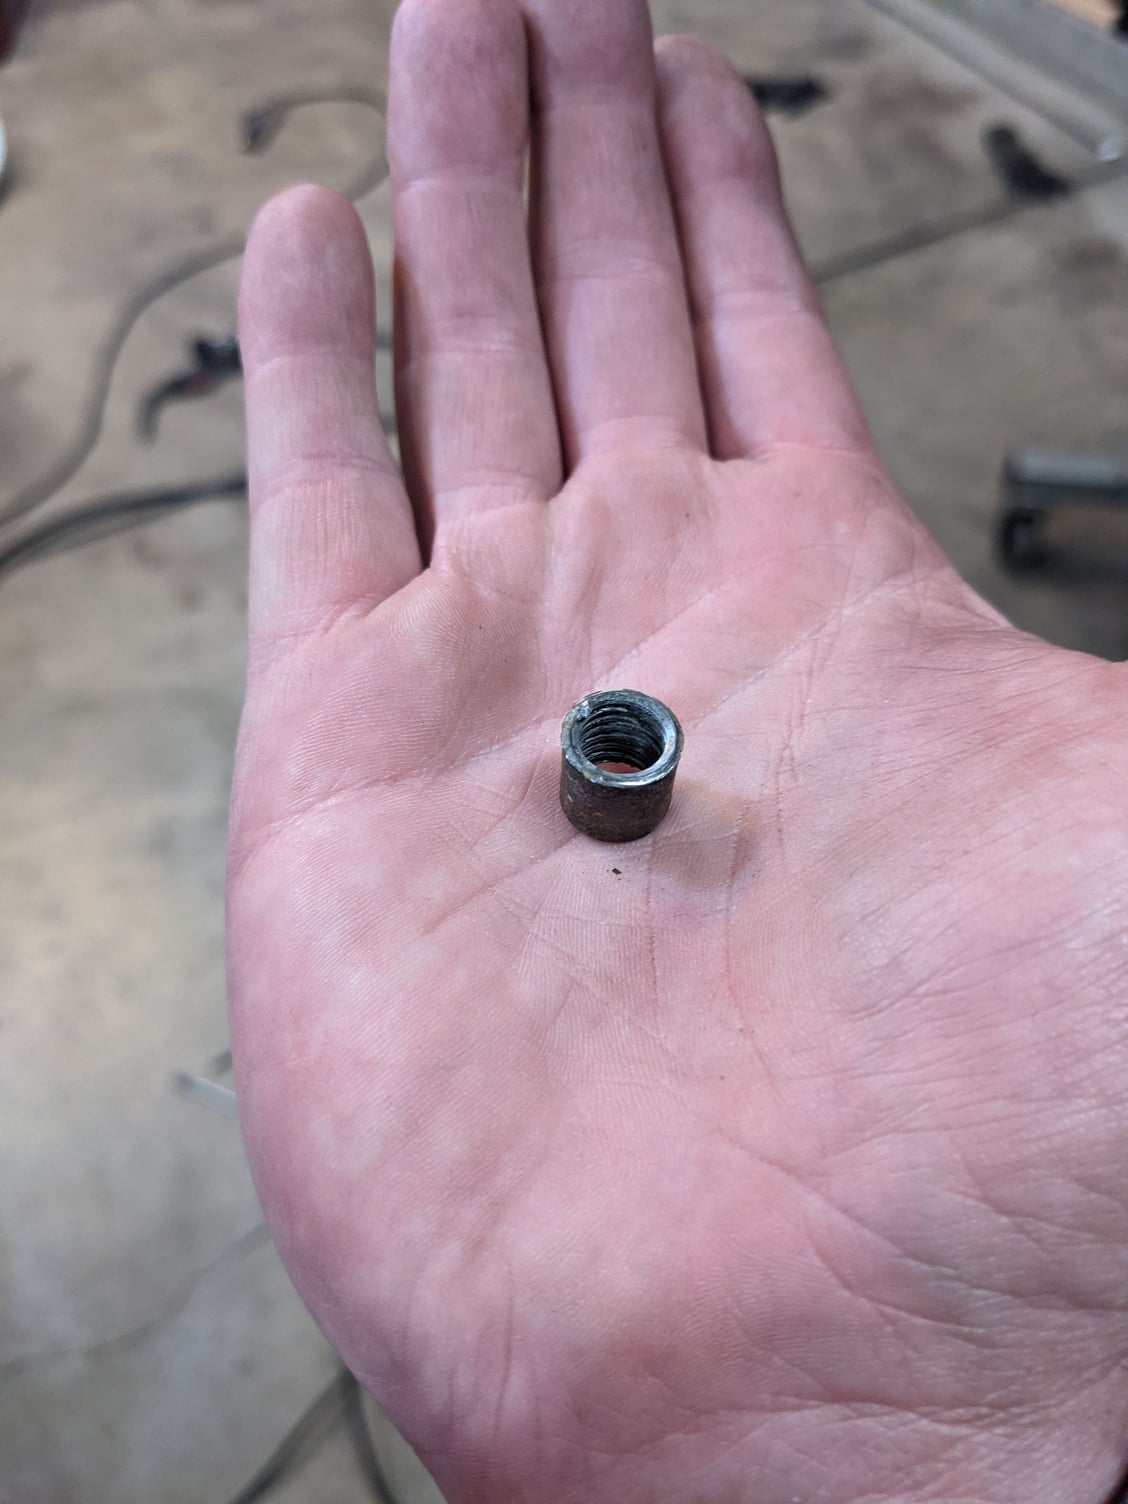
Here's the chunk of "nut" that was attached to both washers. I was scratching my head, wondering what in the hell it was the PO has installed to retain the pins, and suddenly I saw the answer staring me right in the face.
Slick as that little dingus may look, it will fatigue out in a hood pin application with enough nose to tail contact. I think my version should age better.
Total cost? Crap I had laying around. Hopefully tomorrow I can get the rest of the holes on that shock tower zapped shut. It'll be cold, so will wait for warm weather to return before I prime and paint the engine bay in prep for whatever motor goes back in.
These hood pin mounts had seen better days. Whatever was threaded inside stopped sticking, so I had to cut them out.
Lovely. How much you want to bet I blow through as soon as I hit the trigger?
The washer is .075" and the core support is .045" if I haven't whacked it with the sanding wheel.
BREAK/BREAK these are 2 separate posts on the same eve in case the shift reads weird.
Well that was easier than anticipated. Sort of. The crappy left side gave me $h!t as expected, but the untouched .045" thick core support held the heat of welding where it existed.
As expected, ran into problems up front. So I cut out another washer in a half moon shape and zapped it in.
It may look crappy, but there's good penetration there (giggity!).
This site was easy, one and done, and also where I got the hang of manually pulsing the welder. My helmet complied with this technique so it came out pretty good. I applied this technique to the other side when I did the half moon and second pass on the main piece.
Here's the chunk of "nut" that was attached to both washers. I was scratching my head, wondering what in the hell it was the PO has installed to retain the pins, and suddenly I saw the answer staring me right in the face.
Slick as that little dingus may look, it will fatigue out in a hood pin application with enough nose to tail contact. I think my version should age better.
Total cost? Crap I had laying around. Hopefully tomorrow I can get the rest of the holes on that shock tower zapped shut. It'll be cold, so will wait for warm weather to return before I prime and paint the engine bay in prep for whatever motor goes back in.


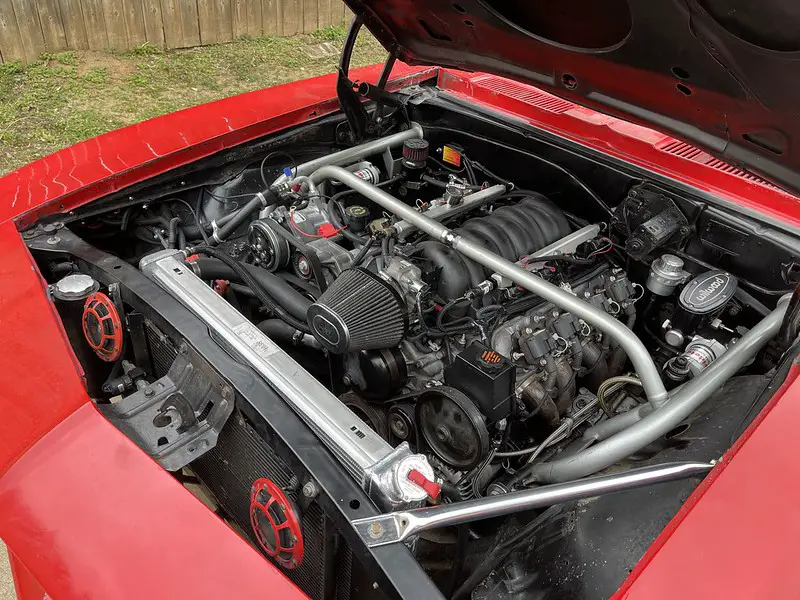
Finished up the Camaro non charging issue along with a leaky power steering fitting. PO never had it wired right, he had the excite wire going directly to the power stud which works a little bit. Installed a 470 resistor and then added a sense wire back to the battery, voila! Charging over 14 volts at idle.
Add an extremely generous helping of this up and down the driveway. It's the only way to try and isolate where all the leaks come from.
View attachment 193585
I'm done 🤣


- Status
- Not open for further replies.
Similar threads
- Replies
- 111
- Views
- 10K
- Replies
- 9
- Views
- 644
- Replies
- 1
- Views
- 495
- Replies
- 71
- Views
- 6K
GBodyForum is a participant in the Amazon Services LLC Associates Program, an affiliate advertising program designed to provide a means for sites to earn advertising fees by advertising and linking to amazon.com. Amazon, the Amazon logo, AmazonSupply, and the AmazonSupply logo are trademarks of Amazon.com, Inc. or its affiliates.
