What Did You Do To Your G-Body Today? [2020]
- Thread starter pontiacgp
- Start date
You are using an out of date browser. It may not display this or other websites correctly.
You should upgrade or use an alternative browser.
You should upgrade or use an alternative browser.
- Status
- Not open for further replies.
this has some good info about the idle tube mods
Drilling Qjet Idle Tubes- Fact, or just BS ?? - Performance Years Online Forums
www.wallaceracing.com
I've read that a few times now. I thought the tubes were drilled to .052" at first, but once I removed them I realized it's only the very bottom that gets drilled. That hole is smaller than my smallest bit at .040", so I found a bit set on Amazon that goes from .040-.060". When I was removing the old ones, the bit got a good bite and went too far and the one side came out in 2 pieces so I'll drill the new ones to match whatever the old ones are as a starting point. I suspect the tubes are a sane diameter and not the cause of the rich idle so I'll set the rest of the carb up as it should be, then cheat with a wideband to determine final main jet sizes, part throttle screw setting, needle jet springs, and all that fun stuff. The other conclusion I semi came to is that the 212/218 cam may be building too much cylinder pressure and I really need to be in the 230 range even with crap heads (454). I think the smart way ahead is that and some old school large ovals with that one HG that makes it possible with a GenV.
Replaced left side door hinges after rebuilding them with new pins and bushings.


Currently under the car trying to clean 20 years worth of undercoating off for paint. I currently have hands like a coal miner.
You know it il buff
I tackled the rust on the left quarter panel. I made a template of the patch I needed, cut it out with a plasma cutter and cleaned up the edges. I tack welded the opposite corners to the body and cut the body along the patches edges on the top and one side with one of the corners that was not tack welded. Then pushed the patch in till it is flush with the body and tack welded it. Then did the other corner and then cut through the original tacks and tack welded those corner flush to the body and removed the part of the body that was replaced with the patch. Welded the rest of the patch, grinded the welds down, sprayed it with some sealer and applied a thin coat of bondo. I ran out of the sandpaper I needed so I grabbed my laptop to set up the MSD box since I think I'm done with welding on the car. I added some "vacuum" advance but my map reading is at 14 so that seems kinda high but it ain't after checking what it shoulb be at 1,100 ft...... 
the rust that was cut out


the rust that was cut out


Last edited:
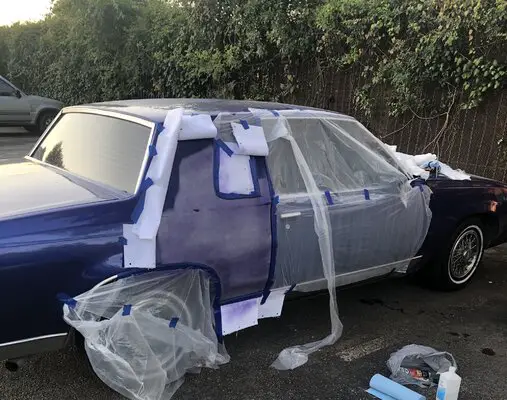
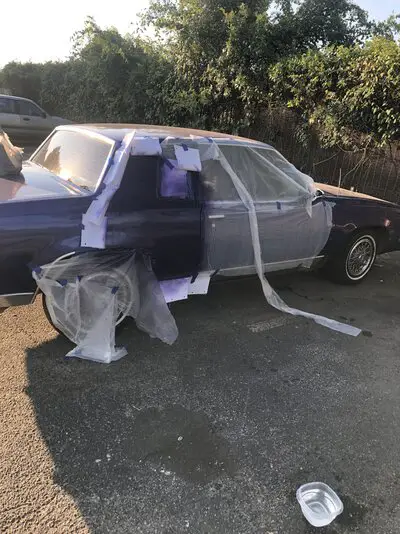
Needs more purple.
- Status
- Not open for further replies.
Similar threads
- Replies
- 239
- Views
- 10K
- Replies
- 316
- Views
- 17K
- Replies
- 99
- Views
- 4K
GBodyForum is a participant in the Amazon Services LLC Associates Program, an affiliate advertising program designed to provide a means for sites to earn advertising fees by advertising and linking to amazon.com. Amazon, the Amazon logo, AmazonSupply, and the AmazonSupply logo are trademarks of Amazon.com, Inc. or its affiliates.


