Reinstalled the gas tank, a new sending unit, and all new rubber lines, plus an oil change. The car moved under its own power today!
What Did You Do To Your G-Body Today? [2020]
- Thread starter pontiacgp
- Start date
You are using an out of date browser. It may not display this or other websites correctly.
You should upgrade or use an alternative browser.
You should upgrade or use an alternative browser.
- Status
- Not open for further replies.
I finally wired the memory for my stereo to the positive side of my cut off switch in the Regal so I can finally set stuff without clearing it every time I turn it off.
If you have a clock in the dash, you can do the same for it also.I finally wired the memory for my stereo to the positive side of my cut off switch in the Regal so I can finally set stuff without clearing it every time I turn it off.
I don't remember who,but someone posted a pic a few days ago of an old style hi/lo beam switch. I used one of those on an old VW Beetle as a kill/cutoff switch. The only thing on the positive side was the clock.
What I did today, I finished my AC dash conversion. The car drives, I took it to the gas station and filled it up, plan on driving it to work tomorrow.
Now I need to finish the under hood installation of the compressor, condenser, hoses, etc., then get everything flushed clean, and charged.
Now I need to finish the under hood installation of the compressor, condenser, hoses, etc., then get everything flushed clean, and charged.
Replaced the tires on the granny Malibu but before I did that, I did this!!
Thanks, but it's a 125 amp manual cut off switch I mounted under the hood for security and I also added hood locks to the steel hood.If you have a clock in the dash, you can do the same for it also.
I don't remember who,but someone posted a pic a few days ago of an old style hi/lo beam switch. I used one of those on an old VW Beetle as a kill/cutoff switch. The only thing on the positive side was the clock.
My Regal is an 86' and I think the clocks are all in the stereos for the 1,5 din cars.
Saturday: Got the old ac box out, new ac box in. Drilled a hole in the frame for the body mount using some 3/8-16 all thread threaded in the front two (on the body, under the a pillars) and rear 2 (just behind the bumper) body nuts to roughly line it up. Then I stuck all 4 in all 4 trunk locations and yep, my patches are close enough to work.
Sunday: Ospho'd the rusty spots on the body, painted the body channels where the frame resides.


Sunday: Ospho'd the rusty spots on the body, painted the body channels where the frame resides.


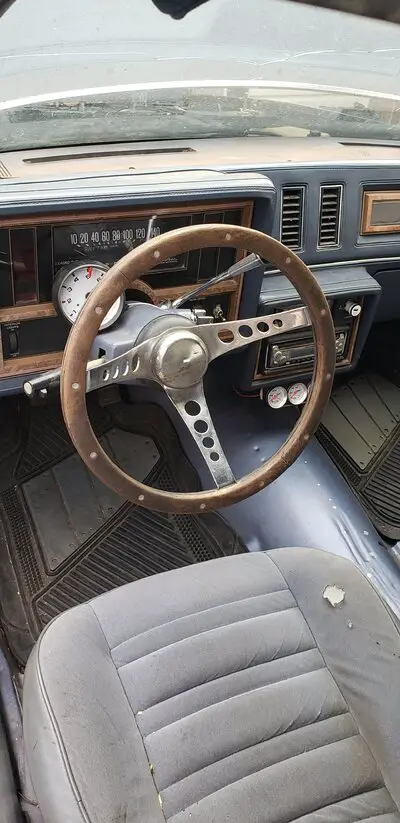
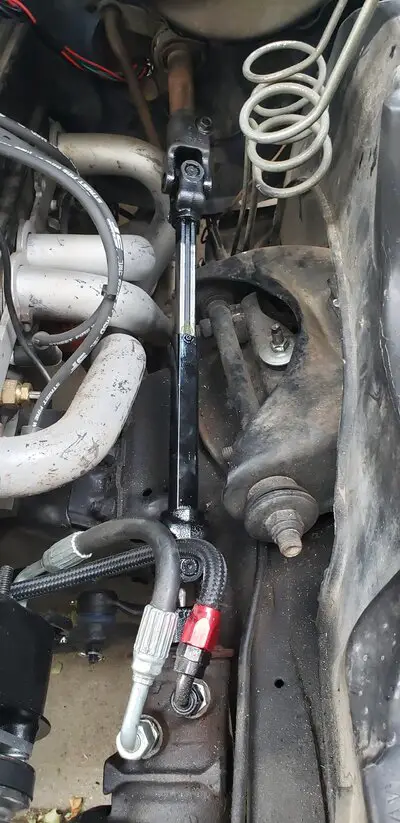
I installed an Astro steering shaft. Nice simple upgrade and it allowed me to finally clock the wheel in the correct position.
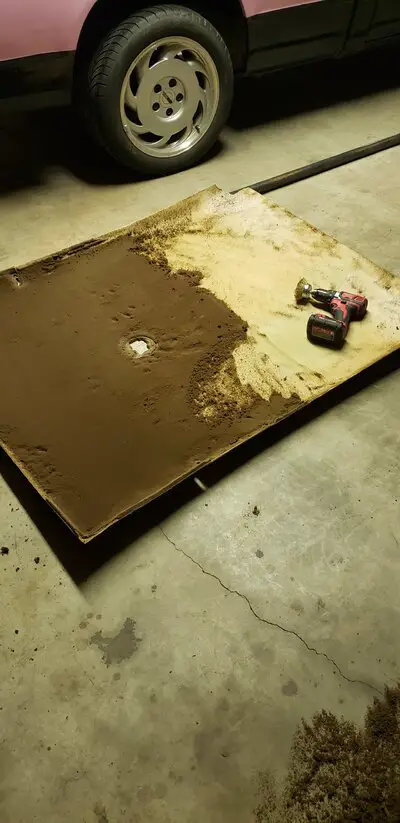
Then I decided I had enough of foam raining on me from the headliner. I pulled the liner out and took a brass brush to it and cleaned it off.
The 2 corners where the sun visors attach were broken on the backing board. What would you guys reccomend to reattach. I was thinking some HVAC tin tape should work, but I am open to less janky suggestions.
Attachments
Saturday: Got the old ac box out, new ac box in. Drilled a hole in the frame for the body mount using some 3/8-16 all thread threaded in the front two (on the body, under the a pillars) and rear 2 (just behind the bumper) body nuts to roughly line it up. Then I stuck all 4 in all 4 trunk locations and yep, my patches are close enough to work.
Sunday: Ospho'd the rusty spots on the body, painted the body channels where the frame resides.
are you planning on putting 28's on the Buick?.......


You can use foil duct tape in some areas, but I recommend doing the repairs with fiberglass cloth or matting and polyester resin. That's your best bet.I installed an Astro steering shaft. Nice simple upgrade and it allowed me to finally clock the wheel in the correct position.
Then I decided I had enough of foam raining on me from the headliner. I pulled the liner out and took a brass brush to it and cleaned it off.
The 2 corners where the sun visors attach were broken on the backing board. What would you guys reccomend to reattach. I was thinking some HVAC tin tape should work, but I am open to less janky suggestions.
- Status
- Not open for further replies.
Similar threads
- Replies
- 256
- Views
- 12K
- Replies
- 385
- Views
- 20K
- Replies
- 106
- Views
- 5K
GBodyForum is a participant in the Amazon Services LLC Associates Program, an affiliate advertising program designed to provide a means for sites to earn advertising fees by advertising and linking to amazon.com. Amazon, the Amazon logo, AmazonSupply, and the AmazonSupply logo are trademarks of Amazon.com, Inc. or its affiliates.


