Just upgraded my new holley "classic" 650cfm vacsec 4150... i had all the parts already on hand for another project, not the 770SA carburator.
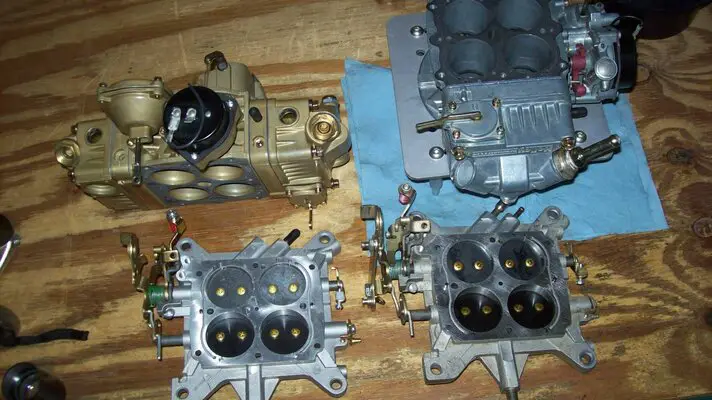
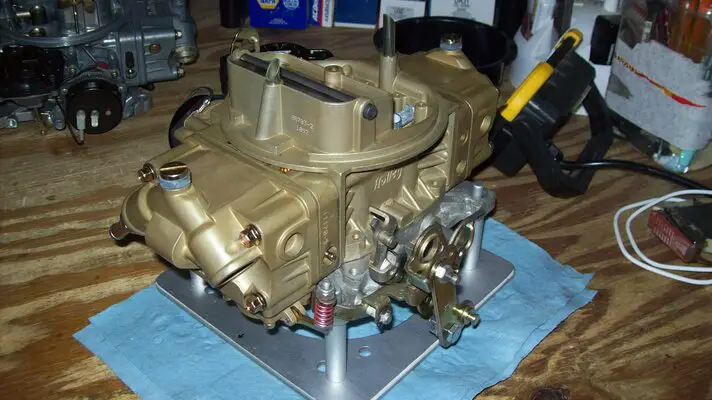
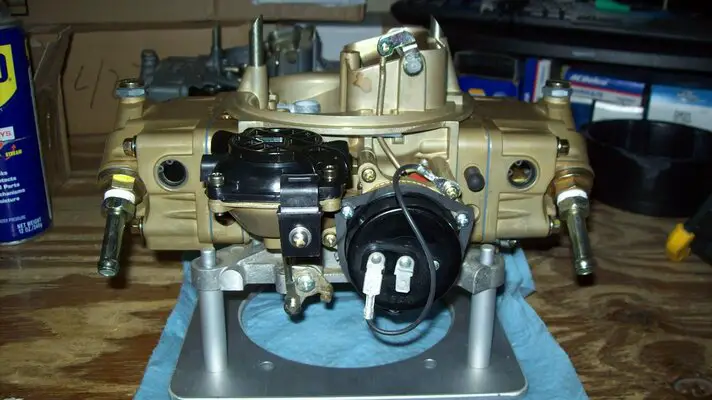
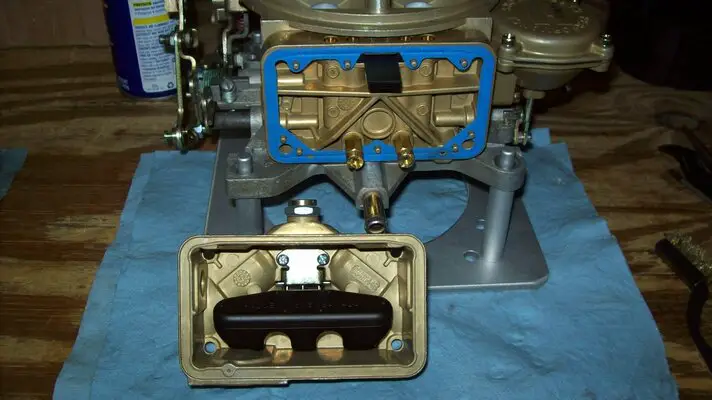
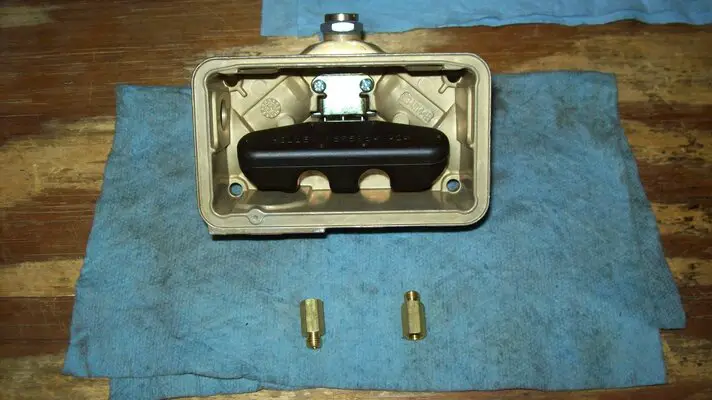
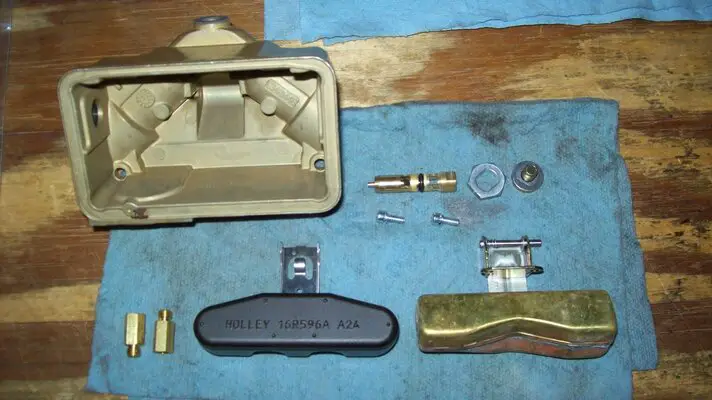
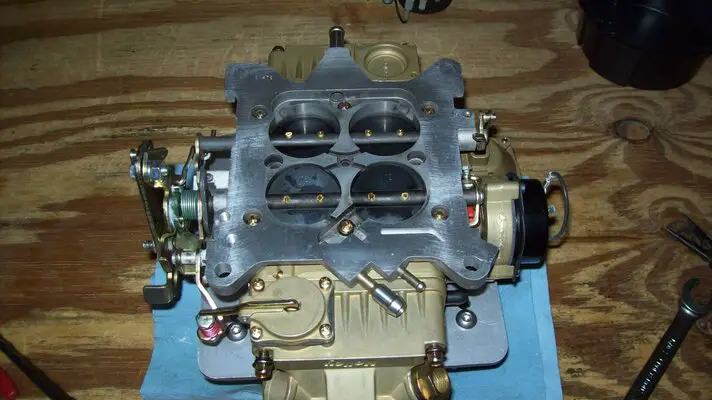
The throttle body/metering blocks and bowls are made from aluminum, the entire carb feels really light, the 770SA weighs a ton for having cast parts, figure i wasnt going to use the new carb for a spell due not being able to have a vac fitting available for the PCV valve. Fortunately, the 650C uses the very same throttle plate the 770SA uses, everything is exactly the same, the layout, the gasket, the ports, the same green pump cam, return springs, and even the same size throttle blades(#172), its just the diameter of the venturies in the main body that dictates the CFM between these two, there shouldnt be any issue, so i swapped the bases.
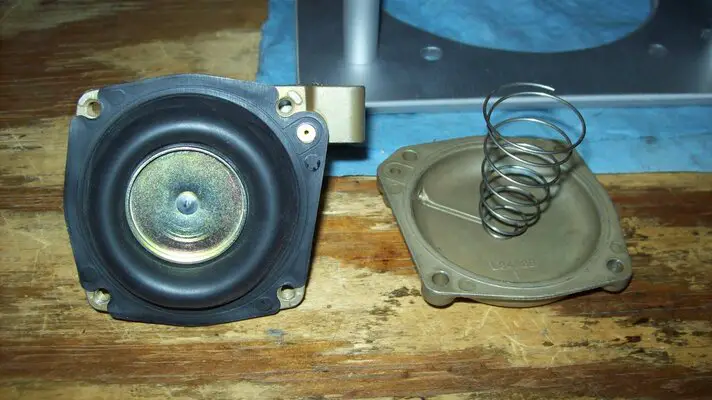
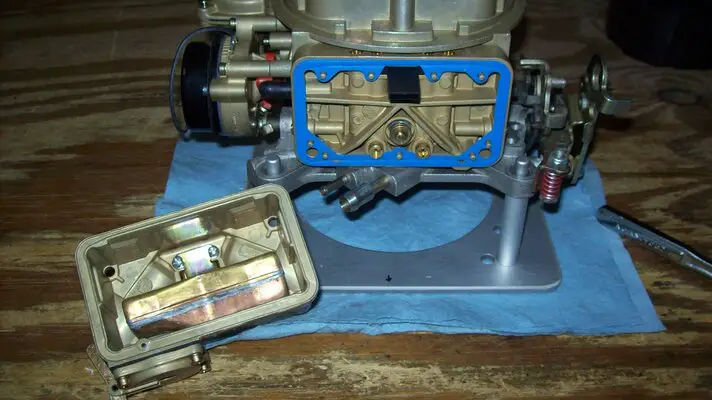
In addition to switching throttle plates, replaced the metal rear bowl float with a nitrophyl notched float, added rear jet extensions, converted the vacuum secondary pod to a quick change spring kit, i'll be keeping the as installed 6.5hg power valve, the 67(front), the 73(rear) jets and the silver(plain) vacsec spring as a baseline to see how the ZZ4 likes it, then i'll tune from there, also notice how the vacsec lower housing uses a small hole instead of a check ball to meter the vacuum and the metering blocks also came with vent whistles.
The throttle body/metering blocks and bowls are made from aluminum, the entire carb feels really light, the 770SA weighs a ton for having cast parts, figure i wasnt going to use the new carb for a spell due not being able to have a vac fitting available for the PCV valve. Fortunately, the 650C uses the very same throttle plate the 770SA uses, everything is exactly the same, the layout, the gasket, the ports, the same green pump cam, return springs, and even the same size throttle blades(#172), its just the diameter of the venturies in the main body that dictates the CFM between these two, there shouldnt be any issue, so i swapped the bases.
In addition to switching throttle plates, replaced the metal rear bowl float with a nitrophyl notched float, added rear jet extensions, converted the vacuum secondary pod to a quick change spring kit, i'll be keeping the as installed 6.5hg power valve, the 67(front), the 73(rear) jets and the silver(plain) vacsec spring as a baseline to see how the ZZ4 likes it, then i'll tune from there, also notice how the vacsec lower housing uses a small hole instead of a check ball to meter the vacuum and the metering blocks also came with vent whistles.
Attachments
-
 carb upgrade 1.JPG254.8 KB · Views: 80
 -
 carb upgrade 10.JPG236.8 KB · Views: 87
 -
 carb upgrade 9.JPG192.8 KB · Views: 84
 -
 carb upgrade 8.JPG234 KB · Views: 86
 -
 carb upgrade 7.JPG182.7 KB · Views: 80
 -
 carb upgrade 6.JPG194.8 KB · Views: 81
 -
 carb upgrade 5.JPG217.7 KB · Views: 85
 -
 carb upgrade 4.JPG223.7 KB · Views: 87
 -
 carb upgrade 3.JPG204.2 KB · Views: 87
 -
 carb upgrade 2.JPG231 KB · Views: 81


 . I was able to get a replacement on eBay for $35.00 and put it in though. The hardest part was getting the high beam actuator lined up and in the right place as everything went back together