

So, I re did the pan.
New steel pan, with cork gasket.
I tamped the holes down (i dont give a frogs fat *ss what the service manual and Internet says, anymore than snug with a nut driver is too tight), put a thin smear of rtv on the case where it was dripping from on the front passenger corner (there was a mark there like someone dug into the case with a scraper or something) after sanding the offending mark down as much as I could.
I actually put the car on jacks this time and ran it, I stayed under there for about 10 minutes trying to see where it (and my engine) were leaking. Nada. Shut it off, cleaned up my mess, crawled back under, and low and behold, for the first time, I see fluid on the converter. Now, as much as I didn't want it to be, I know the front seal is bad. And I'll replace the front pump seals as well because duh.
What am I gonna do about it? Probably some stop leak snake oil until it gets exponentially worse or I have time to fix it.
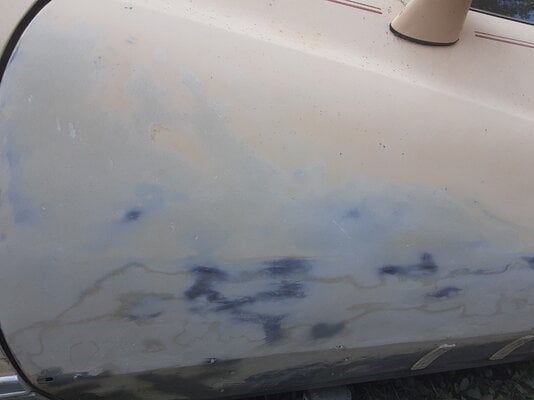
Picture is the pan after torquing to 10ftlbs.
Doubled checked with two torque wrenches. Yes I used an inch pound 1/4 torque wrench.

New steel pan, with cork gasket.
I tamped the holes down (i dont give a frogs fat *ss what the service manual and Internet says, anymore than snug with a nut driver is too tight), put a thin smear of rtv on the case where it was dripping from on the front passenger corner (there was a mark there like someone dug into the case with a scraper or something) after sanding the offending mark down as much as I could.
I actually put the car on jacks this time and ran it, I stayed under there for about 10 minutes trying to see where it (and my engine) were leaking. Nada. Shut it off, cleaned up my mess, crawled back under, and low and behold, for the first time, I see fluid on the converter. Now, as much as I didn't want it to be, I know the front seal is bad. And I'll replace the front pump seals as well because duh.
What am I gonna do about it? Probably some stop leak snake oil until it gets exponentially worse or I have time to fix it.
Picture is the pan after torquing to 10ftlbs.
Doubled checked with two torque wrenches. Yes I used an inch pound 1/4 torque wrench.
Last edited:


![IMG_20230812_140734443_HDR[1].jpg](https://cdn-0.gbodyforum.com/data/attachments/213/213108-72643d5ca78baa78753c4dec132fa5d1.jpg?hash=cmQ9XKeLqn "IMG_20230812_140734443_HDR[1].jpg")
