BUILD THREAD my 1980 Grand Prix w/BBC 454 build thread

Status
Not open for further replies.

454GrandPrix

Master Mechanic
Jul 27, 2016
429
818
93
Lehi, Utah
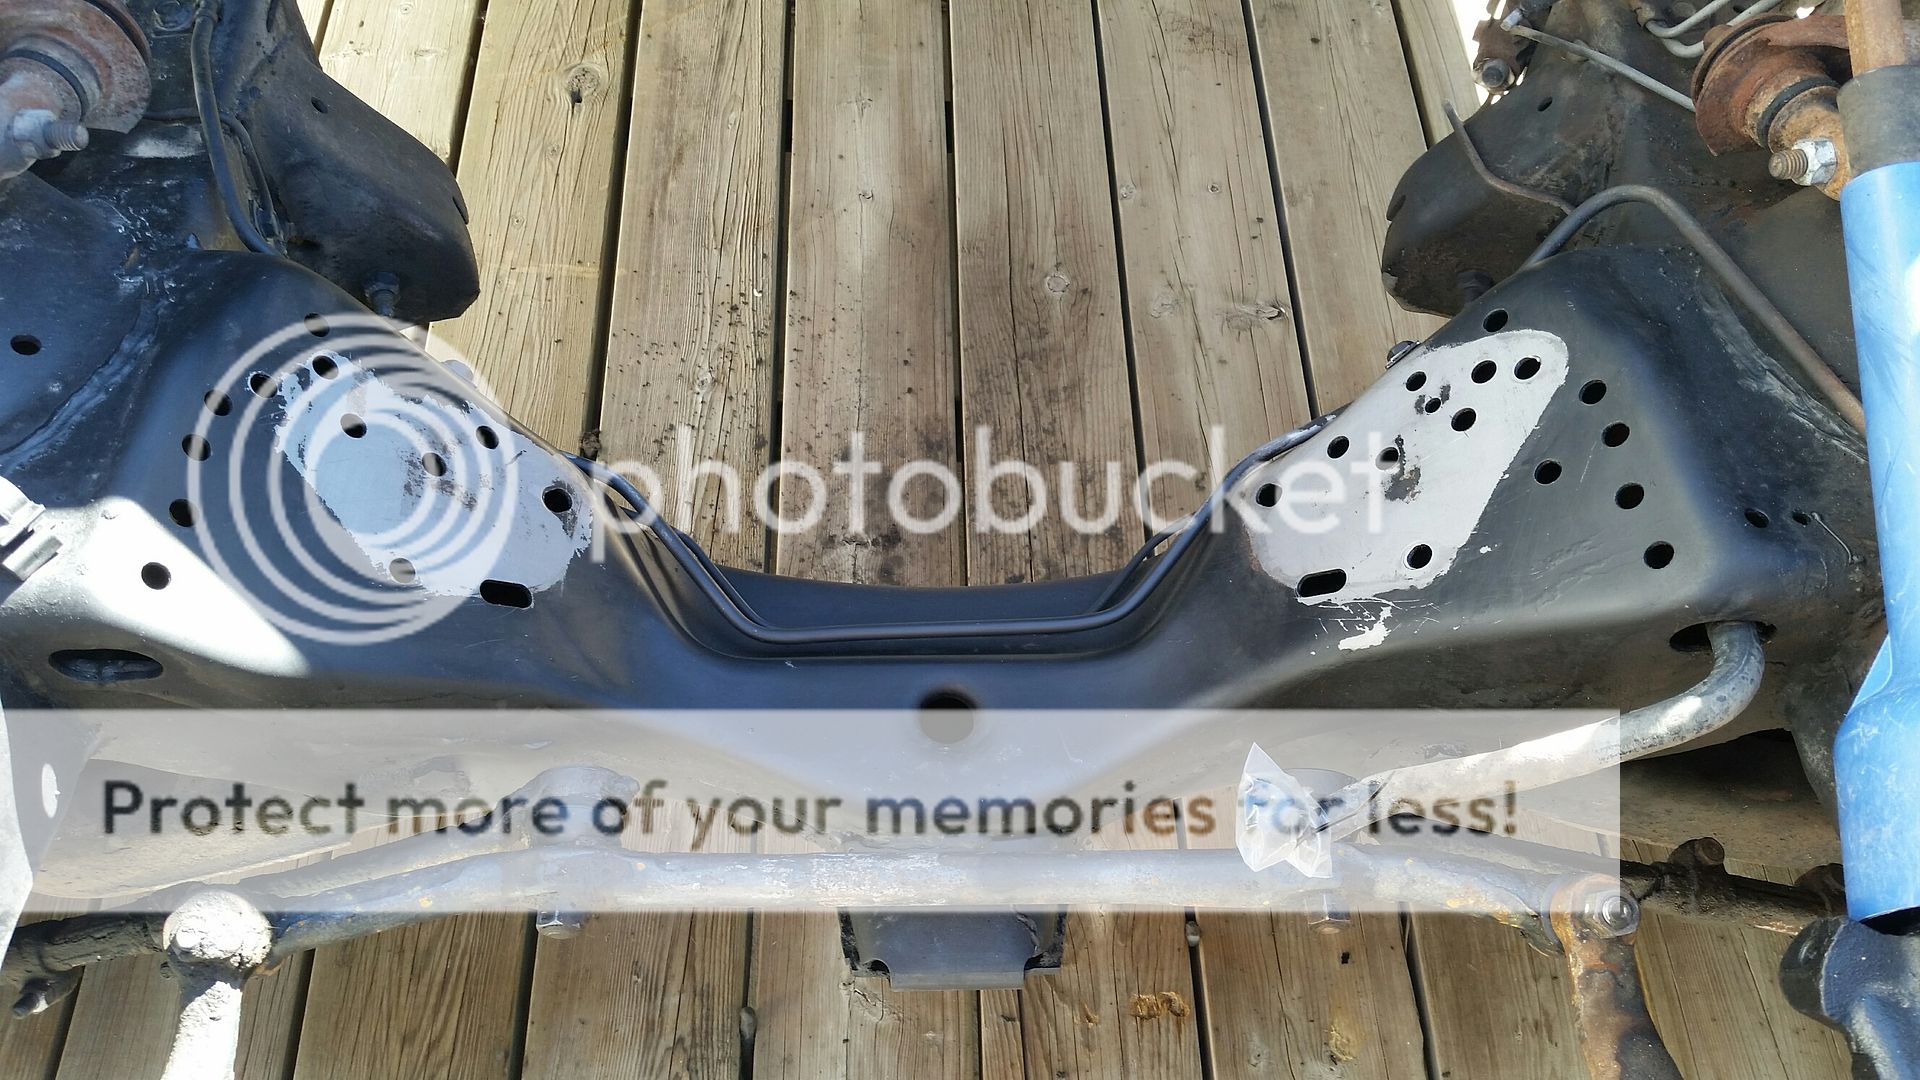
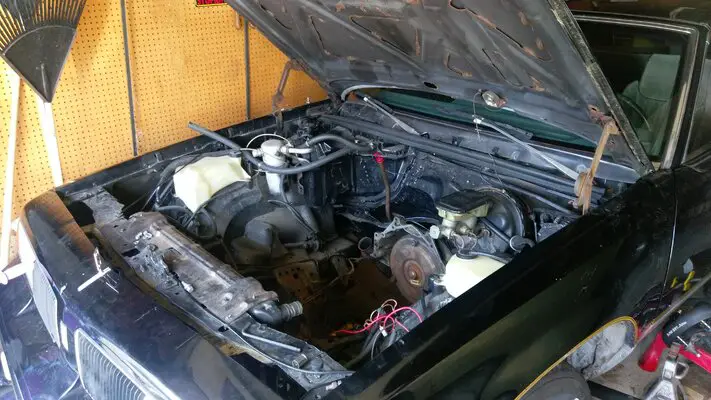
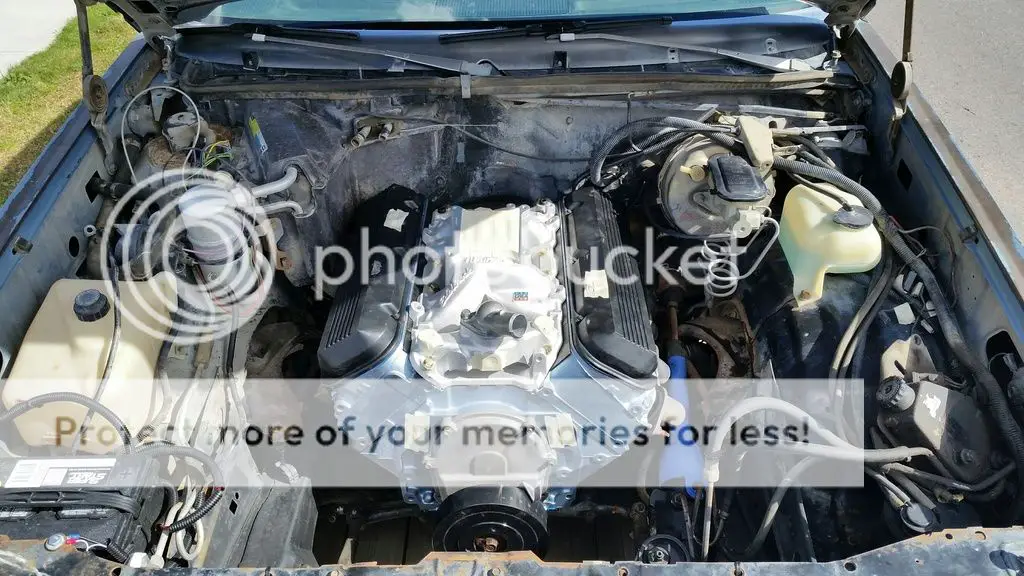
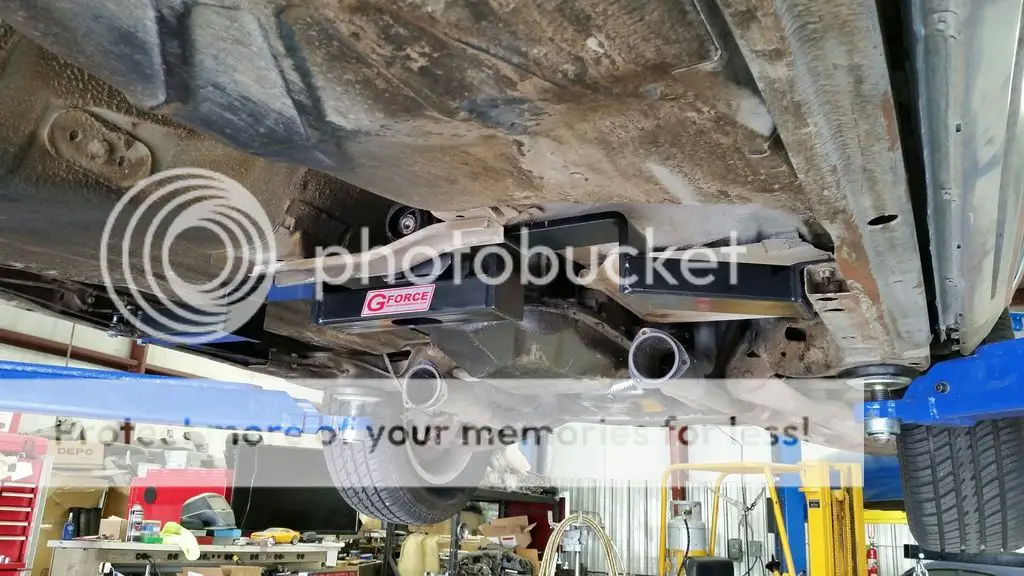
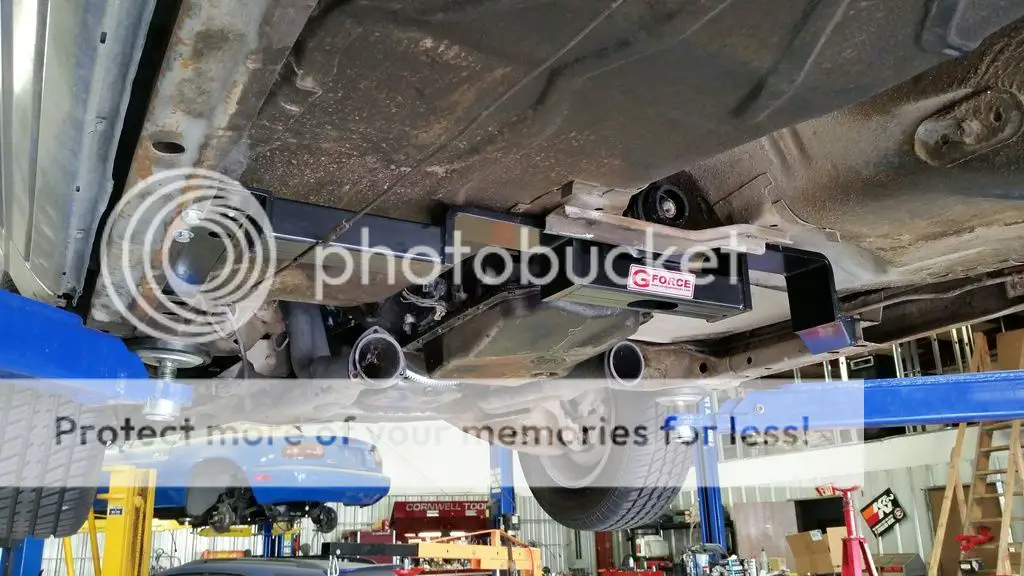
I had an hour or so of free time this morning, so I found myself again lying under the Grand Prix (which is still strapped onto my trailer). I've got to somehow get those last two bolts out of the left motor mount. Once that is done, I can install the V8 motor mounts and then I'll finally be ready to drop the V8 into place, more or less.

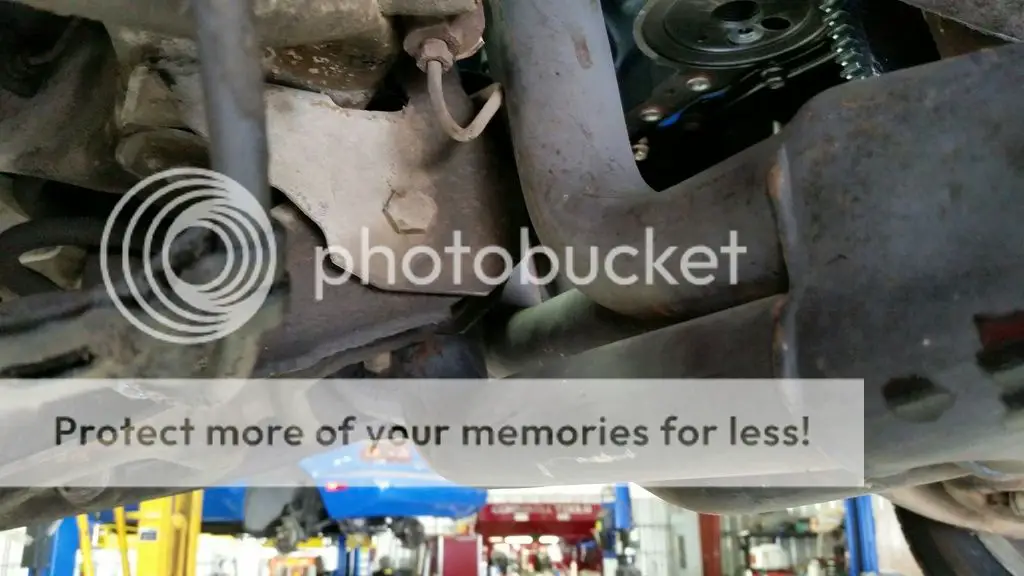
An hour later, I had one of the remaining bolts out:

5BoltsOut_zpsiby8qhaj.jpg


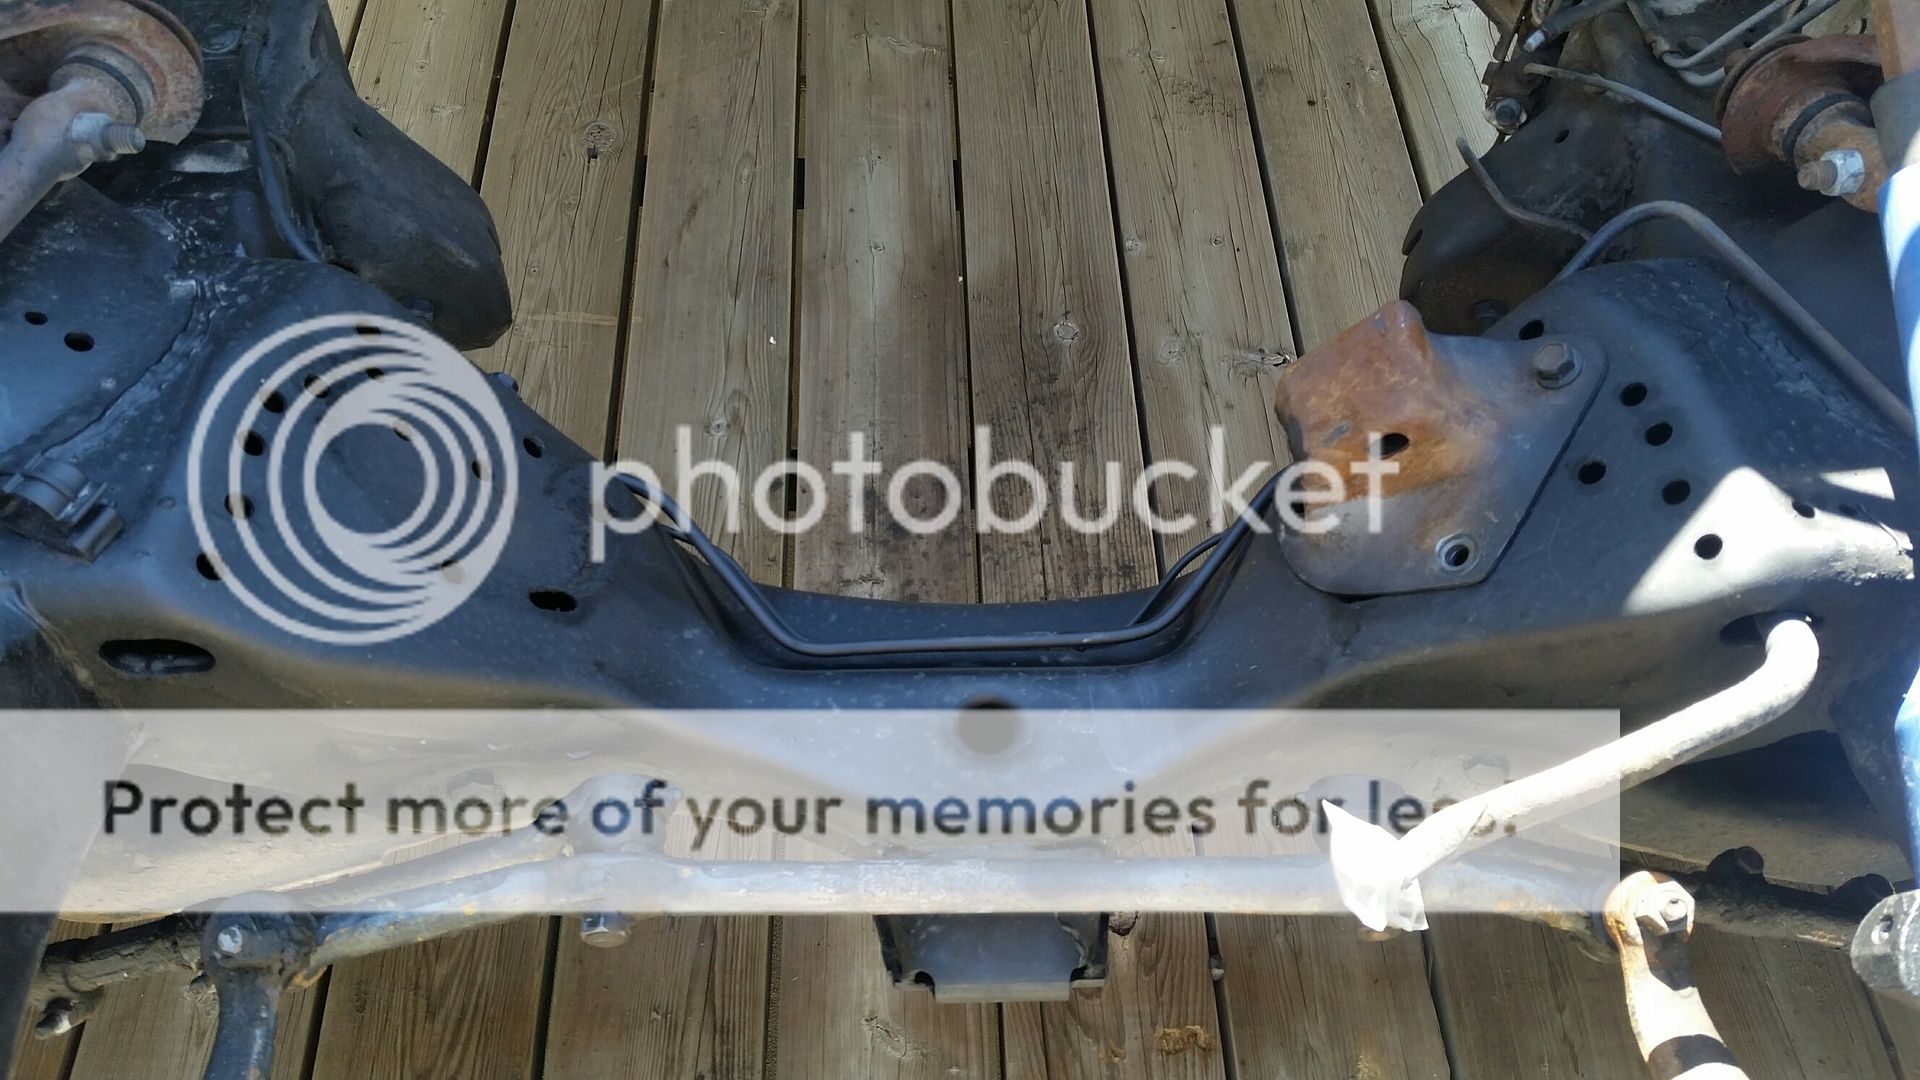
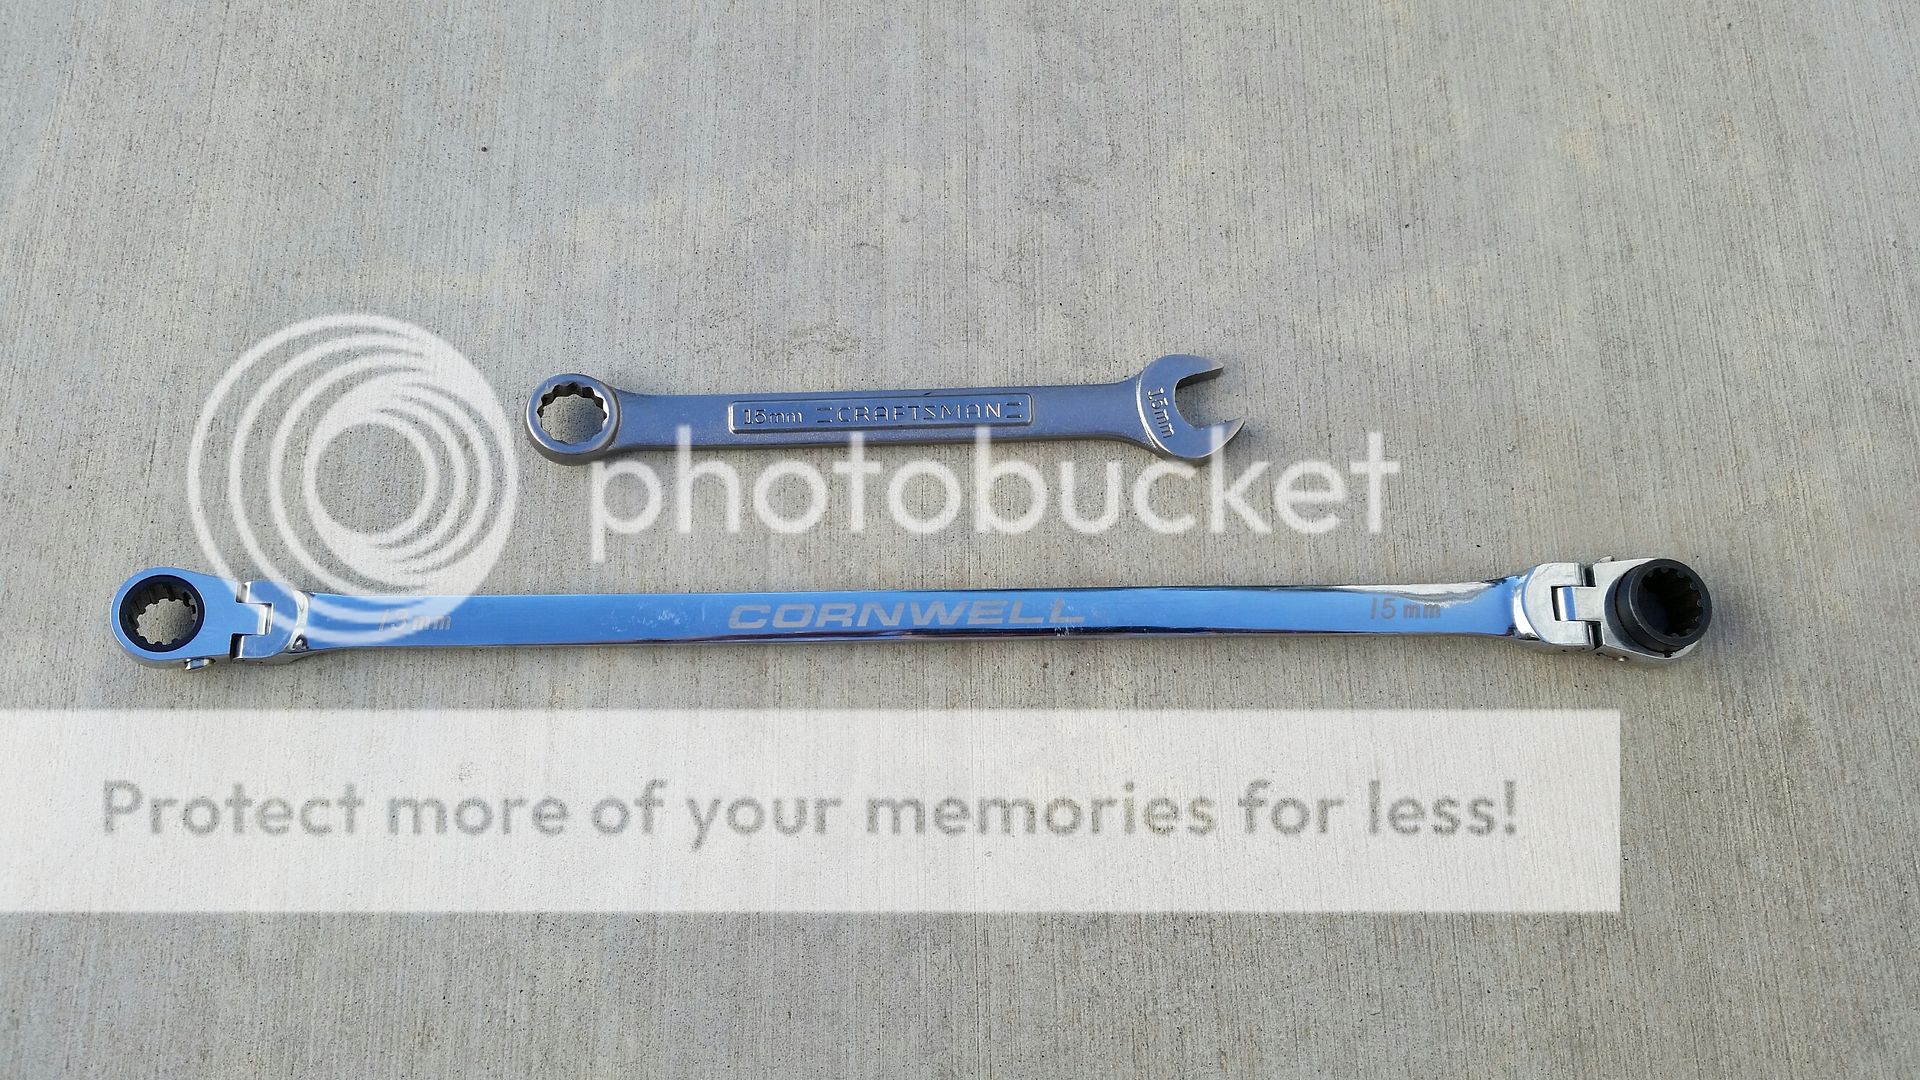
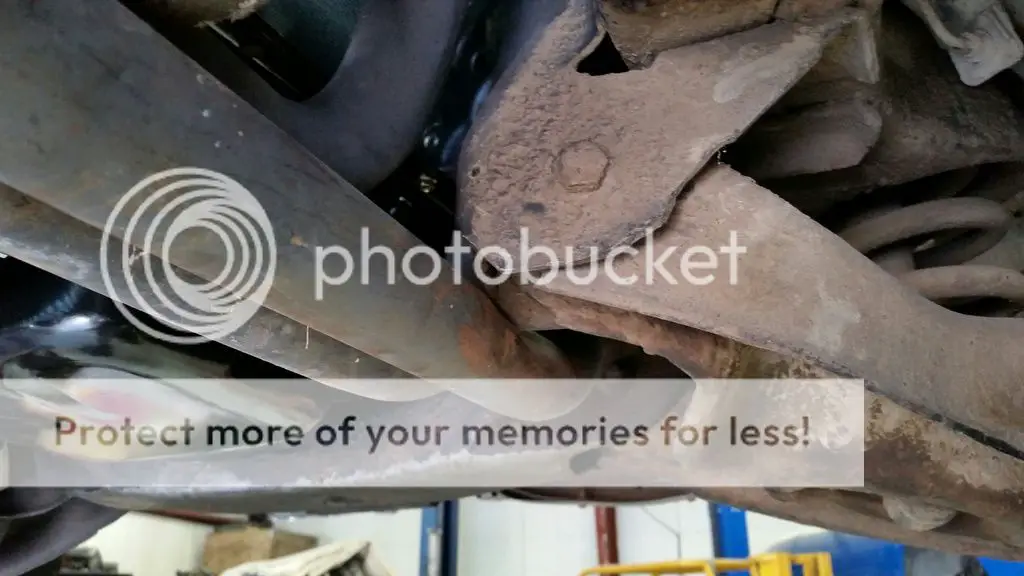
Even getting that one out required the use of my new flex-head ratchet (which I just purchased solely for this exact operation). I couldn't quite make it work on the last bolt, though, so it looks like I'll have to come up with yet another strategy to complete the job. But I'm not giving up. I was even watching one of the live feeds from Drag Week 2016 for inspiration last night before bed.

Maybe if I can find a long, flex-head 15mm box end wrench....
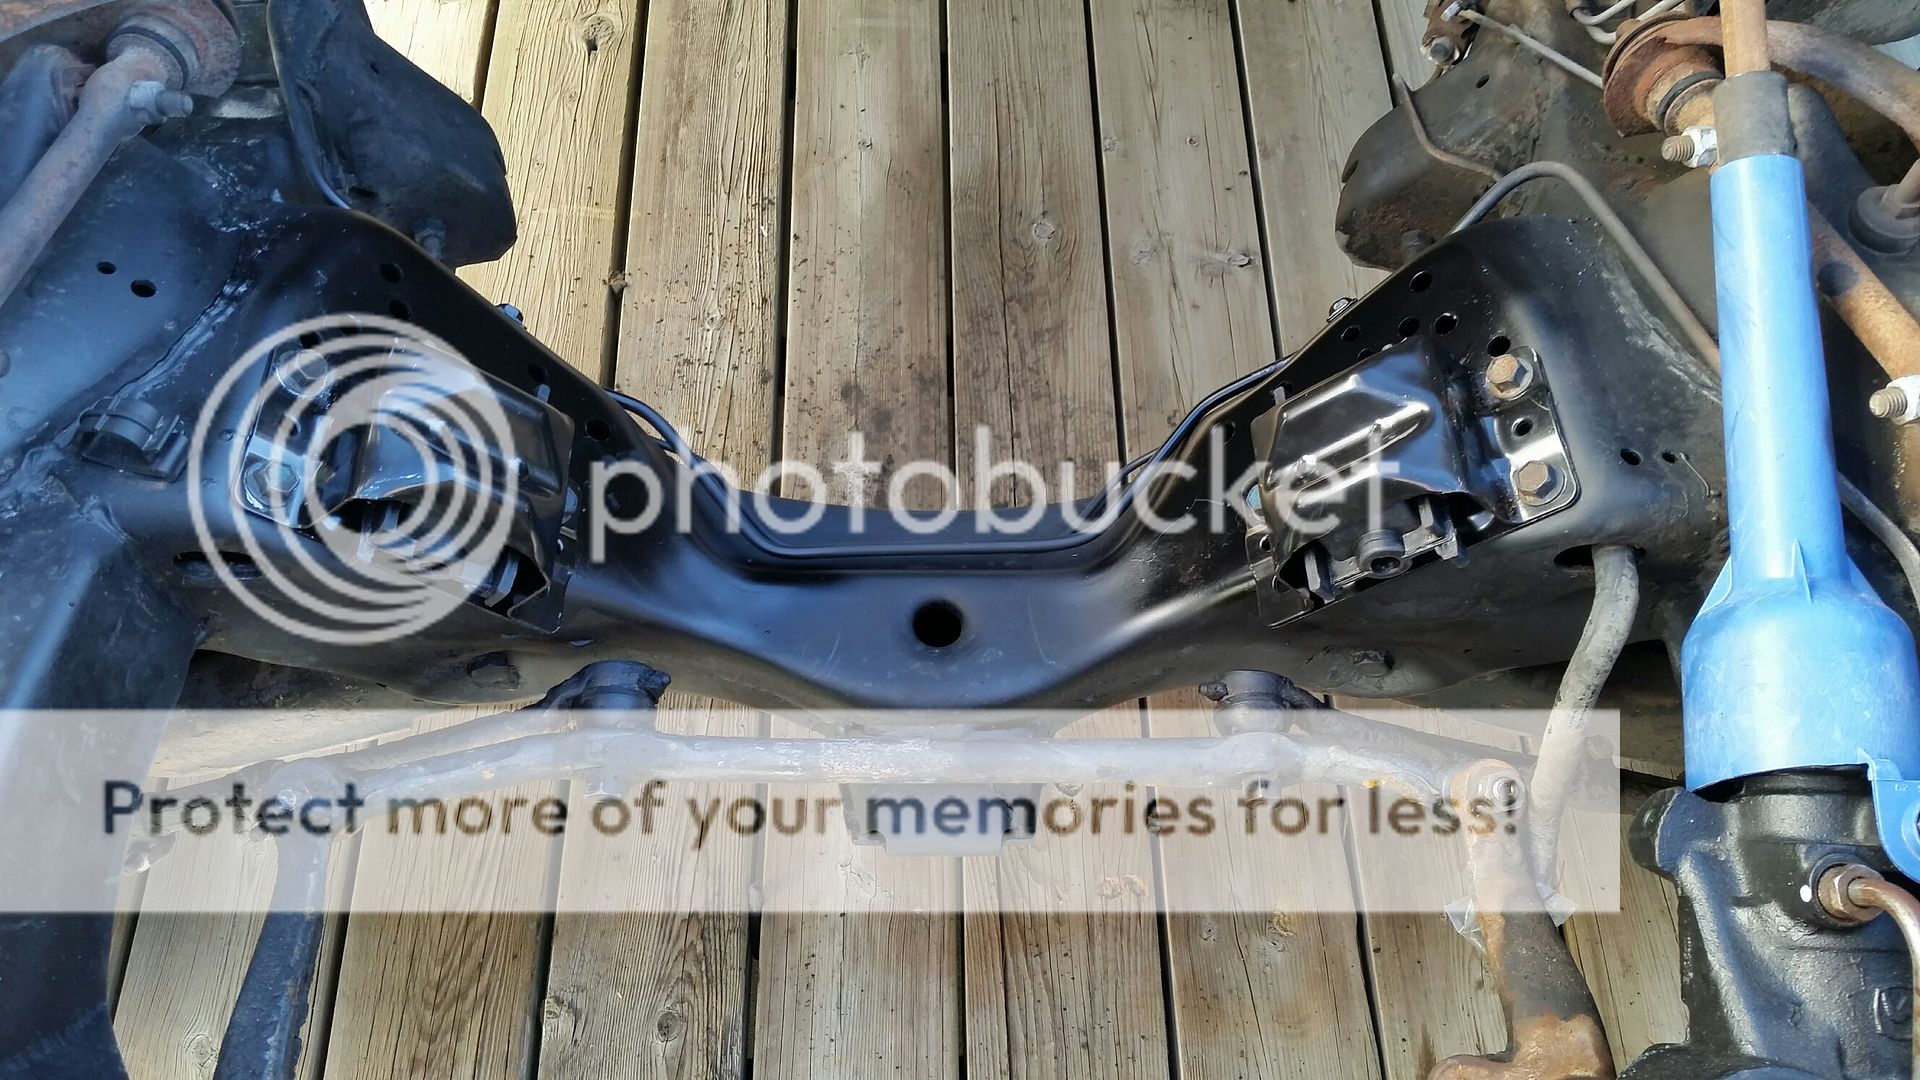
 

drogg1

G-Body Guru
Jan 25, 2009
885
213
43
Definitely a tricky task. I don't remember exactly what I had to do but it was easier with the frame holes clear.
 

Texas82GP

Just-a-worm
Apr 3, 2015
7,987
18,693
113
Spring, Texas
I rebuilt my front end because access to the backups on those bolts is so bad. It's easy to get to them with the lower control arm removed. Hang in there. You'll get it.
 
  • Agree
Reactions: 1 user

565bbchevy

Geezer
Aug 8, 2011
9,614
12,683
113
Michigan
I think I used a long box end and put it though the slot where your fuel line is coming out of, the fastest way would probably be just cut it off with an air cut off wheel but my Dewalt electric grinder could probably grind it down in the same amount of time.
 
  • Agree
Reactions: 1 user

454GrandPrix

Master Mechanic
Jul 27, 2016
429
818
93
Lehi, Utah
Hang in there. You'll get it.

I thank you all for your encouragement, for this exact process as well as my entire project in general.

Friday afternoon, I took a trip through the shop at my work (a large dealership) to ask if any of the techs might have any long flex-head wrenches. It didn't take long before I found someone who had an entire set. He graciously allowed me to take one home for the weekend. Since I'm dealing with 15mm nuts, that's the one he lent me. Here is a photo to compare it to my usual Craftsman 15mm combination wrench:

Wrench_zpstoillhjn.jpg


Were I to go out and purchase this single Cornwell wrench, I have no idea how much it would cost. $40? $50? Whatever the amount, I can make the following statement with complete certainty: it is worth every last penny. This was the magic tool I needed to complete the pain-in-the-butt process of swapping motor mounts. In just a few minutes, I was able to remove the final bolt from the last mount. With the V6 mounts finally removed from the cross member, I did some quick spot cleaning of these areas which I couldn't access during my earlier Gunk adventure. With everything wiped off, it was easy to see where my paint had not been able to reach.

V6MountsOff_zpsudvjrix2.jpg


Of course, painting these two areas was quick and easy. After allowing the paint to dry, I decided I ought to go ahead and install my shiny new V8 mounts before returning my friend's wrench. Needless to say, this took far less time than I had spent trying to remove the old ones. Once the job was done, I stepped back to admire my handiwork. I was so happy, I could have cried.

V8Mounts1_zpsppmevc7b.jpg


Now I can finally begin planning when to drop the 454 into place. :)
 
  • Like
Reactions: 5 users

-83MONTESS-

Comic Book Super Hero
Nov 4, 2010
4,570
967
113
Bellevue, Ohio
I remember the excitement when I was at this point of my build!

For the engine mount bolts I had a few I couldn't get. Instead of trying different tools I used my Dewalt electric grinder, cut straight down on the head of the bolt and once I was even with the mount I got the air hammer out and chiseled the remnants of the bolt heads off. Worked perfect and I imagine way less aggravating. Hopefully the rest of the build comes along easier than that.
 
  • Agree
Reactions: 1 user

mjscutlass

Not-quite-so-new-guy
Jul 3, 2008
27
1
8
stow ohio
Just to let ya know. Your not the only one who thought getting the motor from a cargo van was a good idea.
 

Attachments

  • IMAG0180.jpg
    IMAG0180.jpg
    2.8 MB · Views: 263
  • received_1109613695744464.jpeg
    received_1109613695744464.jpeg
    111.9 KB · Views: 252
  • IMAG0140.jpg
    IMAG0140.jpg
    3 MB · Views: 266
  • Like
Reactions: 1 user

454GrandPrix

Master Mechanic
Jul 27, 2016
429
818
93
Lehi, Utah
Just to let ya know. Your not the only one who thought getting the motor from a cargo van was a good idea.

I take it (from the fender badge) you got a Vortec 454, also?


This morning, brown Santa made another stop at my house. What did he drop off this time? A shiny new aluminum 4-core 26" radiator:

radiator_zpsnvpwjrst.jpg


Everybody says big block V8s generate a lot of heat, so I went straight for the biggest radiator I could get.

I have firm plans to drop the engine and transmission into place this Saturday morning (October 1st). After that, I can begin to work on installing all the other little things--exhaust system, cooling system, wiring, carburetor/fuel setup, and so on. To that end, I've been spending time in the local wrecking yard (including another trip there today) gathering some last-minute items such as a floor shifter, some v-belt pulleys, brackets for my accessories, and so on.

One tiny bit of progress: when I got home from the junkyard, I installed my new external trans fluid cooler in the nose of the car. Oh, and I also put the hood back on in preparation for trailering to my friend's shop on Saturday. That's not much, but I guess every step in the right direction is a good one. :)
 
  • Like
Reactions: 1 user

MrSony

Geezer
Nov 15, 2014
6,828
6,736
113
Des Moines, Iowa
On to the cleaning. I decided to stick to Roadkill procedure and buy a can of Gunk engine degreaser. As fans of the show are certainly aware (because it was covered in episode 23), Gunk actually makes three different varieties of degreaser:

Gunk_zpsh3gdjtlj.jpg


In that same episode, Frieburger uses all three on the General Mayhem's engine. Ultimately, he declares the Heavy Duty Gel version to be the best at removing his engine's grimy buildup... so that's the one I purchased. I saturated the crossmember, frame rails and some of the steering components as best I could (the can didn't last nearly as long as I hoped it would), let it soak in for 10-15 minutes, and hit the local car wash. A few bucks in quarters later, this was the result:

CleanBay3_zpsq23bfvbw.jpg


CleanBay2_zpsxdgnovup.jpg


CleanBay1_zpslhmecnub.jpg


Was I pleased? No, that word isn't strong enough. I was actually shocked at how effective this stuff was. Not only was the majority of the grease and grime gone, but so was a lot of the paint (!). Is that supposed to happen? Or maybe the painted finish was eaten away by 36 years of gas and oil? I have no idea. Either way, at least now when I crawl under there to swap motor mounts I won't have hundreds of grease globs falling into my eyes.

I'd definitely call that a win.
Roadkill for the win.
 

454GrandPrix

Master Mechanic
Jul 27, 2016
429
818
93
Lehi, Utah
GOOD NEWS: the engine & transmission are in! Nothing else is connected yet, but at least the 454 and 4L80E are physically bolted into place. I was completely thrilled to see this happen, but it was also very sobering--it made me realize I have a long way to go before this thing will move under its own power.

The first thing I did was install the frame extension for my aftermarket transmission crossmember:

FrameExt_zpsyup0tpit.jpg


Once that prep work was out of the way and the crossmember was set in place, we lowered the car and installed the engine & trans as one unit.

EngineIn2_zpslfahs8zc.jpg


Before we dropped them into position, I held the driver's side header in place. Everybody says you have to install the header first, so I made sure not to forget this crucial step. But once the engine was resting on its mounts, my friend Ralph commented that there seemed to be plenty of room for it to almost fall out below the car. So we lifted the car back up, Ralph grabbed the header, and--presto!--he pulled it right out. It turns out both headers are easily installed and removed from below with the engine in place. I have no idea what brand these are (I bought them used from a friend) but this will make my life a whole lot easier when it comes to making room for them.

Speaking of, there is an issue of clearance on both sides. Each header makes solid contact at the lower control arm mount:

HeaderTouchLeft_zpsaubsvznf.jpg


HeaderTouchRight_zpsjc4grpob.jpg


It looks like there is a lot of grinding in my future. I'll make sure I don't go overboard. If I still need a little more room, I don't feel bad about putting a few dents in the appropriate header tubes. As a recent episode of Engine Masters has shown us, it won't make a bit of difference in my power output.

At this point, all that remained was to final torque the crossmember bolts and call it a day (since I had to get to work).

CrossMemberRight_zpszppdvckq.jpg


CrossMemberLeft_zpsni2hegax.jpg


That last photo is a bonus--you can see both of my project cars in it. That's my 1991 Mazda Miata which I bought stone stock, then removed the engine, trans and differential. The rear end has already been upgraded to a Ford 8.8 IRS. I have a late '80s Ford 5.0L V8 and matching T5 transmission to go in as well... but that project stalled out five years ago. I plan to get back to work on it this winter after the Grand Prix is buttoned up.
 
  • Like
Reactions: 1 users
Status
Not open for further replies.

GBodyForum is a participant in the Amazon Services LLC Associates Program, an affiliate advertising program designed to provide a means for sites to earn advertising fees by advertising and linking to amazon.com. Amazon, the Amazon logo, AmazonSupply, and the AmazonSupply logo are trademarks of Amazon.com, Inc. or its affiliates.

Please support GBodyForum Sponsors

Classic Truck Consoles Dixie Restoration Depot UMI Performance

Contact [email protected] for info on becoming a sponsor