What did you do to your G-Body today? [2019]

Status
Not open for further replies.
i know i will have to dremel the hole a little bigger.haven't tried yet
I hate to burst your bubble, but there's something other than "double grounding" going on. Blown fuses are from hot to ground shorts. You literally can't have enough ground in an automotive 12VDC system.
 
I hate to burst your bubble, but there's something other than "double grounding" going on. Blown fuses are from hot to ground shorts. You literally can't have enough ground in an automotive 12VDC system.

Wondering if any insulating material is being used between the mounting strap and the terminals, since it appears that the gauge does not have the little plastic bushings some gauges use.
 
  • Winner
Reactions: fleming442
update . the gauge is working now. i did dremel the hole out and install the gauge. according to the instructions.it says hook the hot to the ignition and the s on the gauge to the sensor. DO NOT USE A GROUND ON THIS GAUGE,AS THE SENSOR WORKS AS THE GROUND. so now it isnt touching the aluminum it works.
66478293_10213516784703618_2338588213540552704_n.jpg
 
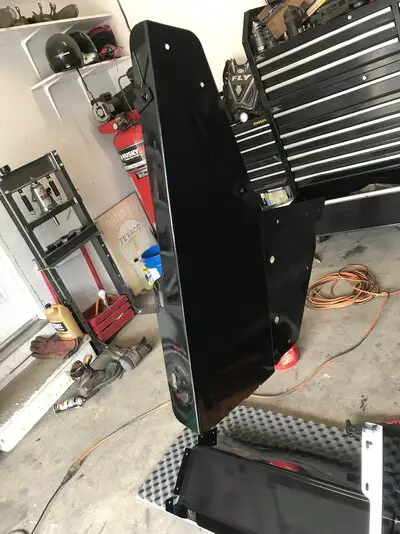
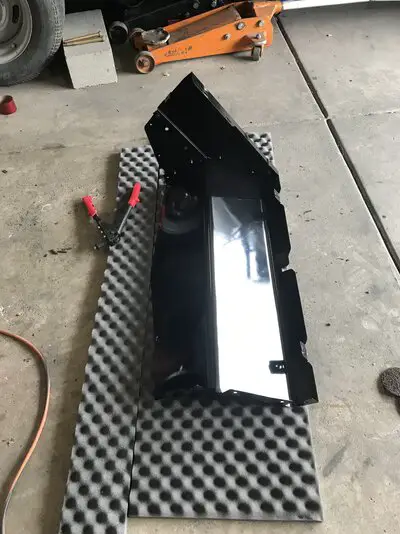
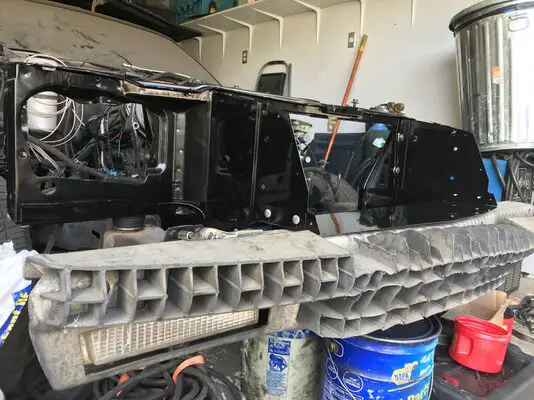
I finished four jobs this weekend.

First: I recently freshened up Elsie’s wiper motor and repaired a bad ground. After reinstalling the motor, the wipers worked great, but still didn’t park when turned off. I figured out how to adjust them so that they now park. Took some photos along the way and will try to write a “How-I Did-It” sometime soon. It was easier than I thought it would be, based on some of the posts I've read on the subject in a few forums.

Second: Elsie’s wiper arms were shot, so I installed all-new arms/blades/fillers from Eckler’s (they had the best prices.) Easiest thing I’ve done lately.

Third: Finally installed my four spoke steering wheel. I bought it a couple years ago and it had the standard sticky-feeling surface problem. I read every post I could find about de-stickifying it on every El Camino, Monte Carlo, G-Body, Camaro, Firebird, Chevelle, H-Body (Vega), etc. forum I could find. Saw all kinds of speculation on what causes that stickiness, from seemingly reasonable thoughts to twits trying to sound smart. Tried all kinds of recommendations – not one worked. Even emailed Eastwood to see if they had any recommended products, they hadn’t found anything that works either. Then I met a swap meet vendor who was selling lots of these wheels and they were all nice, clean, and not at all sticky. Learned his technique and adapted it to my circumstances. It worked! So now the wheel is in. The horn button emblem was a left over wheel center cap emblem.
IMG_1762-vi.jpg


Fourth: I finished installing the 1995 Trans-Am bucket seats I bought at GM Carlisle a couple weeks ago. Happy with the look, but they need to be able to slide back at least two inches farther. I feel cramped behind the wheel. I’m thinking I’ll weld some base plates to the mount bottoms with new holes to relocate them.
IMG_1763-vi.jpg
 
Took the TBSS to Crappy Tire for oil - and put that Mobil 1 5w-30 in the wagon and drove it. **** it.

20190707_144525_HDR.jpg
 
Last edited:
had not done a burnout in a while... stock clutch or slightly better than stock.. get on it wrong time it blows through the clutch.. so made it "easier" I chained it.. plus camera was on a stand..
468BBC, T56, 3.08 gears and 275/40/17 tires 1rst was really impressive.. this was 2nd gear
 
Pics or it didn't happen.

I did take a few pictures today with my "new" pixel phone and they came out terrible so I'll have to try that again...

Today I honestly installed the transmission crossmember and it lined up perfectly after I changed the mounting bracket location on the crossmember, I had put a 17 degree shim in between the transmission and bushing so the bushing would be flat so the bracket had to be moved to the left. I got the steering column installed and I fabricated a new floor brace out of 1/4" steel. I have made one out of 3/16" steel but it looked a little on the thin side. It is supposed to prevent the drives shaft from hitting the pavement if the u joint breaks. Before I started on the GP today I walked 6 miles pushing a lawnmower cutting the grass at my son's place so that took a bit of time I coudl have been working on the GP but it did help to build up a thirst only beer can handle...😊
 
A while back I disassembled the airbox in front of the core support because the new core support made it look like sheeeit. Primered, painted, riveted and put it back. Now the bumper looks like sheeeit.
 

Attachments

  • IMG_0817.JPG
    IMG_0817.JPG
    1.6 MB · Views: 198
  • IMG_0818.JPG
    IMG_0818.JPG
    1.9 MB · Views: 206
  • IMG_0820.JPG
    IMG_0820.JPG
    1.6 MB · Views: 219
Status
Not open for further replies.

GBodyForum is a participant in the Amazon Services LLC Associates Program, an affiliate advertising program designed to provide a means for sites to earn advertising fees by advertising and linking to amazon.com. Amazon, the Amazon logo, AmazonSupply, and the AmazonSupply logo are trademarks of Amazon.com, Inc. or its affiliates.

Please support GBodyForum Sponsors

Classic Truck Consoles Dixie Restoration Depot UMI Performance

Contact [email protected] for info on becoming a sponsor