I may have missed some of the step by step during this final assembly but if you take a look in the earlier posts you will see the way the internals are assembled in the pre-assembly.
Here are some more of the assembly.
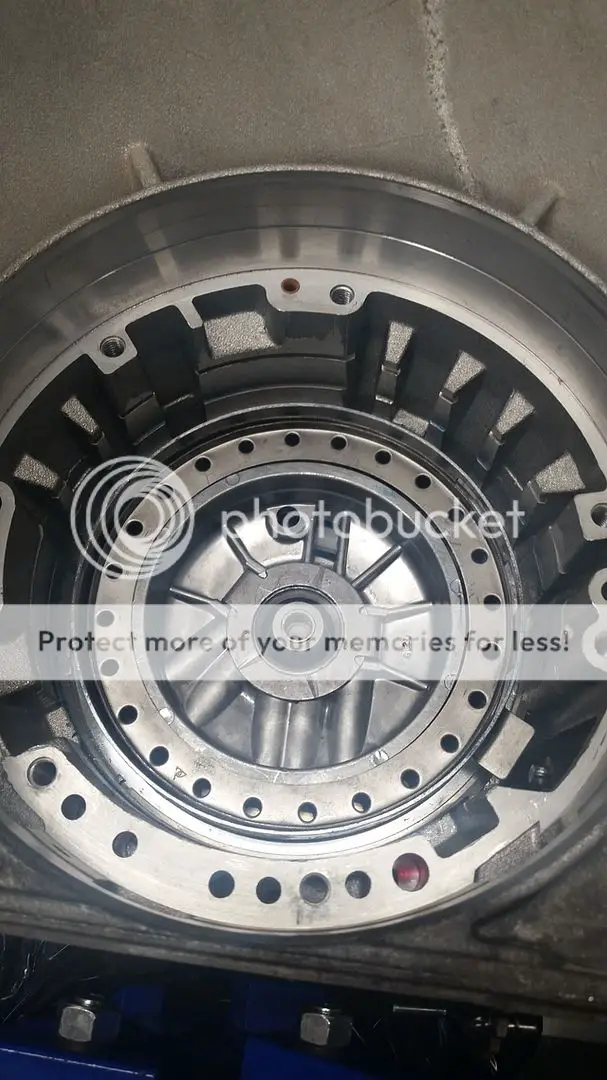
Sunshell, There is a 4 tang washer that goes between the sunshell and lo/reverse clutch, This is the sunshell with the front planet and sungear installed with the bronze washer and selective. I chose the silver selective to get my rear end play between .004 and .010 range. I have .007
You can check this with a feeler gauge between the snap ring and selective washer.
Direct clutch wide band. I tried to put this on after the direct drum as stated in the atsg manual but took it back out put the band then the direct drum.
I picked up a billet band anchor pin
The pin with the B is where the anchor pin goes.
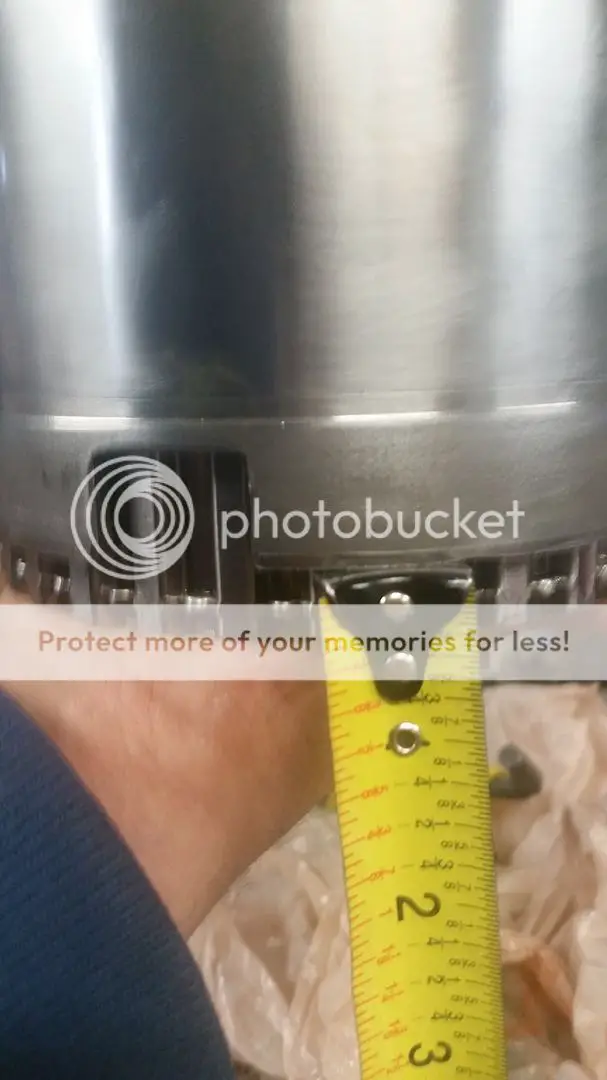
Not a great pic but this is the forward drum inside the direct drum. Once the forward drum is in the direct drum it should stick out about 5/8" when properly seated.
If you don't have the tool to install the direct and forward you can use vice grips. Not to tight though. I used a piece of vinyl to protect the spline.

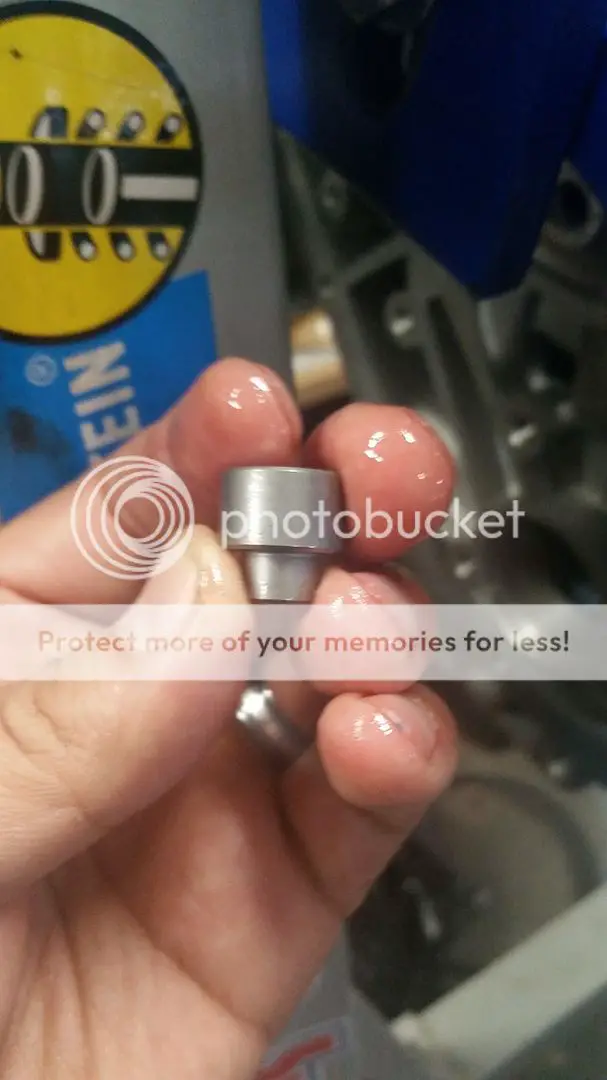
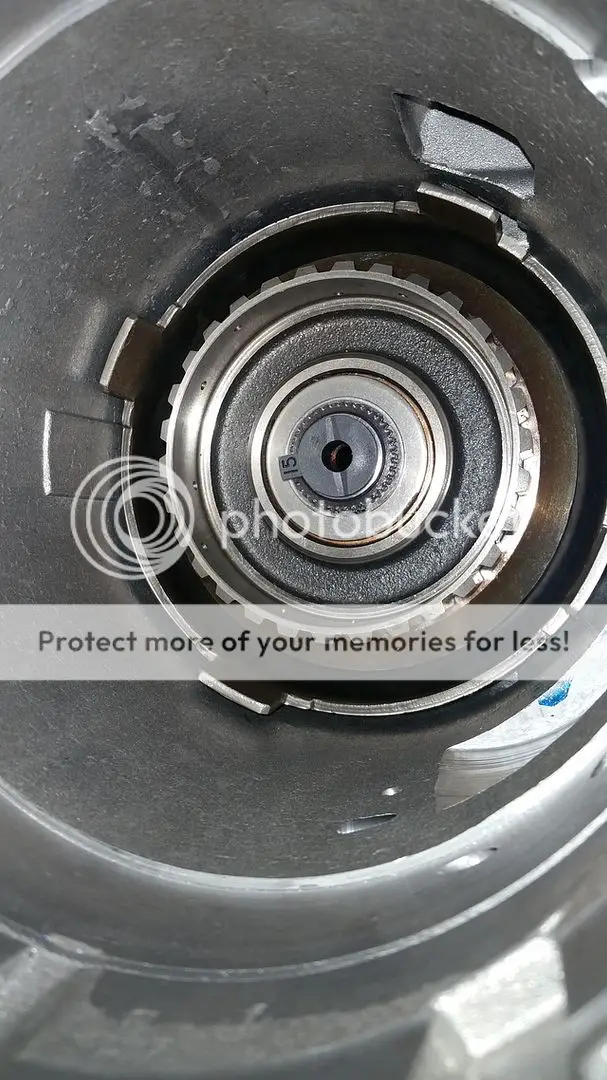
Before setting the forward drum and direct drum on the sun gear make sure you put in your selective tab washer. I used a 15 based off the recommendation of the trans builder.
Now this is is when I got excited a missed a pic of the direct and forward drum in the transmission. Basically you will take the direct/forward assemblies with the vise grip or tool if you have it and put it onto the the sun gear pictured above and turn it until it's seated.
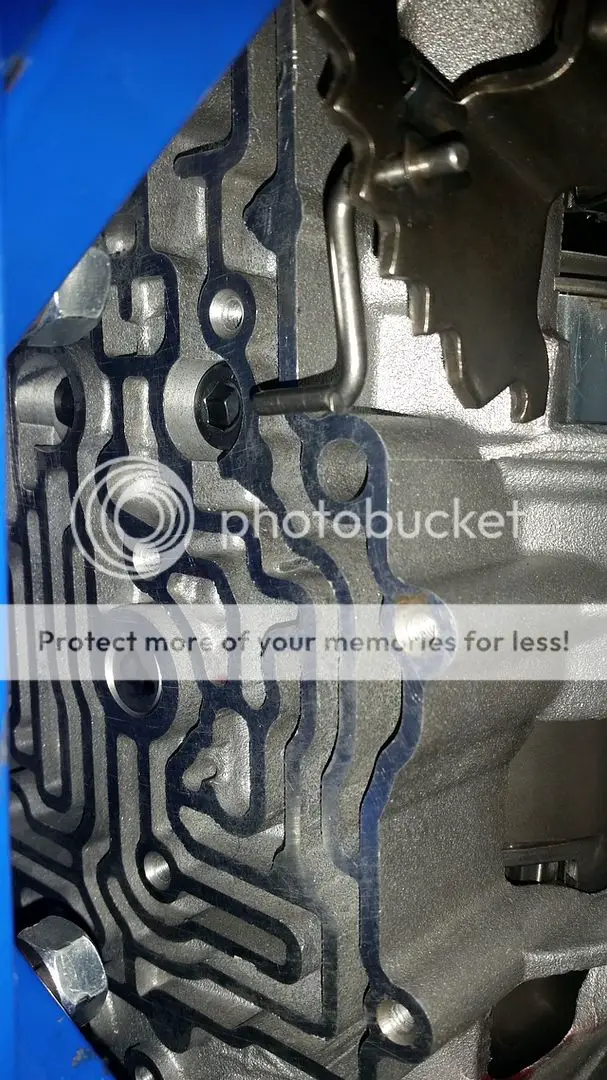
Next step is the center support(Pictured behind the direct drum). Make sure the threaded holes face towards the valve body side. I did the dual feed mod which requires leaving out the center sealing ring on the center support and the center lip seal in the direct drum
Here is the center support installed. Take note of the allen bolt. This is part of the dual feed mod to block off the reverse feed for the dual feed. The other uses the original bolt. I used a dial indicator to check the play. mine was .005. The forward shaft end play cannot exceed rear end play which was .007 in my case.
I will post more of my progress tomorrow.
Thanks,
Joe
Here are some more of the assembly.
Sunshell, There is a 4 tang washer that goes between the sunshell and lo/reverse clutch, This is the sunshell with the front planet and sungear installed with the bronze washer and selective. I chose the silver selective to get my rear end play between .004 and .010 range. I have .007
You can check this with a feeler gauge between the snap ring and selective washer.
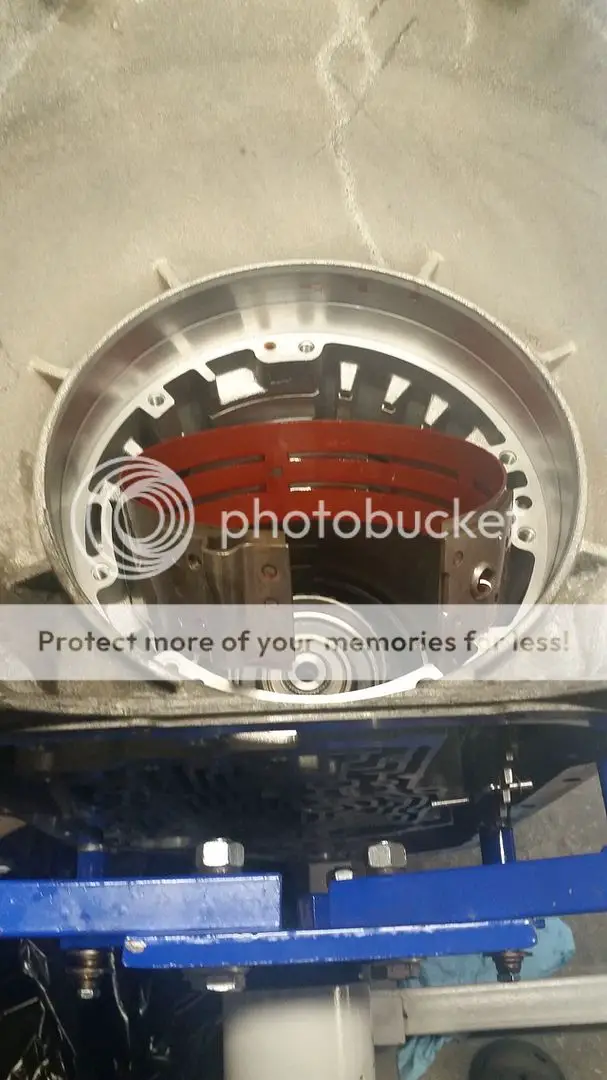
Direct clutch wide band. I tried to put this on after the direct drum as stated in the atsg manual but took it back out put the band then the direct drum.


I picked up a billet band anchor pin

The pin with the B is where the anchor pin goes.

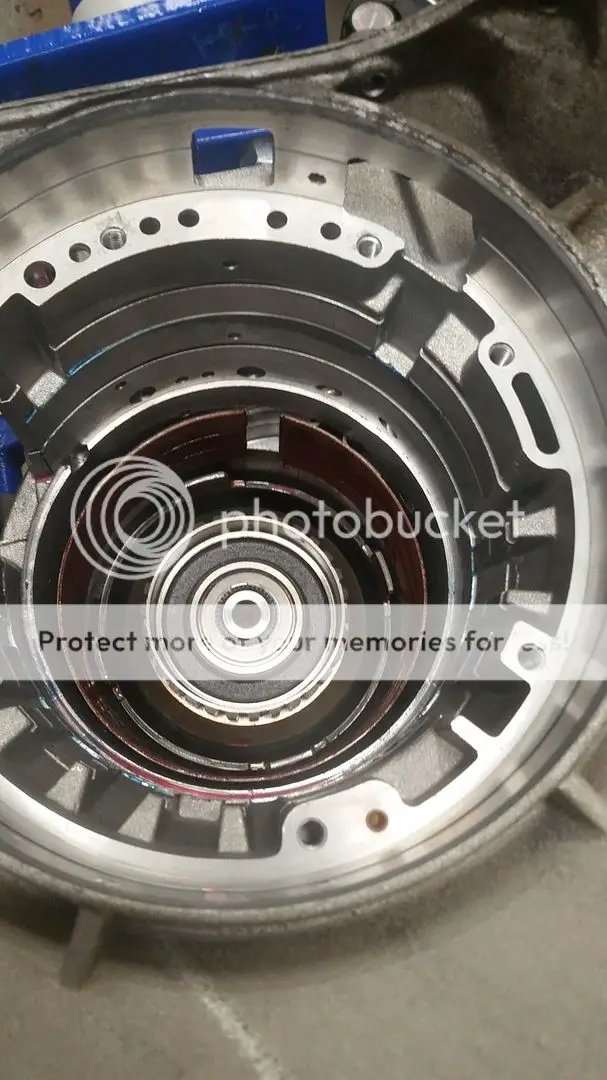
Not a great pic but this is the forward drum inside the direct drum. Once the forward drum is in the direct drum it should stick out about 5/8" when properly seated.

If you don't have the tool to install the direct and forward you can use vice grips. Not to tight though. I used a piece of vinyl to protect the spline.

Before setting the forward drum and direct drum on the sun gear make sure you put in your selective tab washer. I used a 15 based off the recommendation of the trans builder.

Now this is is when I got excited a missed a pic of the direct and forward drum in the transmission. Basically you will take the direct/forward assemblies with the vise grip or tool if you have it and put it onto the the sun gear pictured above and turn it until it's seated.
Next step is the center support(Pictured behind the direct drum). Make sure the threaded holes face towards the valve body side. I did the dual feed mod which requires leaving out the center sealing ring on the center support and the center lip seal in the direct drum
Here is the center support installed. Take note of the allen bolt. This is part of the dual feed mod to block off the reverse feed for the dual feed. The other uses the original bolt. I used a dial indicator to check the play. mine was .005. The forward shaft end play cannot exceed rear end play which was .007 in my case.

I will post more of my progress tomorrow.
Thanks,
Joe